Free shipping for order over $50

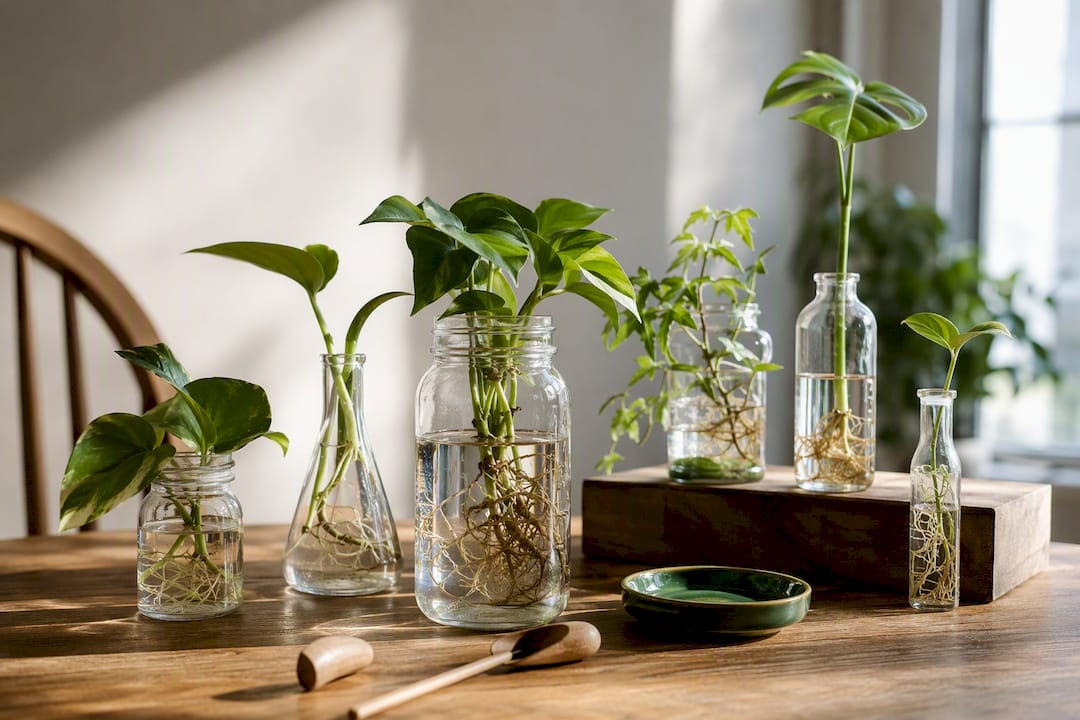
The most useful propagation stations for home plant lovers are simple test-tube racks or a mason-jar windowsill lineup. Both cost little, take minutes to clean, and root the vines and pothos most people are actually growing. Wall-mounted tubes and covered shelf setups earn their spot for bigger collections, but if you’re starting out, pick based on two things: how much counter space you have, and how often you’ll realistically change the water.
TL;DR:
- Most DIY propagation stations are inexpensive, easy to assemble, and suitable for common houseplants like pothos and philodendron, which root reliably in water.
- Maintaining water changes every five to seven days and using bright, indirect light or a grow light ensures healthy root development and prevents bacterial buildup.
- Using clear glass containers and labeling cuttings improves monitoring and success rates, especially for beginners observing root growth within two to four weeks.
- Building a tidy, visually appealing station with minimal materials increases the likelihood of regular maintenance and better rooting results.
- Ready-made hydroponic systems offer a low-maintenance alternative for growers who want propagation success without ongoing manual care.
Here are ten setups worth building, ranked roughly by how much effort they take.
Place any of these where you’ll walk past daily. A station tucked in a spare room gets forgotten. One on your kitchen counter gets checked.
Easy: test-tube base. Drill holes slightly larger than your tube diameter into a wood block, spaced about 1.5 inches apart so tubes don’t touch. Seal exposed edges with a food-safe wax or clear coat. Cost: under $20. Tools: drill, matching drill bit, sandpaper. Time: about an hour.
Intermediate: spice-rack or jar conversion. Repurposed spice racks and jars are one of the most common DIY approaches, since desktop bases in this style typically run about 8 to 9 inches wide and hold three to five tubes. If hanging the rack, check the wall anchor’s weight rating. Filled glass jars add up fast. Cost: $10 to $30 if repurposing. Time: half a day including wall mounting.
Small greenhouse: wire shelf build. Set a wire shelving unit against a wall, drape it with a clear vinyl cover or fit a plastic storage bin lid over the top shelf, and run a slim LED grow-light strip along the underside of each tier. This traps humidity for cuttings that sulk in open air. Cost: $40 to $80 depending on light quality. Time: a weekend.
Pro Tip: Drill your test holes in scrap wood first. A hole that’s even a sixteenth of an inch too tight will crack glass tubing when you try to seat them.
Skip anything decorative until the functional pieces are sorted.
Repurpose spice racks, candle holders, and thrifted jars before buying new hardware. Most of the cost in a build comes from containers and lighting, not the wood or brackets.
Not every cutting belongs in water. Vining and soft-stem houseplants like pothos, philodendron, and Tradescantia root reliably in water, usually showing visible roots within two to four weeks.
Water propagation is the more forgiving of the common methods for beginners, largely because you can see exactly what’s happening at the cut end. Transfer a water-rooted cutting once roots reach 1 to 2 inches and show fine branching, not just a single thick root.
Bright, indirect light near an east or north-facing window is the sweet spot. Direct afternoon sun cooks water fast and can scorch tender new roots.
If natural light is thin, a grow light running 12 to 14 hours a day makes up the difference reliably. Set it on a timer so you’re not manually flipping a switch every morning.
Stagnant, warm water loses dissolved oxygen fast and invites bacteria, so cooler water changed regularly beats a station left untouched for weeks.
Pro Tip: Keep a sticky note or phone reminder for water changes. The single biggest reason propagation stations fail isn’t bad light. It’s forgetting the water sat there for three weeks.
A station that looks good is one you’ll actually walk past and check.
A well-organized station isn’t just decoration. It’s a system that keeps you accountable, and that shows up directly in rooting success rates, since most failures trace back to skipped maintenance rather than a bad container choice.
A dedicated, tidy station isn’t just nicer to look at. It’s the reason you notice cloudy water on day five instead of day fifteen. Label each cutting and check the station once a week, no more. Start with one small build before you attempt the wall-mounted showpiece you saw online.
— Luna
There are small hydroponic systems built for exactly the kind of routine care that keeps propagation stations alive: consistent light, easy water access, and enough capacity to grow a sizable number of plants without turning your counter into a construction project. Building your own test-tube rack is satisfying, and worth doing for a first project. But if you’ve already killed a few cuttings to forgotten water changes, a compact growing system removes most of the guesswork around lighting and monitoring. It’s a reasonable next step for anyone who wants the results of propagation without babysitting a jar every three days. Check out Sprout-lab’s reservoir hydroponic system guide to see whether a ready-made setup fits your space better than another DIY weekend.
Most stations hold water-rooted cuttings like pothos, philodendron, and Tradescantia, though covered versions can also house moss-rooted orchid cuttings or young succulents once callused.
Drill holes sized to your glass tubes into a wood base, space them about 1.5 inches apart, seal the edges, and add felt feet for stability. A spice rack or wire shelf with a clear cover works as an intermediate build.
A test-tube rack or mason-jar windowsill setup suits most houseplants, while a covered shelf functions like a mini greenhouse for humidity-loving cuttings. Readers who want to skip the build entirely can look at a compact hydroponic system instead.
Some plant varieties are protected by patents or breeder’s rights, meaning propagating and selling cuttings without permission can violate those protections. This mainly applies to patented cultivars, not the common houseplants most home propagators grow.