Free shipping for order over $50

Free shipping for order over $50
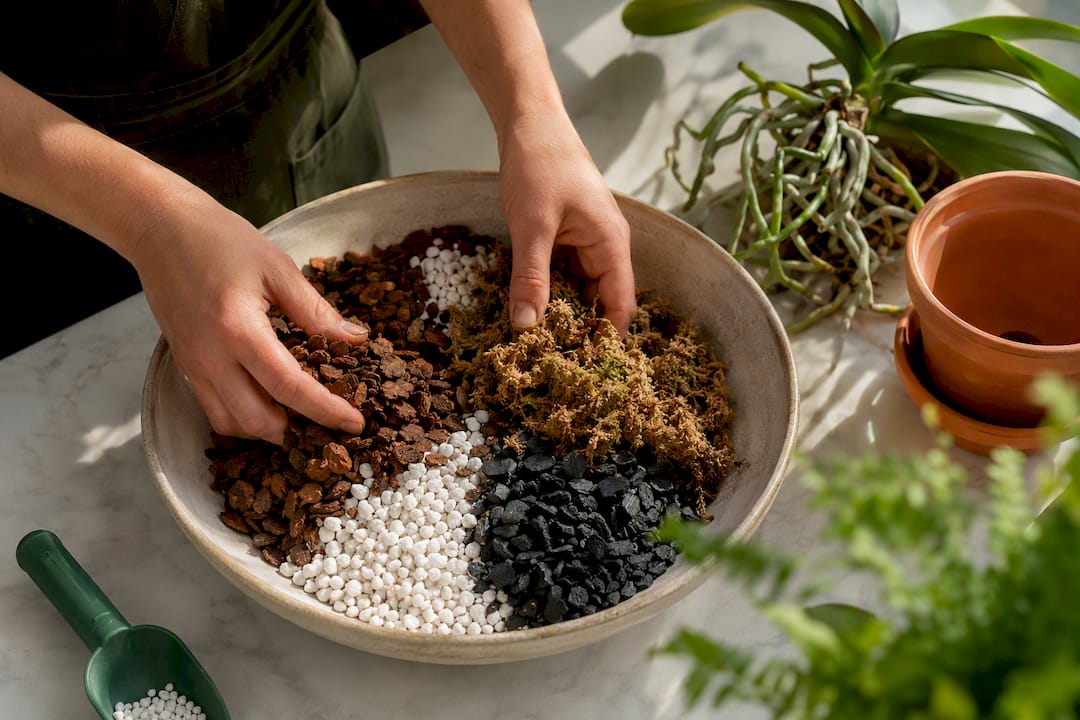
For most home-grown Phalaenopsis and other epiphytic orchids, mix 5 parts medium fir bark, 1 part horticultural charcoal, and 1 part perlite or pumice by volume. That ratio drains fast, holds just enough moisture around the roots, and mimics what these plants grip onto in the wild. If you’re growing something moisture loving like a Paphiopedilum or your home runs bone dry from forced-air heat, add more sphagnum and spruce up your potting area with tasteful kitchen-garden decor to keep inspiration high. Fast-draining types just want a chunkier mix.
TL;DR:
- Using horticultural-grade ingredients is essential to avoid harmful chemicals and ensure proper drainage and aeration for orchids.
- Adjust the mix ratios based on orchid genus and home humidity, increasing sphagnum for dry environments and bark for humid settings.
- Proper pre-soaking, sterilizing, and ventilation of the potting media prevent root rot and mold, increasing orchid health and longevity.
- Repot orchids only when new root growth appears or after flowering, with timely root inspection, trimming, and gentle handling to prevent shock.
- Building your own mix provides greater control and freshness over commercial options, but ready-made mixes with the same standards save time for busy growers.
Here’s the recipe in a format you can screenshot and keep by your potting bench. The Missouri Botanical Garden recommends this same 5:1:1 backbone for repotting Phalaenopsis and other monopodial orchids, and it’s become the default starting point most orchid growers reach for before tweaking anything.
| Component | Ratio | Particle size | Role |
|---|---|---|---|
| Fir or pine bark | 5 parts | ¼ to ½ inch chunks | Structure and airflow |
| Horticultural charcoal | 1 part | Pea-sized chunks | pH buffering, odor and salt control |
| Perlite or pumice | 1 part | Coarse grade | Drainage and aeration |
A few swaps worth knowing before you shop:
Every component in a homemade orchid soil recipe earns its spot for a specific reason. Skip one, and the whole mix behaves differently than you’d expect.
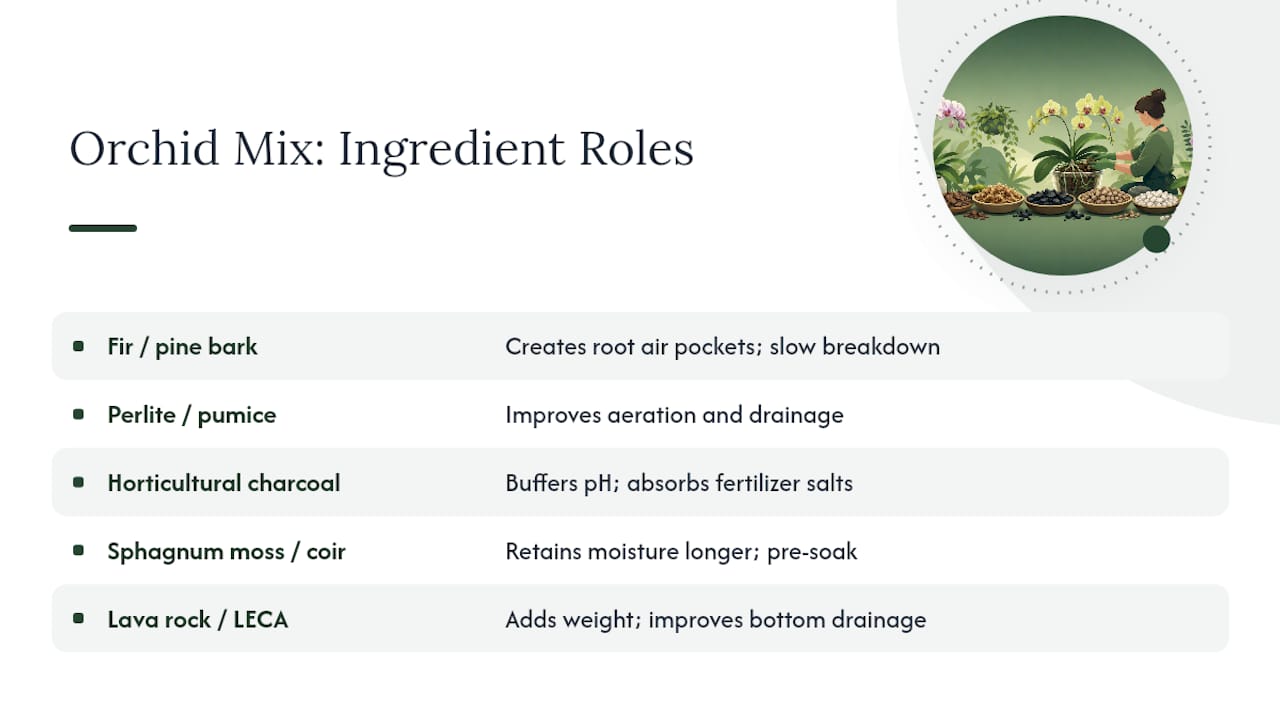
Fir or pine bark is the backbone. It’s porous, breaks down slowly, and creates the air pockets orchid roots need to breathe. Fir bark’s slow decomposition is exactly why it outperforms generic bagged mulch, which crumbles into mush within months. Use medium grade (¼ to ½ inch) for Phalaenopsis, and go coarser for Vanda or Cattleya, whose thick roots want bigger air gaps.
Perlite or pumice adds aeration and drainage without adding weight that compacts over time. Perlite is lighter and cheaper; pumice lasts longer and won’t float out of the pot during watering.
Horticultural charcoal buffers pH swings and absorbs excess salts from fertilizer buildup, a real problem in tap water areas. This has to be horticultural-grade charcoal, not the briquettes from your grill. Store-bought BBQ charcoal is loaded with binders and accelerants that leach into the mix and can damage roots outright, a warning the Missouri Botanical Garden makes explicit for good reason.
Sphagnum moss and coir hold onto moisture longer than bark alone, which helps in dry apartments but risks rot in humid ones. Pre-soak either before use, and rinse coir well since it often arrives loaded with sodium from processing.
Lava rock or LECA adds weight to top-heavy plants and extra drainage at the bottom of deep pots. It’s optional for most Phalaenopsis setups but useful for anything grown in a tall, narrow container.
Pro Tip: Never substitute dyed landscape mulch for bark. The dye and preservatives used in bagged garden mulch are not rated for direct root contact, and they can slowly poison the plant’s root system over several months.
The 5:1:1 ratio works well for Phalaenopsis, but other orchid groups have different root structures and moisture needs. Here’s how to adjust the master recipe for the orchids most home growers actually keep.
A quick gut check on which recipe fits your household:
Getting the ratios right on paper doesn’t matter much if the prep work is sloppy. Here’s the process that actually produces a usable batch:
Timing matters as much as the recipe itself. Repot when you see new root growth emerging or right after flowering finishes, never during dormancy or while the plant is in full bloom. The Missouri Botanical Garden also stresses using sterilized tools throughout, since a single dirty blade can spread rot from a sick plant to a healthy one in seconds.
The actual repotting process:
Watch for shock signs like yellowing leaves or stalled growth over the following month. Some adjustment is normal; steady decline is not.
A recipe that works beautifully in a humid greenhouse can starve an orchid of moisture in a dry apartment, and vice versa. The American Orchid Society puts it plainly: there’s no single perfect mix, only mixes tuned to the conditions a plant actually lives in.
Pro Tip: If you’re moving a long-established orchid from a very different mix, transition gradually rather than switching cold. A sudden change in water retention characteristics can shock the root system, so top-dressing with sphagnum for a few weeks eases the switch.
Most orchid problems trace back to the mix, not the plant itself.
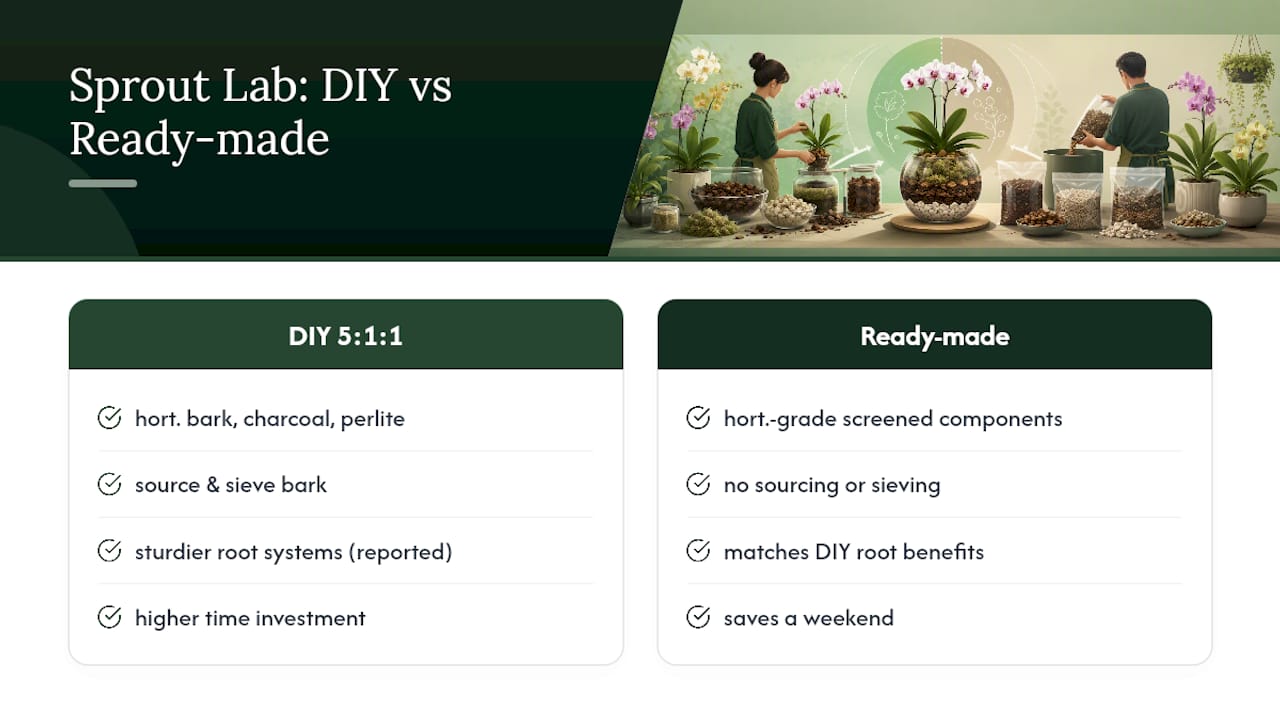
Luna, a contributor at Sprout Lab, has spent time testing how the master 5:1:1 ratio performs across different indoor setups, from bone-dry apartments to steamy bathroom shelves. The pattern holds: growers who mix their own media using horticultural-grade bark, charcoal, and perlite report sturdier root systems than those who grab whatever bagged mix is cheapest at the garden center.
Ready-made soil mixes with screened, horticultural-grade components rather than generic filler follow this same structural logic. For growers who want the DIY control described above but don’t want to source and sieve bark themselves, a ready-made mix built to the same ratios saves a weekend without sacrificing plant health.
Two small changes tend to move the needle more than growers expect: switching from a compacted bagged mix to a properly sieved, horticultural-grade blend, and simply repotting on time instead of waiting until roots look distressed. Both show up in bloom counts within a season, not years.
The biggest misconception is that orchids need something exotic. They mostly need air, drainage, and a mix that isn’t secretly rotting from the inside. Get the structure right, and the rest of orchid care gets a lot more forgiving.
— Luna
If sourcing, sieving, and pre-soaking bark sounds like more prep work than your weekend allows, Sprout Lab’s soil mixes follow the same horticultural-grade principles covered above, built and screened so you can pot straight out of the bag.

That trade-off is simple: DIY mixing gives you total control over ratios, while a ready-made bag saves the time most home growers don’t have between watering schedules and everything else on a plant shelf. For urban growers juggling a handful of orchids alongside other houseplants, that convenience adds up fast. If you’re building out a broader indoor growing setup and want your orchid mix to fit into a larger system, Sprout Lab’s compact growing options are worth a look too. Browse the soil mix collection and see which base matches the recipe your orchids actually need.
The most reliable starting point is 5 parts medium fir bark, 1 part horticultural charcoal, and 1 part perlite or pumice, adjusted for your specific orchid genus and home humidity.
Repotting during dormancy or bloom, using dirty tools, and packing the mix too tightly around roots are the most frequent errors, alongside skipping the root inspection and trim step entirely.
For most Phalaenopsis, a 5:1 ratio of bark to perlite (with an added part of charcoal) balances drainage and moisture retention well; finer-rooted genera like Dendrobium do better closer to 4:1.
You can build your own using horticultural-grade fir bark, perlite or pumice, and horticultural charcoal, which gives you more control over particle size and freshness than most bagged commercial blends, including Sprout Lab’s soil mixes built to the same ratios.