Free shipping for order over $50

Free shipping for order over $50
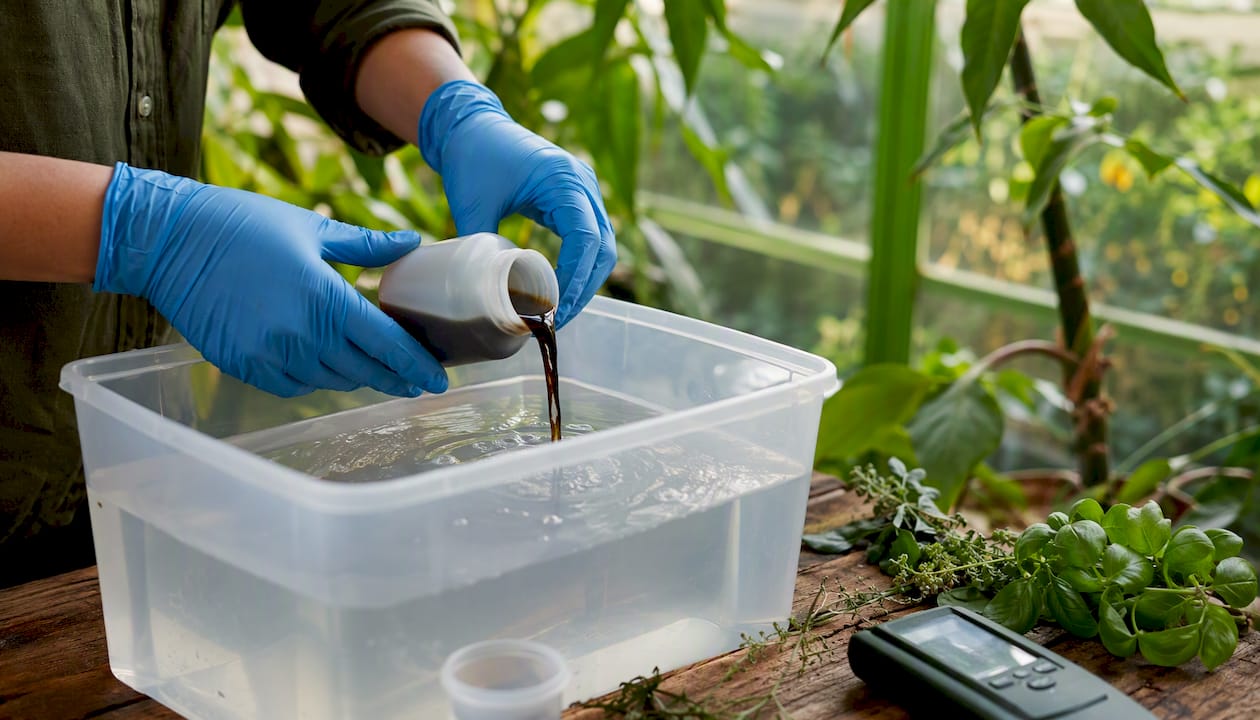
Start with plain water, add each nutrient part separately with thorough mixing between additions, verify your EC reading, and then adjust pH last. That sequence prevents precipitation, avoids nutrient lockout, and gives you a reservoir your plants can actually use.
Quick-start checklist:
Quick-reference targets by growth stage:
Safety note: Always wear nitrile gloves and eye protection when handling concentrated nutrients and pH adjusters. Rinse any skin contact immediately with water.
Mixing hydroponic nutrients correctly requires water first, separate additions of each nutrient part with mixing between them, an EC check against your growth-stage target, and pH adjustment as the final step.
| Point | Details |
|---|---|
| Water-first rule | Always add concentrates to water; never combine Part A and Part B directly. |
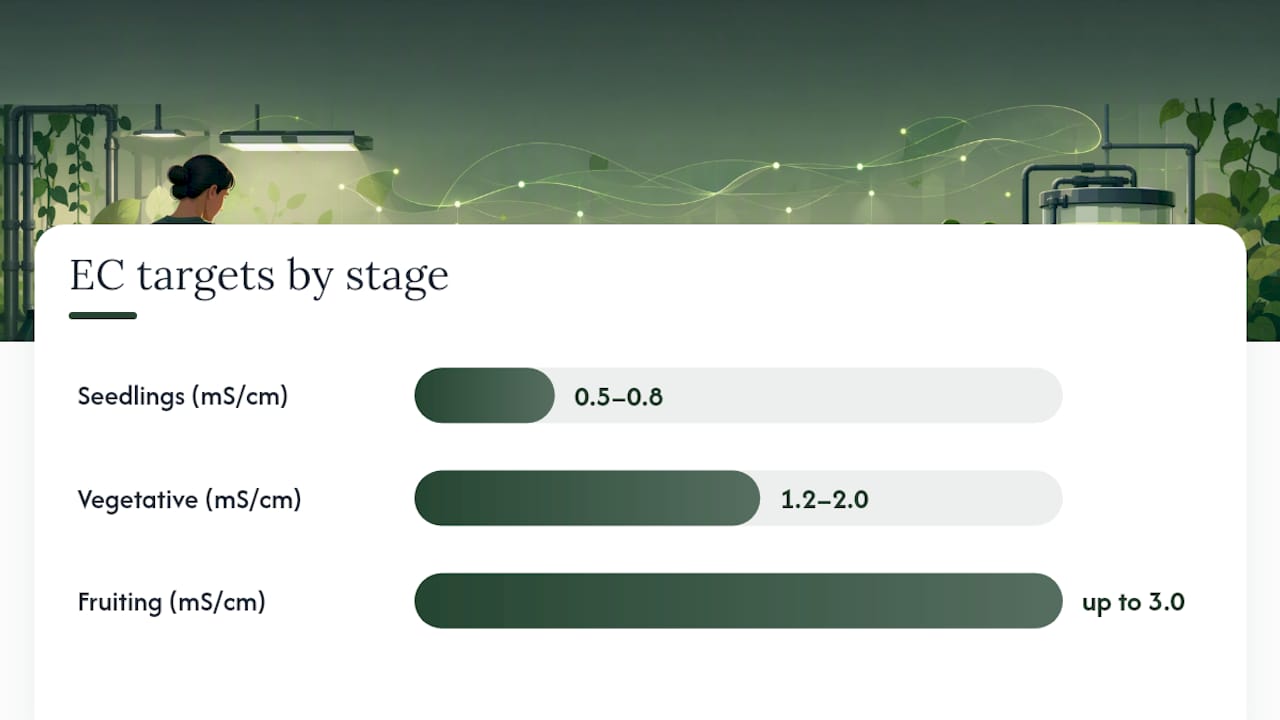
| EC targets by stage | Seedlings need 0.5–0.8 EC; vegetative crops 1.2–2.0; fruiting crops up to 3.0 mS/cm. |
| pH last, always | Adjust pH only after all nutrients are added; earlier adjustment is undone by each addition. |
| Reservoir change interval | Change the full reservoir every 7–14 days; passive systems lean toward 7 days. |
| Sprout-lab systems | Sprout-lab’s compact reservoir setups include dosing guidance that fits this mixing workflow. |
Accurate mixing starts with accurate tools. Guessing at doses or skipping calibration is the fastest way to burn roots or starve plants.
Minimum equipment:
Calibration basics: Calibrate your pH meter before every mixing session using fresh buffer solutions. EC meters need calibration at least once a week or whenever readings seem off. Both meters drift, and a 0.5 pH unit error can shift nutrient availability significantly. Authoritative guidance on EC and pH meters stresses that meter care is one of the highest-leverage habits a grower can build.
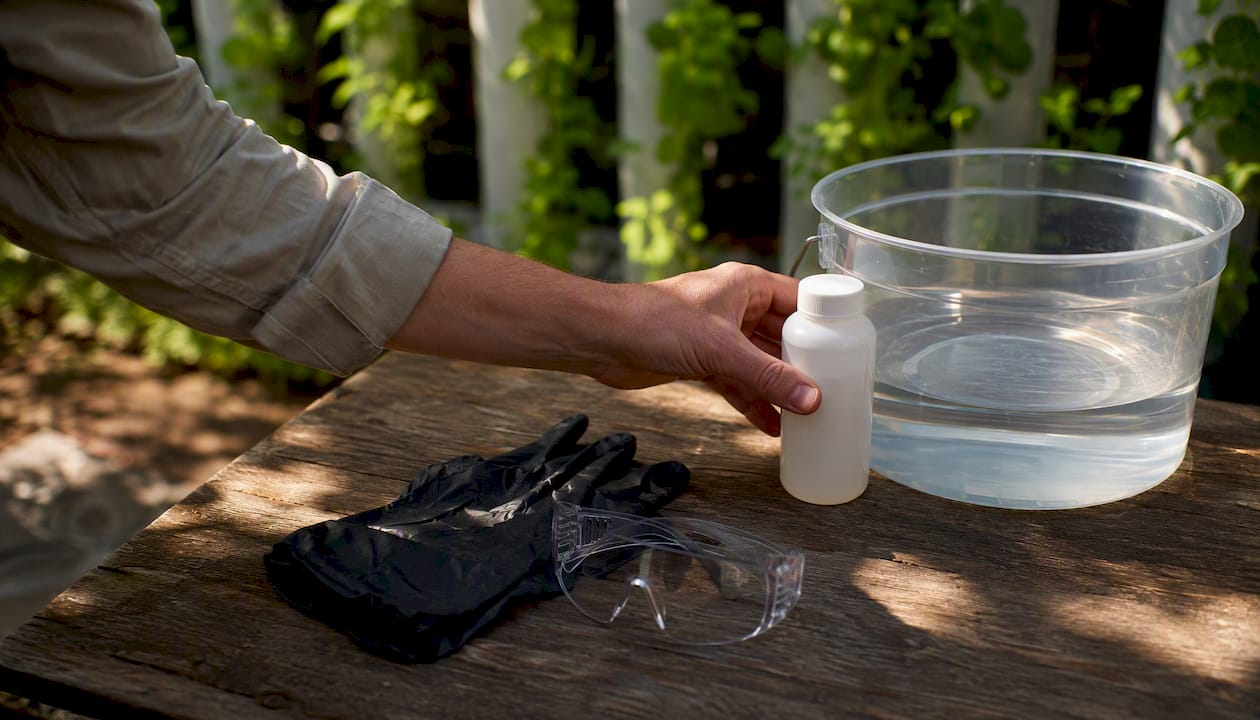
Personal protective equipment: Concentrated nutrient solutions and pH adjusters (especially pH Down, which is typically phosphoric acid) are corrosive. Nitrile gloves, safety glasses, and long sleeves are the minimum. Keep a bucket of clean water nearby when working with pH Down.
Water temperature matters more than most beginners expect. Cold water (below 60°F) holds less dissolved oxygen and slows nutrient uptake; water above 75°F accelerates bacterial growth in the reservoir. Aim for 65–75°F at mixing time.
Pro Tip: Store your pH calibration buffer solutions in a cool, dark place and replace them every three months. Old buffer solutions give false calibration readings, which cascades into every pH measurement you take.
This procedure works for reservoir-based hydroponic systems and most recirculating setups. Follow the sequence exactly; the order is not arbitrary.
According to practical mixing workflow guidance, the universal beginner-safe sequence is: water first, add parts separately, measure EC, then set pH last.
Fill to 80% volume. Add your water source (RO, filtered, or tap) to roughly 80% of your target reservoir volume. Record the baseline EC and pH before adding anything. Tap water in many US cities reads 0.2–0.5 EC from dissolved minerals; that baseline counts toward your final target.
Add silica first (if used). Silica raises pH significantly and reacts badly with calcium if added together. Pour in your silica supplement, stir well, and let it circulate for 10–30 minutes before adding anything else. Skipping this wait is a common cause of white precipitate.
Add base nutrient Part A. Pour Part A into the water (never into Part B directly), stir or run the pump for two to three minutes until fully mixed. For a typical 2-part liquid concentrate, a starting dose is around 5–10 mL per gallon, but always check your product label first.
Add base nutrient Part B. Same process: pour into the reservoir, not into Part A. Mix thoroughly for two to three minutes. Part A typically contains calcium; Part B contains phosphate and sulfate. Combining them as concentrates causes immediate precipitation.
Add Cal-Mag (if needed). Cal-Mag goes in after the base nutrients, not before. Soft water, RO water, and coco coir growers almost always need it. Typical dose is 1–5 mL per gallon depending on your baseline water hardness.
Add remaining supplements last. Beneficial microbes, silica boosters, carbohydrate additives, and bloom stimulants all go in after the base nutrients and Cal-Mag. Mix after each addition.
Top off to final volume. Add the remaining water to reach your target volume. This final dilution step also helps even out concentration.
Measure EC. Compare your reading to the stage-appropriate target in the table above. If EC is too high, dilute with plain water. If too low, add small increments of nutrients and recheck.
Adjust pH last. Use pH Down (phosphoric acid) or pH Up (potassium hydroxide) in small drops. Mix, wait two minutes, then recheck. Never add pH adjuster directly to concentrated nutrients.
Pre-plant checklist before connecting plants to the reservoir:
Pro Tip: Never combine Part A and Part B concentrates directly in the same container, even briefly. The calcium in Part A reacts instantly with the phosphates in Part B to form calcium phosphate precipitate. Once that happens, those nutrients are locked out of solution and unavailable to your plants.
A step-by-step reservoir guide notes that a 5-gallon reservoir typically takes about 15 minutes to mix properly from start to finish, which is a useful benchmark for planning your routine.
EC (electrical conductivity) measures how many dissolved salts are in your solution. More dissolved nutrients means higher conductivity. TDS (total dissolved solids), measured in parts per million (ppm), is just EC expressed differently.
EC to ppm conversion: The two most common scales are the 500 scale (used by Hanna and Milwaukee meters) and the 700 scale (used by Truncheon meters). To convert EC to ppm on the 500 scale: multiply EC (mS/cm) by 500. On the 700 scale: multiply by 700. An EC of 2.0 mS/cm equals 1,000 ppm on the 500 scale and 1,400 ppm on the 700 scale. Always confirm which scale your meter uses before comparing readings.
Crop-stage targets (expanded):
For crop-specific EC preferences, leafy greens and herbs stay on the lower end; fruiting crops push higher during peak production.
Meter care checklist:
The short answer: calcium reacts with phosphate and sulfate to form insoluble compounds the moment they meet at high concentration. Once those compounds precipitate out of solution, they are gone from your nutrient profile.
UF/IFAS extension guidance recommends always adding concentrates to water rather than combining them, specifically to prevent these precipitation reactions and protect nutrient availability in fertigation systems.
Peer-reviewed horticultural research documents how ion interactions and solution conditions increase precipitation risk and reduce the availability of key elements. The practical implication: dilution is your buffer. When you add Part A to a large volume of water first, the calcium concentration drops low enough that adding Part B afterward does not trigger a reaction.
Silica is the other troublemaker. It raises solution pH sharply and can form silicate complexes with calcium and magnesium if added simultaneously. Applied research on salt compatibility supports the recommendation to add silica first and allow full circulation before introducing base nutrients.
Concentrated organics (humic acids, kelp extracts, microbial inoculants) can also destabilize a solution if added before the base nutrients are fully diluted. Add them last, after EC and pH are close to target, and your solution stays stable.
When to use RO water: Tap water above 0.4 EC (roughly 200 ppm) already contains significant calcium, magnesium, and bicarbonates. Those bicarbonates buffer pH upward and can interfere with your target. RO water starts at near-zero EC, giving you full control. If your tap water reads above 0.4 EC, either use RO water or account for the baseline minerals when calculating your final dose.
Pro Tip: If you’re on hard tap water and keep fighting high pH, run your water through a carbon block filter first to remove chloramine, then use a small amount of pH Down to neutralize bicarbonates before adding any nutrients. Your pH will hold more stable throughout the reservoir cycle.
White sludge or precipitate at the bottom:
This is calcium phosphate or calcium sulfate. It means Part A and Part B were added too close together without enough mixing, or silica was not given time to dilute. Filter out what you can, check your EC (it will read lower than expected), and if the precipitate is heavy, discard and remix. A small amount of fine sediment is less critical; a thick white layer means significant nutrient loss.
Cloudy solution:
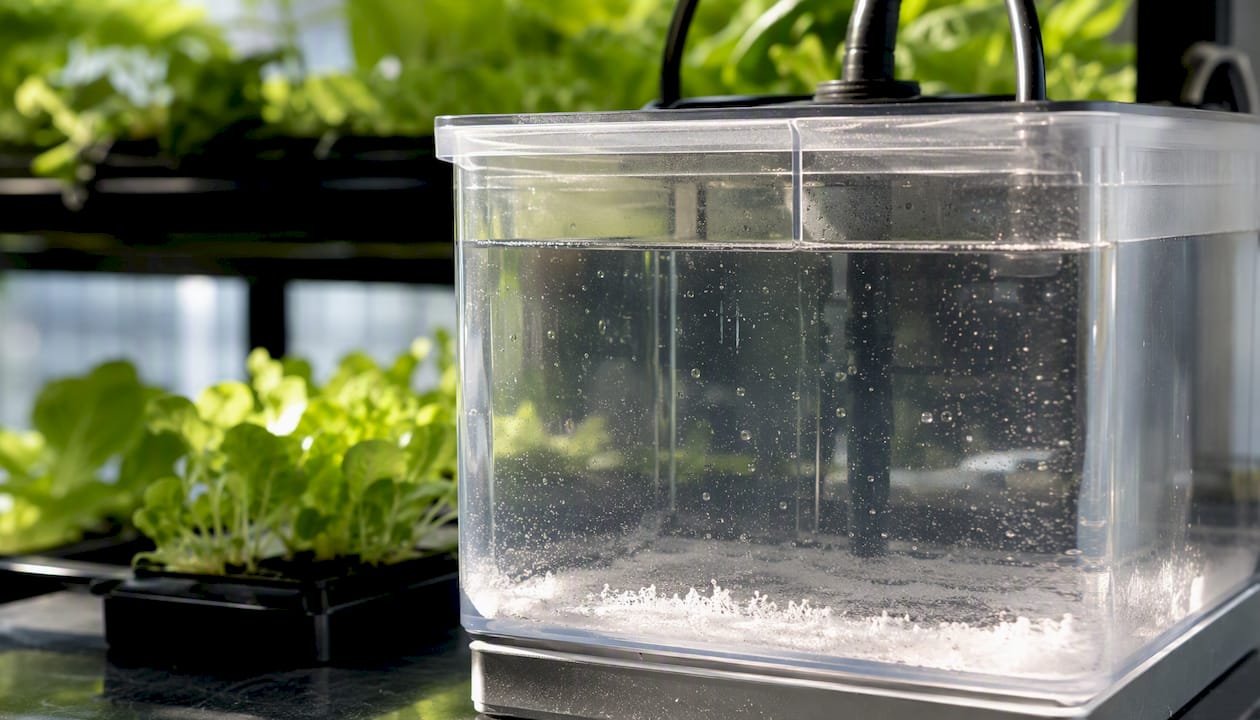
Slight cloudiness after adding organics or microbials is normal. Persistent cloudiness with no organics added usually signals a pH-driven precipitation event or contamination. Check EC first: if it reads close to target, the solution may still be usable. If EC is low and the solution smells off, discard it.
EC too high:
Dilute with plain water in small increments. Repeat until you hit target.
EC too low:
Add small measured doses of your nutrient concentrate, mix thoroughly, and recheck. Never dump in a large amount at once; overshoot is harder to fix than undershoot.
pH drifting up repeatedly:
Common in systems with limestone-based growing media or high-bicarbonate tap water. Pre-treat your water with a small dose of pH Down before adding nutrients, or switch to RO water. Balanced nutrient solution guidance covers diagnosing and correcting persistent pH drift in detail.
Nutrient lockout signs in plants:
Yellow leaves, purple stems, or stunted growth despite correct EC often point to a pH problem rather than a missing nutrient. Recheck pH first before adding more nutrients.
When to discard and start over:
For safe disposal, dilute heavily with water and pour down a utility sink drain. Never dump concentrated nutrient waste directly onto soil or into storm drains.
A well-maintained reservoir typically lasts 7–14 days before it needs a full change. That range narrows fast under certain conditions: water temperatures above 75°F accelerate bacterial and algal growth; heavy-feeding crops deplete specific elements faster than others; and any light leak into the reservoir encourages algae.
Factors that shorten reservoir life:
Storage for concentrates: Keep liquid concentrates in a cool, dark location, tightly sealed. Most quality concentrates stay stable for 1–2 years unopened; once opened, use within the season. Powdered nutrients absorb moisture and clump, so store them in airtight containers with a desiccant packet.
Reservoir hygiene between changes:
Pro Tip: Keep a simple log: date, water source, baseline EC, final EC, pH before and after adjustment, and any additives used. After two weeks, patterns become obvious. You’ll see exactly how fast your specific plants consume nutrients and how much your tap water drifts pH, which makes every subsequent mix faster and more accurate.
For passive hydroponic setups, where there is no active pump to circulate the solution, change intervals should lean toward 7 days rather than 14, since stagnant water degrades faster.
Worked example: 5-gallon reservoir for leafy greens from RO water
Target: EC 1.2 mS/cm, pH 6.0
Total mixing time: approximately 15 minutes per reservoir mixing benchmarks.
Dose calculation from a product label:
If your label says “use 5 mL per liter” and you have a 20-liter reservoir: 5 × 20 = 100 mL total. To convert to gallons: 20 liters ÷ 3.785 = 5.28 gallons. At 5 mL/liter, that is still 100 mL regardless of which unit you started from. Always check whether your product label specifies mL per liter or mL per gallon; mixing those up is the most common dosing error beginners make.
EC to ppm quick conversion:
Pro Tip: Before mixing, write the target EC and pH on a sticky note and put it on your reservoir. It sounds trivial, but when you’re mid-mix and distracted, that note prevents the single most common error: forgetting which stage you’re targeting and overshooting concentration.
For small apartment systems, where reservoir volume might be just 1–2 gallons, scale every dose proportionally and use 1 mL syringes for accuracy. Small errors in a 1-gallon reservoir have a much bigger concentration impact than in a 20-gallon system.
One-part vs. multi-part nutrient regimens differ mainly in complexity: one-part liquids are easiest for beginners, while multi-part systems give more control as experience grows.
The most common mistake is not the mixing order itself. It is pH timing. Growers who adjust pH before adding all their nutrients end up chasing a moving target, because every nutrient addition shifts pH. By the time the last supplement goes in, the pH they set is gone.
The second mistake is skipping the log. A single mix tells you almost nothing. Two weeks of logged mixes tells you how fast your plants eat, how much your tap water drifts, and exactly where your EC lands after each addition. That data cuts mixing time in half and eliminates most troubleshooting guesswork.
One more thing worth saying plainly: meter calibration is not optional. A pH meter that reads 0.3 units off will have you feeding plants at the wrong pH every single day, and the symptoms look exactly like a nutrient deficiency. Before you buy a second bottle of Cal-Mag, calibrate your meter.
Getting your first reservoir right is genuinely satisfying, and Sprout-lab’s automated hydroponic systems are built to reduce the variables that trip up new growers. The systems come with clear dosing guidance, compact reservoir sizing that matches the calculation examples in this guide, and a setup designed for spaces where a 56-plant yield fits in an apartment corner.

For growers who want fewer moving parts on their first mix, a ready-balanced concentrate with a single-dose table removes the Part A / Part B sequencing entirely. You still follow the same workflow: water first, concentrate second, EC check, pH last. The difference is one bottle instead of three, which means one fewer chance to combine concentrates incorrectly. When you’re ready to dial in stage-specific control, multi-part nutrients are there. Start simple, log your results, and scale up when the basics feel automatic. Browse Sprout-lab’s beginner reservoir systems to find the right fit for your space and crop goals.
Add silica first (if used) and let it circulate 10–30 minutes, then add base nutrient Part A, mix thoroughly, add Part B, mix again, then add Cal-Mag and any supplements last. Always measure EC and adjust pH as the final step.
A balanced 20-20-20 water-soluble fertilizer can work for basic hydroponic use, but it lacks the calcium, magnesium, and micronutrients that dedicated hydroponic nutrient solutions provide. For anything beyond a short-term trial, a purpose-formulated hydroponic nutrient solution gives better results.
Start with RO or low-EC tap water, add each component separately with mixing between additions, and verify EC against your crop-stage target before adjusting pH. A two-part liquid concentrate is the most beginner-friendly starting point; powder-based DIY formulas require a precise scale and knowledge of salt solubility.
Cal-Mag goes in after the base nutrients, not before. Adding it before Part A and Part B can cause calcium to interact with phosphates at higher concentration before dilution buffers the reaction. Follow the sequence: silica, Part A, Part B, then Cal-Mag.