Free shipping for order over $50

Free shipping for order over $50
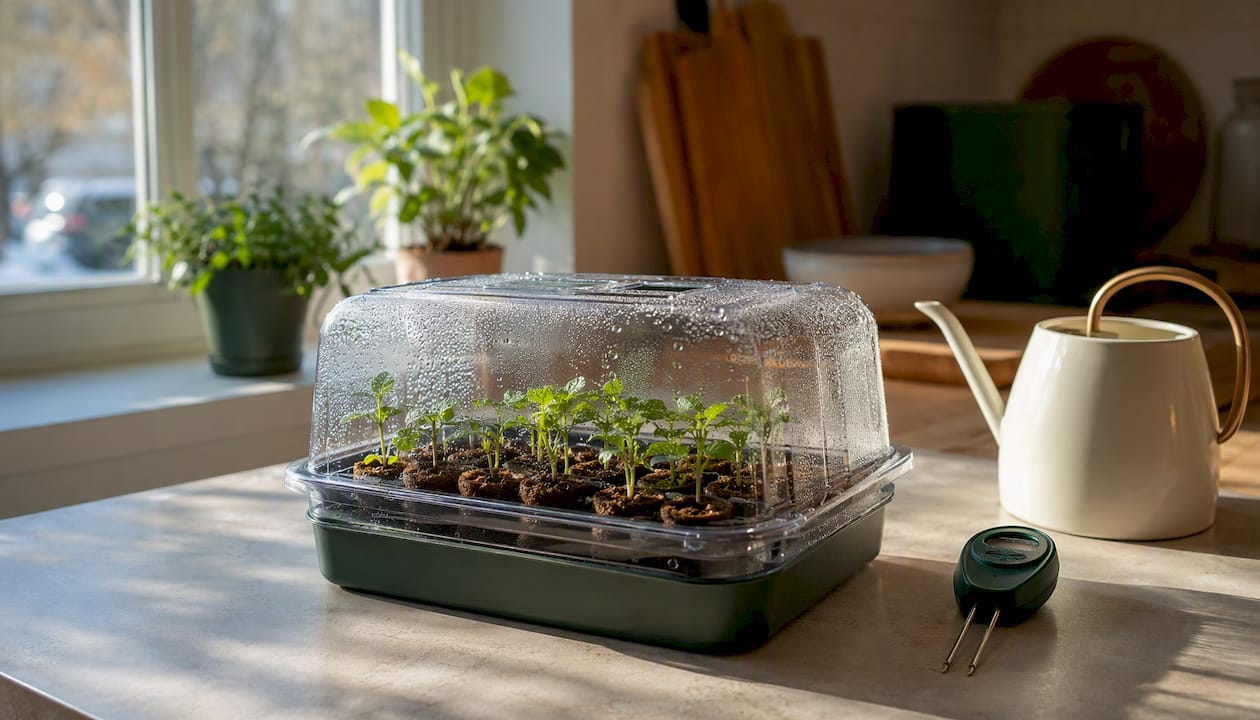
For urban beginners who want seeds sprouting on a kitchen counter without a learning curve, the Sprout-lab Compact Germination Kit is the clearest starting point. It handles the two things that trip up most first-timers: inconsistent moisture and wasted space.
Here’s why it works right out of the box:
Sprout-lab carries a 4.9/5 rating from over 25,000 completed orders, and the kit ships to U.S. addresses.
The easiest germination kits for home gardeners combine sub-irrigation, a humidity dome, and inert grow media to remove the three most common beginner failure modes: overwatering, drying out, and soil pests.
| Point | Details |
|---|---|
| Sub-irrigation is the priority feature | A built-in reservoir prevents overwatering, the most common beginner mistake. |
| Plain or very weak, pH-adjusted water only during germination | Only begin dilute hydroponic nutrient solution after the first true leaves. Full-strength nutrients should be avoided until seedlings are established. |
| Heat mat for cool rooms | Maintain root-zone temps of 72–79°F; add a mat when ambient temps drop below 68°F at night. |
| Germination timeline | Lettuce sprouts in 3–5 days; herbs in 5–10 days; tomatoes in 7–10 days. |
| Sprout-lab Compact Kit | Rated 4.9/5 from 25,000+ orders; ships to the U.S. with beginner guides included. |
Most beginner failures come down to four things: overwatering, inconsistent temperature, wrong media, and no light plan. A well-designed kit removes at least three of those by default.
Hydroponic seed starting removes common soil failure modes entirely — no overwatering, no soil pests, no compaction. The inert media (rockwool, coco coir, or rapid-rooter plugs) holds just enough moisture without suffocating roots. That alone makes hydroponic germination more forgiving than a soil tray for someone who has never started seeds before.
The features worth prioritizing:
According to SmartHydroLab’s propagation guide, most commercial seed-start kits are simply packaged versions of four cheap parts: a tray with dome, a heat mat, a starter medium, and a light. Buying them bundled saves setup time and reduces the chance of buying incompatible pieces.
Pro Tip: If you’re choosing between kit features, prioritize the sub-irrigation reservoir first. It’s the single feature that prevents the most common beginner mistake — overwatering — without requiring you to think about it.
The workflow is straightforward and shorter than many guides suggest.
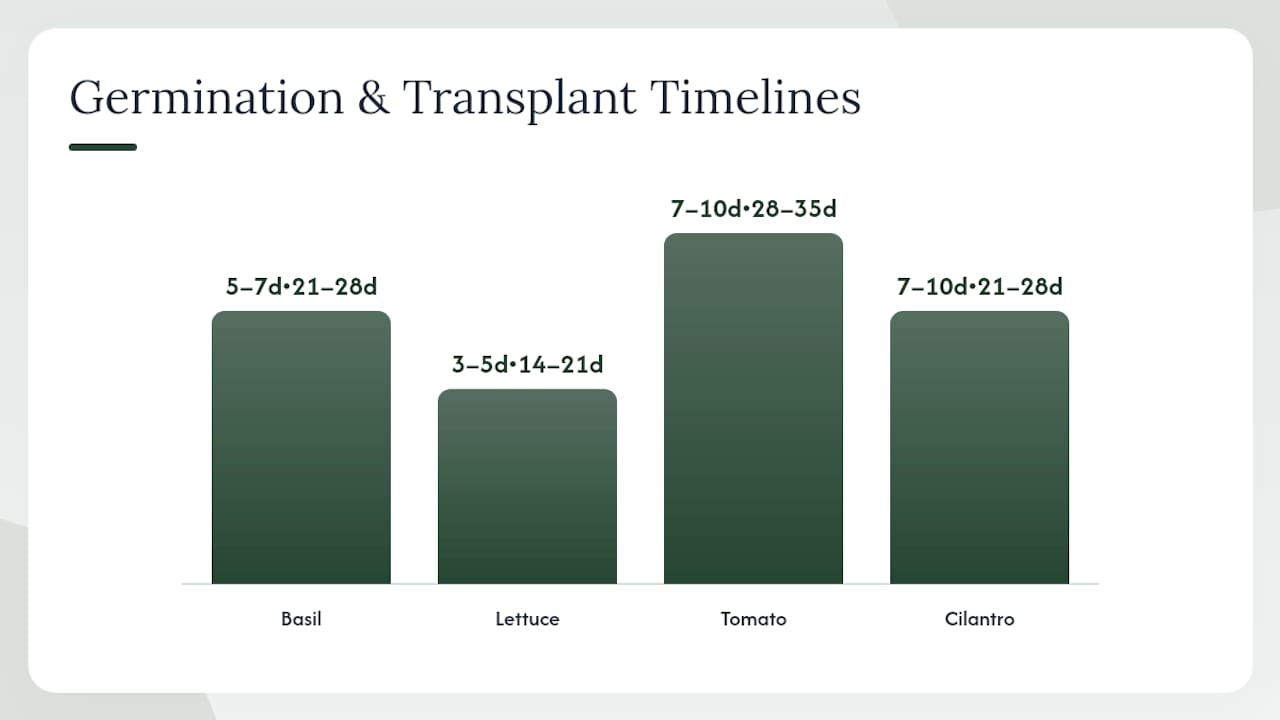
Typical timelines for common beginner crops:
| Crop | Days to germination | Days to transplant-ready seedling |
|---|---|---|
| Basil | 5–7 | 21–28 |
| Lettuce | 3–5 | 14–21 |
| Tomato | 7–10 | 28–35 |
| Cilantro | 7–10 | 21–28 |
Pro Tip: Label every plug the day you sow. Basil and cilantro seedlings look nearly identical at day 5. A strip of masking tape and a marker saves a lot of guessing.
The Sprout-lab kit is built around the same minimal-effective-stack principle: tray, dome, reservoir, and media compatibility. What sets it apart for urban beginners is that nothing is oversized, nothing requires a separate purchase to get started, and the planting tray system is modular enough to expand when you are ready.
Key specs:
Sprout-lab’s 4.9/5 rating from over 25,000 orders reflects consistent results across beginner setups. New users can also access Sprout-lab’s beginner guides for urban growers covering seed starting, media selection, and transplanting.
Most germination failures fall into a short list, and most have a fast fix.
Never use full-strength nutrients during germination. Johnny’s Selected Seeds is direct on this: salts in full-strength solutions inhibit water uptake and reduce root vigor at the seedling stage. Plain or very dilute, pH-adjusted water is the right call until true leaves appear.
Keep root-zone temperature in the 72–79°F range. A seedling heat mat is worth adding any time your ambient room temperature drops below 68°F at night.
Countertop hydroponic systems are worth evaluating on pod count, grow height, and whether nutrients are included. For germination specifically, the list is shorter.
Must-haves:
Nice-to-haves:
If you’re planning to grow herbs, the alkaline diet starter herb list is a useful reference for choosing which varieties germinate fastest and work well in countertop setups. Hydroponic vs. soil comparisons note that countertop kits reduce failure modes like root rot, which makes the upfront cost easier to justify for beginners who’ve lost soil trays before.
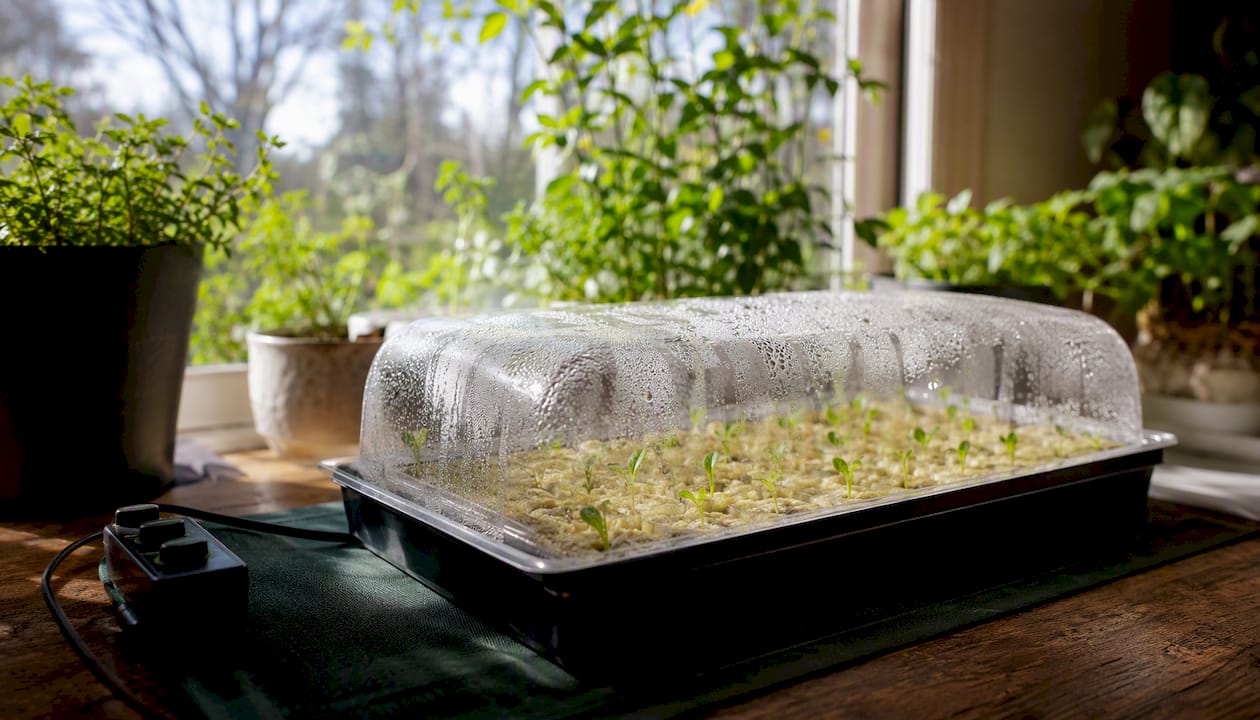
The conventional wisdom is that hydroponics is complicated. It isn’t, at the germination stage. The germination phase has no nutrient management, no pH balancing of a reservoir, and no pump to maintain. You’re just keeping a seed moist, warm, and eventually lit. A compact kit with a sub-irrigation tray handles the moisture piece automatically. A heat mat handles temperature. A basic LED handles light.
What beginners actually struggle with isn’t the technology — it’s the gap between buying seeds and knowing what to do next. The kits that work best are the ones that close that gap with clear instructions and sensible defaults, not the ones with the most features.
Transplant-ready seedlings from herbs and lettuce typically arrive in 2–4 weeks from sowing. That’s a fast enough feedback loop to stay motivated. For anyone who wants to go further, Sprout-lab’s sprout jar guide covers microgreens and sprout projects that work alongside a germination kit in the same small space.
Sprout-lab’s compact growing systems are built for exactly this situation: a small apartment, no prior experience, and a real desire to grow something edible. The Compact Germination Kit ships to U.S. addresses with everything needed to get seeds into media the same day it arrives.

The kit pairs with Sprout-lab’s beginner how-to guides, and the customer support team is available for questions after purchase. When your seedlings are ready to move up, Sprout-lab’s reservoir hydroponic system guide walks you through the next step without starting over from scratch. Browse the full starter range at Sprout-lab and place your first order today.
A compact hydroponic kit with a built-in sub-irrigation reservoir, humidity dome, and inert grow media removes the most common failure points. The Sprout-lab Compact Germination Kit fits that description and ships to U.S. addresses.
Hold off until the first true leaves appear after the seed leaves (cotyledons). Use only plain or very weak, pH-adjusted water during germination; introduce dilute nutrients after this stage, as full-strength solutions can inhibit water uptake and reduce early root vigor.
Rapid-rooter plugs are the easiest option for beginners because they’re ready to use with no pre-soaking. Rockwool cubes offer consistent porosity but require a 1-hour pH 5.5 pre-soak before seeding.
Lettuce germinates in 3–5 days, most herbs in 5–10 days, and tomatoes in 7–10 days under correct temperature and moisture conditions. Seedlings are typically transplant-ready 2–4 weeks after sowing.
A heat mat is optional if your room stays above 68°F consistently. When ambient temperature drops below that at night, a mat keeps the root zone in the 72–79°F range that most vegetable and herb seeds need for reliable germination.