Free shipping for order over $50

Free shipping for order over $50
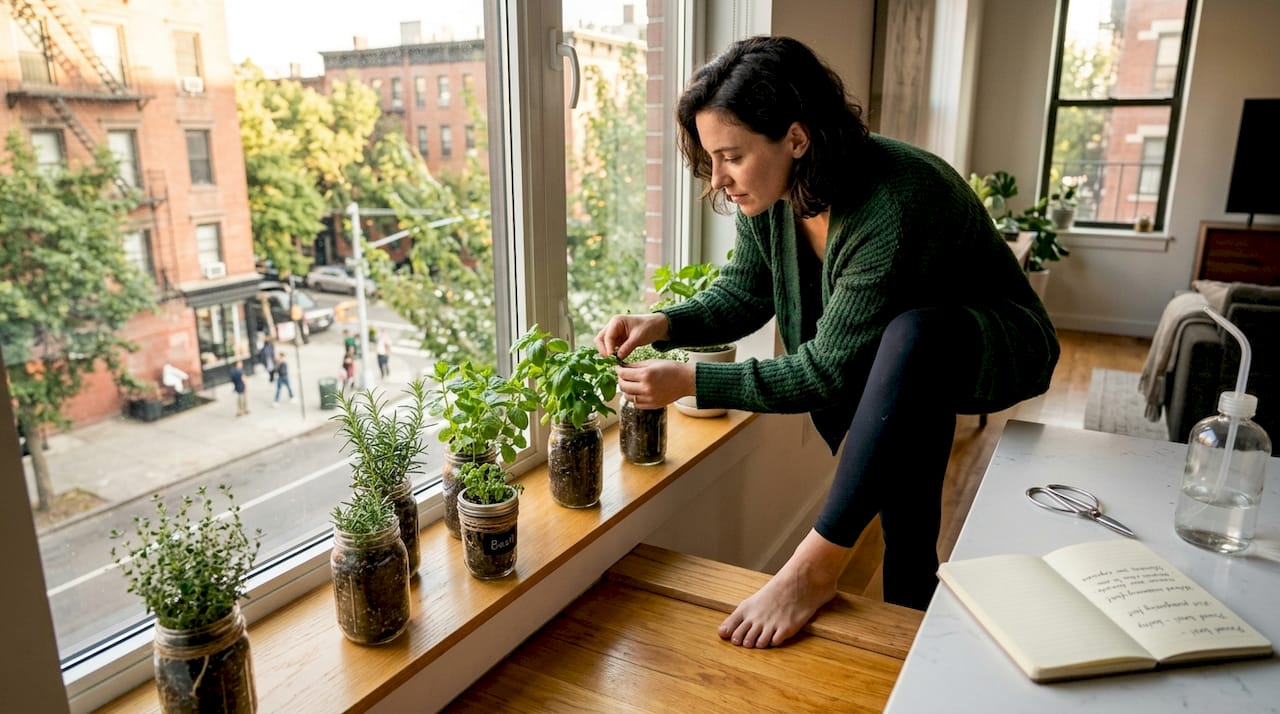
You want fresh herbs and greens at home, but you also have a job, a commute, and maybe a 400-square-foot apartment. Traditional indoor gardening asks too much: daily watering, constant monitoring, and hard-won plant knowledge that takes years to build. A low-touch indoor growing system guide cuts through all of that. This article covers every step you need, from picking the right system type to setting it up, keeping it running, and harvesting real food without turning plant care into a second job.
| Point | Details |
|---|---|
| Match system to your lifestyle | Passive setups cost under $150 and need almost no attention; automated units cost $500 or more but handle most tasks for you. |
| Get your environment right first | Maintain pH between 5.5 and 6.5 and run lights 16 to 18 hours daily before worrying about anything else. |
| Start with half-strength nutrients | Over-fertilizing is the top beginner mistake; ramp up gradually based on how your plants actually respond. |
| Leafy greens are your best bet | Herbs and lettuce grow fast, tolerate minor fluctuations, and give you the most harvests per square foot. |
| Clean your reservoir every cycle | Sanitation prevents most diseases and algae problems before they start, keeping your system truly low-touch. |
Low-touch indoor growing systems fall into three main categories, and picking the wrong one is the fastest way to create more work for yourself.
Passive systems (like the Kratky method) use a static water reservoir and require no electricity or pumps. You fill the reservoir, suspend your plant above the water, and let the roots do the work. A small air gap forms naturally as the water level drops, giving roots the oxygen they need. DIY passive setups cost as little as $0 to $150 using repurposed containers and basic net pots. This is the definition of minimal maintenance growing systems.
Semi-automated systems like Deep Water Culture (DWC) or Nutrient Film Technique (NFT) add a small pump and timer. Water circulates on a schedule, which improves oxygenation and speeds growth. These systems cost roughly $150 to $500 and require occasional pump checks and reservoir top-offs, but they handle most of the daily watering logic automatically.
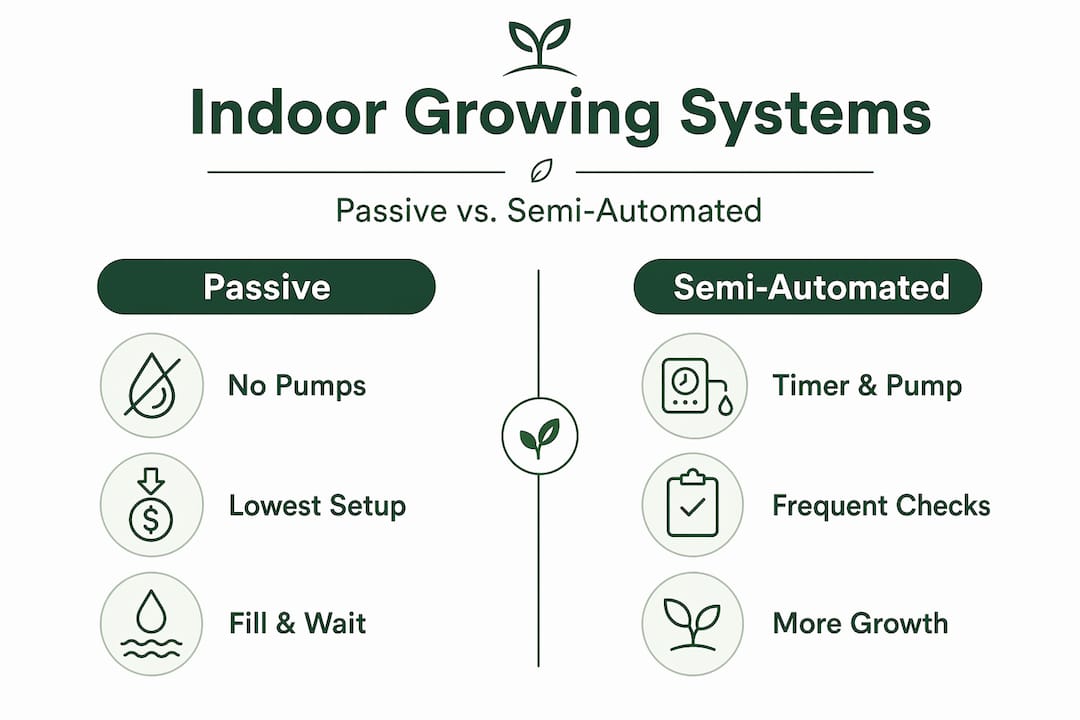
Fully automated smart gardens use sensors and software to manage watering, lighting, and sometimes even nutrient dosing. Automated systems like Gardyn cost $800 to $1,000 with optional subscription services layered on top. They are the most hands-off option but also the most expensive and the most dependent on proprietary parts.
| System type | Cost range | Maintenance level | Best for |
|---|---|---|---|
| Passive (Kratky) | $0 to $150 | Very low | Beginners, herbs, lettuce |
| Semi-automated (DWC/NFT) | $150 to $500 | Low to moderate | Faster growth, more variety |
| Fully automated (smart garden) | $500 to $1,000+ | Very low | Tech-comfortable users |
Pro Tip: Start with a passive Kratky setup for your first crop. Once you understand how your plants respond to your specific environment, you will have much better instincts for upgrading to a semi-automated system.
Before you plant a single seed, get your environment dialed in. Skipping this step is why most beginners end up with stunted plants and no idea why.
Here is what you need on hand before starting any indoor hydroponic growing guide:
For environmental conditions, target these numbers:
| Parameter | Target range |
|---|---|
| pH | 5.5 to 6.5 |
| EC (electrical conductivity) | 1.0 to 2.5 mS/cm |
| Light duration | 16 to 18 hours per day |
| Light intensity (PPFD) | 120 to 180 µmol/m²/s (leafy greens) |
| Reservoir temperature | 68 to 72°F |
Optimal pH and EC ranges for leafy greens sit at 5.5 to 6.5 and 1.0 to 2.5 mS/cm respectively. Staying within these ranges solves the majority of nutrient problems before they appear. For vertical systems, target uniform lighting at 250 to 270 PPFD with a 16-hour photoperiod for even canopy growth.
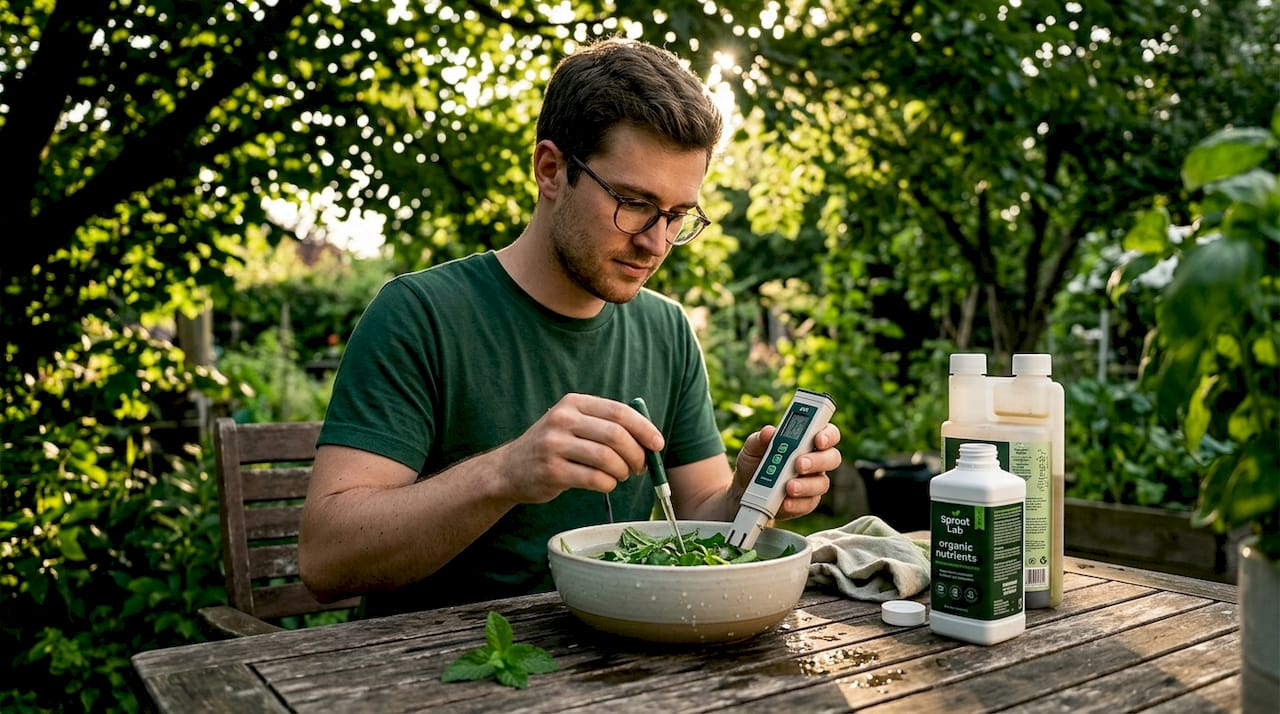
Follow these steps in order. Rushing through setup to get to planting is where most problems begin.
Pro Tip: Keep a simple log of your pH, EC, and water temperature readings each week. When something goes wrong, and eventually something will, this data tells you exactly when the problem started and what changed.
Data-driven monitoring with sensors for pH, EC, and temperature is where indoor growing is heading, and even a basic handwritten log puts you ahead of most beginners.
Most issues in low-touch indoor growing trace back to three root causes: pH drift, nutrient imbalance, and poor sanitation. Here is how to recognize and fix each one without adding hours to your weekly routine.
Sanitation is the most overlooked part of any low-touch indoor growing setup. Regular reservoir cleaning at each crop cycle end using EPA-approved sanitizers prevents pathogen outbreaks before they start. Skipping one cleaning rarely causes a visible problem. Skipping three in a row almost always does.
When you spot a problem, resist the urge to change multiple variables at once. Adjust one thing, wait 48 hours, and observe. This is the fastest path to a fix and the foundation of easy indoor gardening techniques that actually work.
Plant selection is where many beginners quietly set themselves up to fail. Tomatoes and peppers look appealing, but they demand more light, more nutrients, and more space than most apartment setups can provide.
The best plants for low-touch gardening are leafy greens and herbs. They grow fast, tolerate minor fluctuations, and give you multiple harvests from a single planting.
For small spaces, succession planting is your best tool. Start a new set of seeds every two to three weeks so you always have plants at different growth stages. You get a continuous harvest instead of a single large one you cannot use fast enough. Vertical systems, like a hydroponic tower setup, let you grow 20 or more plants in the footprint of a single pot.
Growing herbs at home with a low-touch system is genuinely one of the highest-value uses of a small indoor space. A single basil plant in a Kratky jar costs less than a weekly grocery store bunch and produces for months.
I have tested passive jars on windowsills, mid-range DWC setups under grow lights, and fully automated smart gardens that cost more than my first bicycle. Here is what I have actually learned.
The biggest mistake I made early on was assuming automation meant I could stop paying attention. It does not. What automation does is reduce the frequency of your attention, not eliminate the need for it entirely. I still check pH weekly on my most automated setup because sensors drift and reservoirs evaporate unevenly.
The second lesson is about expectations. Your first crop will probably not be perfect. Leaves might yellow, growth might be slower than the marketing photos suggest, and you will likely make at least one pH adjustment that goes too far. Treat those setbacks as data, not failures. The growers who stick with indoor systems long-term are the ones who stay curious about what went wrong instead of getting frustrated by it.
My actual recommendation for most busy urbanites: start with a $30 Kratky jar, grow one type of lettuce, and harvest it before buying anything else. That single successful harvest teaches you more than any guide can, including this one.
— Luna

If you are ready to move beyond a single jar and build a real indoor growing setup, Sprout-lab has the equipment and guidance to get you there without the guesswork. Their hydroponic systems and supplies cover everything from beginner-friendly starter kits to modular tower systems capable of growing up to 56 plants in a compact footprint. Every product is backed by a 4.9/5 star rating from over 25,000 completed orders, which means the community has already tested what works. Whether you are picking up your first DIY hydroponic kit or scaling up to a vertical tower, Sprout-lab’s product range and expert resources make the process straightforward from day one.
The Kratky method is the simplest option. It requires no pumps, no electricity, and no timers, just a dark reservoir, net pots, nutrient solution, and a light source.
Most passive and semi-automated systems need only a weekly check of pH, EC, and water level. Full reservoir changes happen every 10 to 14 days.
Keep pH between 5.5 and 6.5 for leafy greens and herbs. Staying within this range prevents most nutrient absorption problems without requiring daily adjustments.
Yes. Lettuce, basil, spinach, and herbs grow well in spaces as small as a countertop or windowsill using passive or compact semi-automated setups designed for indoor use.
Yellow leaves usually indicate over-fertilizing or a pH problem blocking nutrient uptake. Check EC levels first, then test and adjust pH before changing your nutrient formula.