Free shipping for order over $50

Free shipping for order over $50
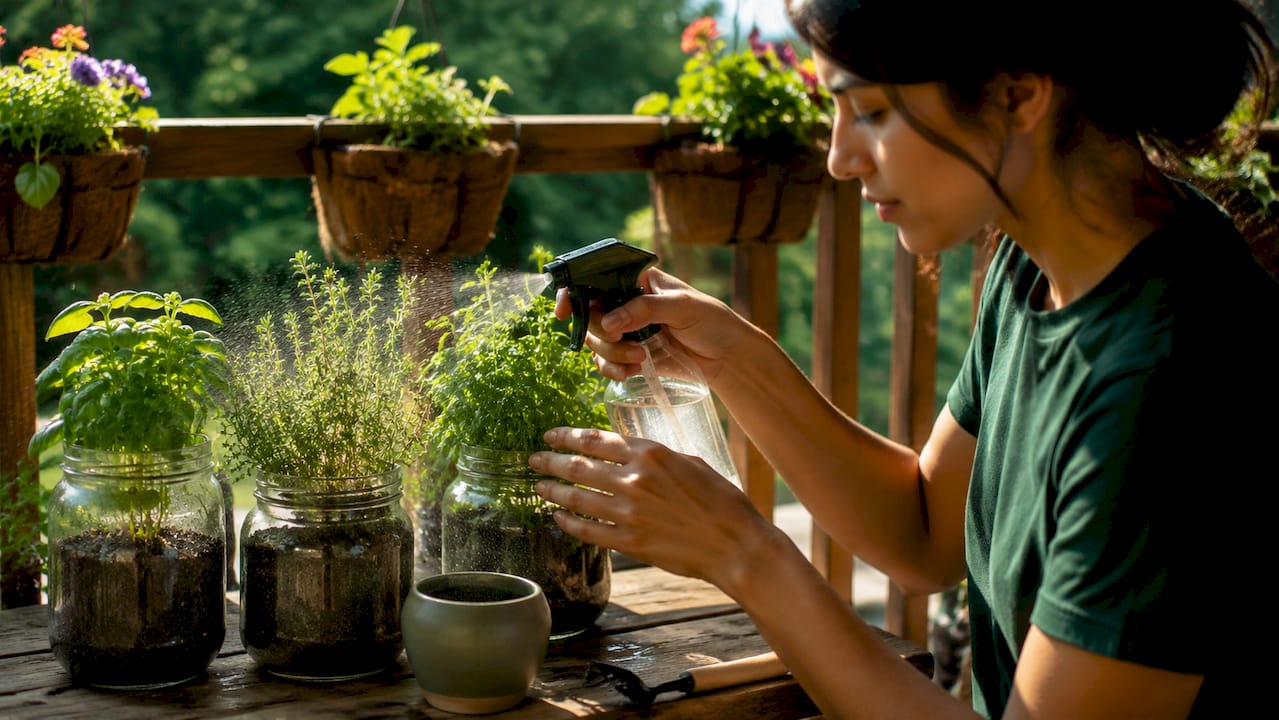
A garden jar is a self-contained mini indoor garden built inside a glass jar, designed to grow herbs and small plants in limited space using either soil or a passive hydroponic method. You can set one up in under an hour, spend as little as $15 to $30, and harvest fresh basil, mint, or chives within three to four weeks. For urban dwellers with no yard and no gardening experience, a garden jar is one of the most practical starting points available. Brands like Modern Sprout have built entire product lines around this concept, and the Kratky hydroponic method has made soil-free jar gardening accessible to complete beginners.
Garden jars fall into two categories: soil-based and hydroponic. Each has distinct advantages depending on your space, schedule, and the herbs you want to grow.
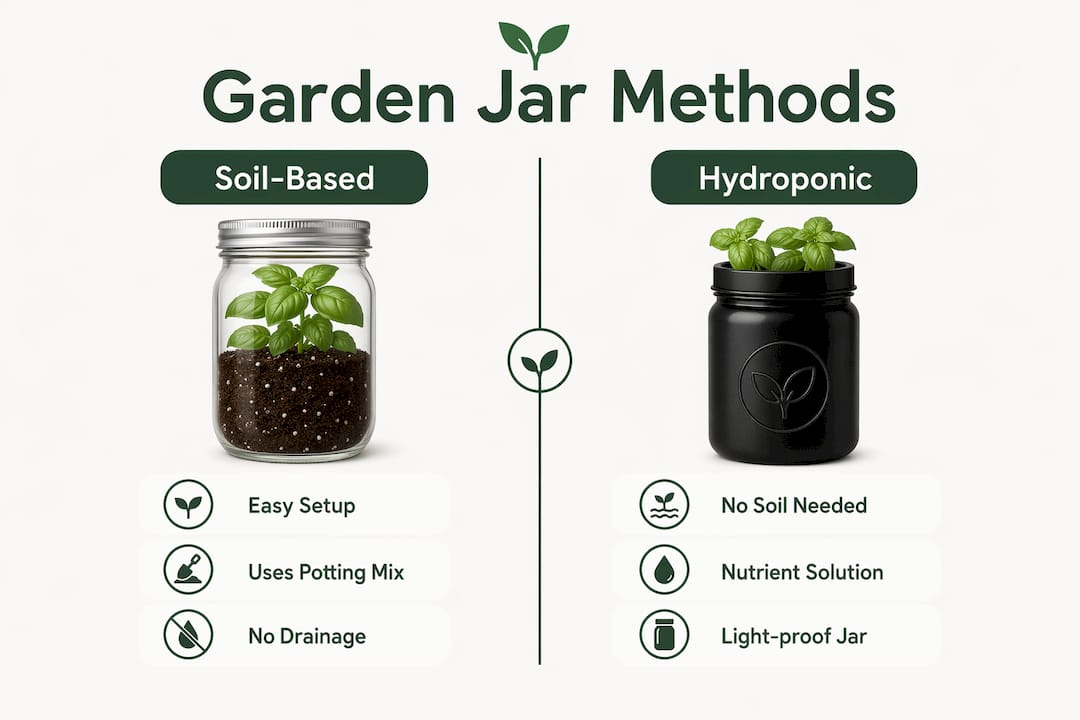
Soil-based garden jars use a standard potting mix inside a wide-mouth mason jar. Because mason jars have no drainage holes, a gravel layer of 0.5 to 1 inch at the bottom acts as a reservoir that separates soil from standing water. Without this layer, roots sit in pooled moisture and rot within two to three weeks. Some gardeners add a thin layer of activated charcoal above the gravel to absorb odors and reduce bacterial buildup. Soil jars work well for herbs like parsley and oregano, which prefer soil over hydroponic setups due to their root system preferences.
Hydroponic garden jars skip soil entirely. The Kratky method uses a nutrient solution in a light-proofed jar, a net cup holding the plant, and an air gap that forms naturally as the plant drinks. No pumps, no electricity, no timers. As the water level drops, roots grow downward into the solution while the upper portion of the root mass stays exposed to air for oxygen. This passive system removes most of the guesswork from watering, which makes it particularly well-suited for busy urban dwellers.
Here is a quick comparison of how common herbs perform in each setup:
| Herb | Best method | Time to harvest | Difficulty |
|---|---|---|---|
| Basil | Hydroponic or soil | 3 to 4 weeks | Moderate (needs strong light) |
| Mint | Soil or hydroponic | 2 to 3 weeks | Easy |
| Chives | Soil | 3 to 4 weeks | Very easy |
| Parsley | Soil | 4 to 6 weeks | Easy |
| Green onions | Hydroponic | 2 to 3 weeks | Very easy |
| Oregano | Soil | 4 to 5 weeks | Easy |
Beginner-friendly herbs like chives, mint, and green onions are forgiving, fast-growing, and tolerant of minor care mistakes. Basil is rewarding but demands more light than most windowsills provide, so plan for a grow light if your apartment faces north or east.
Both methods take 30 to 45 minutes and require minimal equipment. The setup you choose depends on whether you want the simplicity of soil or the precision of hydroponics.
Pro Tip: Press your finger one inch into the soil before every watering. If it still feels damp, wait another day. Overwatering is responsible for roughly 70% of mason jar herb failures.
Pro Tip: Label each jar with the herb name and setup date. When you are managing four or five garden jars at once, tracking nutrient refresh schedules becomes much easier with a simple sticky note.
Getting the setup right is only half the work. Consistent care determines whether your herbs thrive or stall.
Watering is the single most common failure point in soil-based jars. Check soil moisture daily for the first two weeks until you understand how quickly your specific jar dries out. Factors like room temperature, jar size, and plant size all affect the rate. Hydroponic jars are more forgiving: top up the solution when the level drops by about one third, and do a full nutrient refresh every two to three weeks to prevent salt buildup.
Light is non-negotiable. Herbs need 4 to 6 hours of direct sunlight daily, and basil specifically requires up to 14 hours under LED grow lights if natural light is insufficient. A south-facing windowsill is ideal in the Northern Hemisphere. If your space lacks strong natural light, a full-spectrum LED grow light placed 6 to 12 inches above the jars solves the problem without significant energy cost. Rotate your jars a quarter turn every few days so all sides of the plant receive equal light exposure and growth stays upright rather than leaning.
Harvesting correctly extends the productive life of your jar garden. Cut stems just above a leaf node rather than pulling from the base. This triggers branching and produces more growth points. For basil, pinch off any flower buds the moment they appear. Once basil bolts (goes to flower), the leaves turn bitter and growth slows dramatically. Harvest mint and chives regularly. Frequent cutting actually encourages denser, bushier growth rather than depleting the plant.
After six to eight weeks in a soil jar, the initial nutrients in the potting mix begin to deplete. Add a diluted liquid fertilizer at half strength every two weeks to maintain growth. For hydroponic nutrient management, a complete refresh of the solution every two to three weeks keeps mineral ratios balanced and roots healthy.
Even well-maintained jars run into issues. Knowing what to look for saves plants before problems become fatal.
Root rot is the most serious threat in both soil and hydroponic jars. In soil jars, it appears as yellowing leaves, a foul smell from the soil, and mushy stems at the base. The fix is to reduce watering immediately and improve drainage by checking that the gravel layer is intact. In hydroponic jars, root rot stems from warm water, algae, or bacterial infection. Treat affected roots by removing the plant, rinsing roots under cool water, and soaking them briefly in a 1% hydrogen peroxide solution before returning them to a freshly cleaned jar with new nutrient solution.
Algae growth in hydroponic jars turns the solution green and competes with roots for oxygen and nutrients. The cause is always light reaching the nutrient solution. Re-wrap the jar with black tape and check for gaps. Algae does not mean the plant is lost, but it does mean the environment needs correction immediately.
Leggy growth (tall, thin stems with wide spacing between leaves) signals insufficient light. Move the jar closer to a window or add a grow light. Leggy plants are structurally weak and produce fewer flavorful leaves.
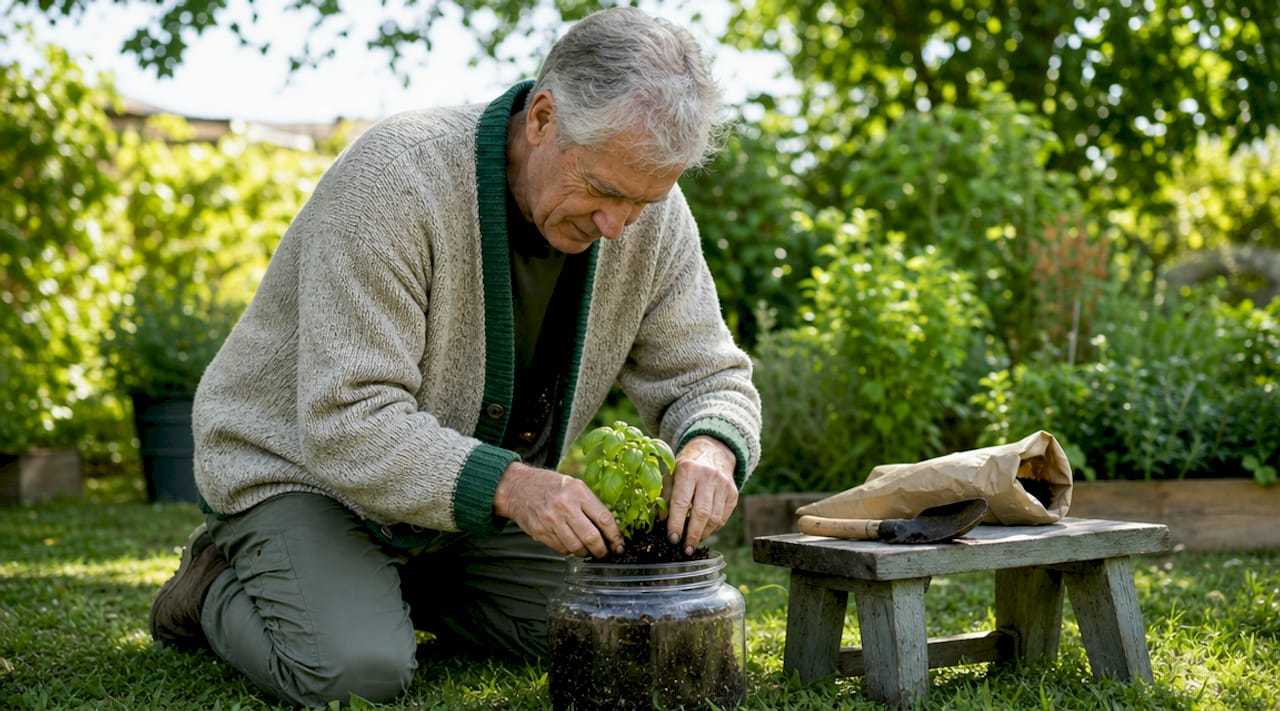
For beginners, the most common first-time mistake is planting too many seeds in one jar. One to two plants per jar gives roots enough space and prevents competition for nutrients and light.
A garden jar succeeds when you match the right plant to the right method, manage moisture carefully, and provide adequate light from day one.
| Point | Details |
|---|---|
| Choose the right method | Use soil jars for parsley and oregano; use hydroponic jars for basil, mint, and green onions. |
| Prevent root rot from the start | Add a 0.5 to 1 inch gravel layer in soil jars and light-proof hydroponic jars completely. |
| Light drives everything | Herbs need 4 to 6 hours of direct sun daily; supplement with a full-spectrum LED if your space is dim. |
| Harvest often and correctly | Cut above leaf nodes to trigger branching and pinch basil flowers to prevent bolting. |
| Refresh nutrients regularly | Replace hydroponic solution every 2 to 3 weeks and fertilize soil jars after 6 to 8 weeks. |
I started with a single wide-mouth mason jar on a kitchen windowsill, a handful of basil seeds, and zero confidence. The first jar failed because I watered it every day out of enthusiasm. The second one thrived because I finally left it alone.
What surprised me most was how quickly the hydroponic setup outperformed my soil attempts. Once I wrapped the jar in black tape and mixed a diluted nutrient solution, the basil grew faster and tasted better than anything I had grown in a pot. The Kratky method genuinely removes the anxiety from indoor herb growing. You fill it, you watch it, you harvest it. There is no daily watering ritual to forget or obsess over.
My honest recommendation for anyone starting out: begin with mint or chives in a soil jar before attempting basil hydroponically. Mint is nearly impossible to kill, and the success builds the confidence you need to try more demanding plants. Once you have two or three jars going, you start to notice patterns. You learn what overwatered basil looks like versus underlit basil. That knowledge transfers to every plant you grow afterward.
The other thing most articles skip: jar size matters more than plant selection. A quart jar gives roots enough room to develop properly. Pint jars look charming but stress plants within a few weeks. Start bigger than you think you need, and you will transplant far less often.
Garden jars are not a compromise for people without outdoor space. They are a genuinely effective way to grow fresh food at home, and the learning curve is shorter than most people expect.
— Luna
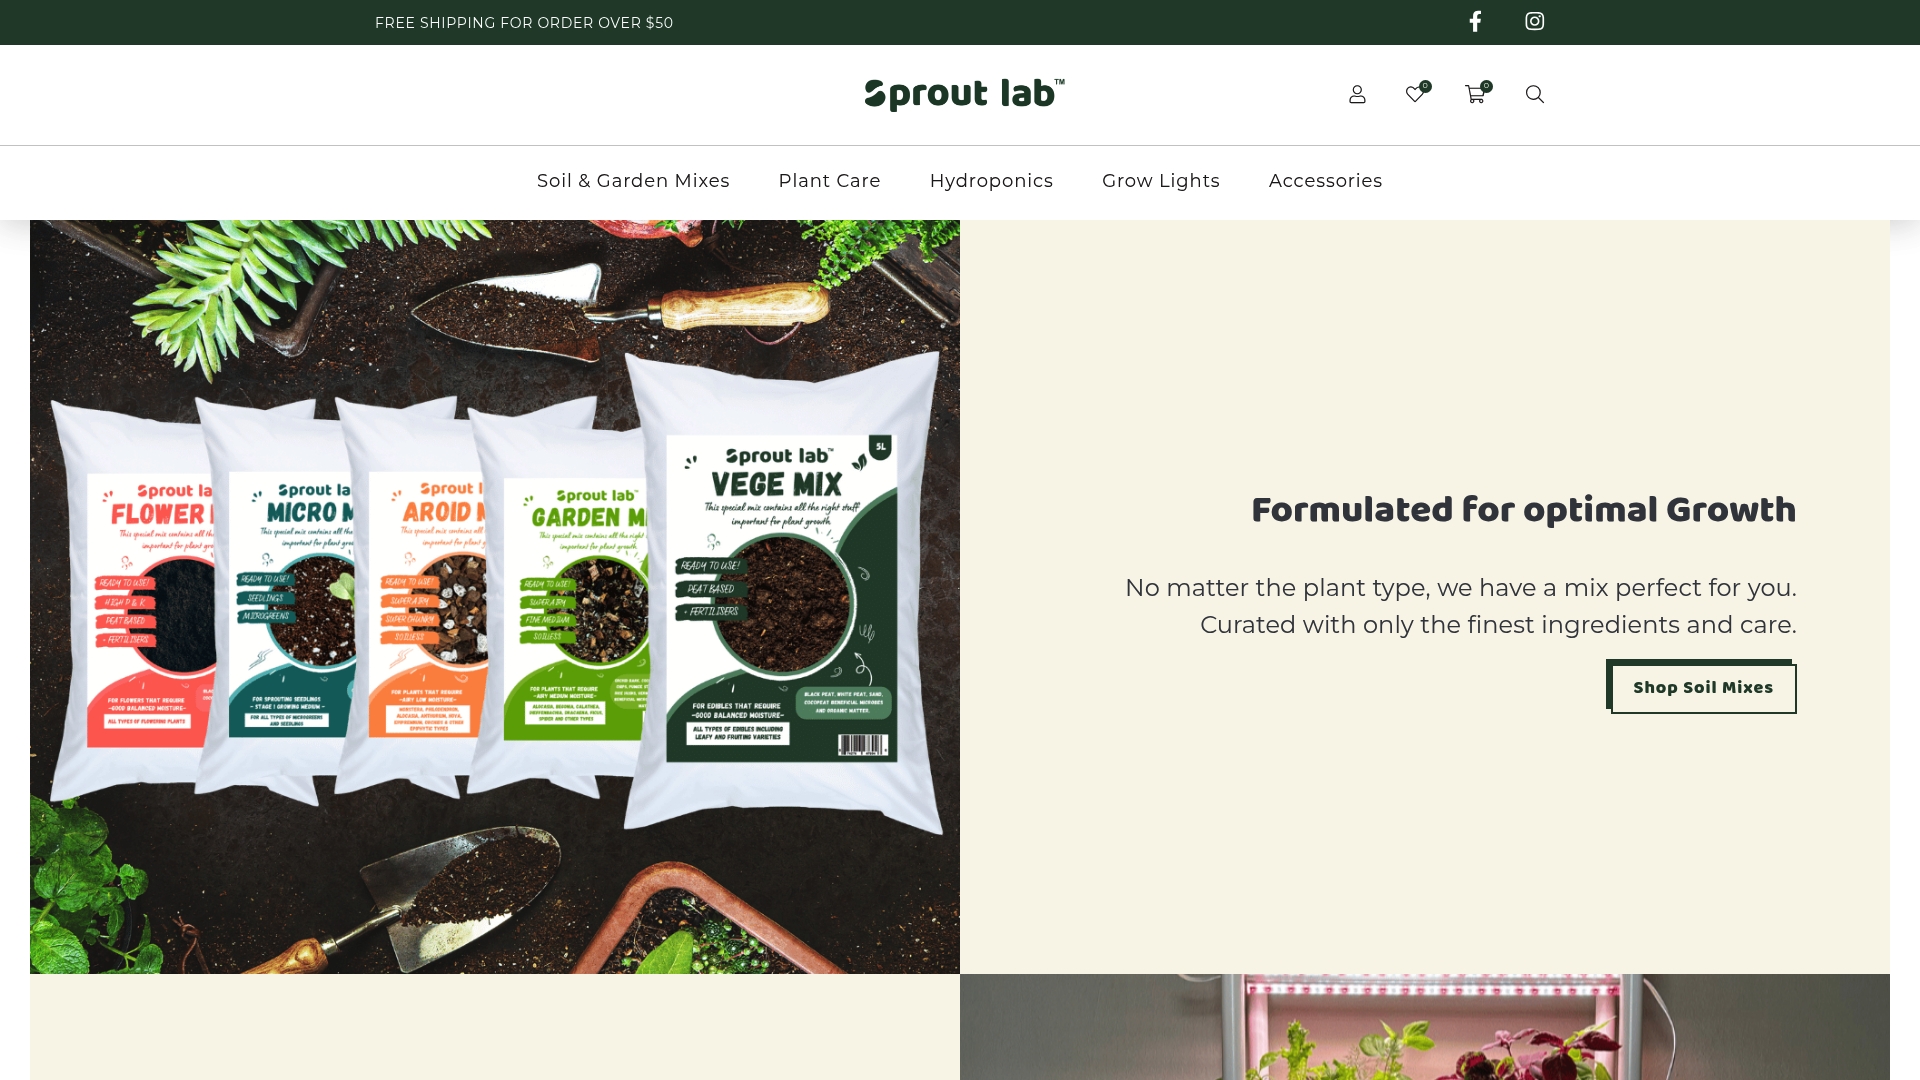
A well-built garden jar is a great start, but the right products make every stage easier and more reliable. Sprout-lab’s passive hydroponic systems are designed specifically for home growers who want consistent results without complex equipment. Their premium soil mixes are formulated for container and indoor gardening, giving soil-based jars the drainage and nutrient balance they need from day one. With a 4.9/5 star rating across more than 25,000 completed orders, Sprout-lab has helped thousands of urban gardeners move from a single jar on a windowsill to a thriving indoor harvest. If you are ready to grow more than one or two jars, their modular setups scale up to 56 plants in a compact footprint.
A garden jar is a glass jar, typically a mason jar, used as a self-contained planter for herbs and small plants indoors. It can be set up with soil or a passive hydroponic system like the Kratky method.
Chives, mint, and green onions are the easiest herbs for a mason jar garden because they are fast-growing and tolerant of minor care errors. Basil grows well but requires strong light, up to 14 hours under LED if natural sunlight is limited.
In soil jars, add a 0.5 to 1 inch gravel layer at the bottom and water only when the top inch of soil is dry. In hydroponic jars, light-proof the container completely and keep water temperatures cool to prevent bacterial growth.
Top up the nutrient solution every three to five days as the level drops, and do a full replacement every two to three weeks to prevent mineral salt buildup and maintain balanced nutrient ratios.
Yes. A DIY mason jar herb garden costs $15 to $30 to set up and produces harvestable herbs within three to four weeks. Starting with forgiving herbs like chives or mint in a soil jar is the lowest-risk entry point for complete beginners.