Free shipping for order over $50

Free shipping for order over $50
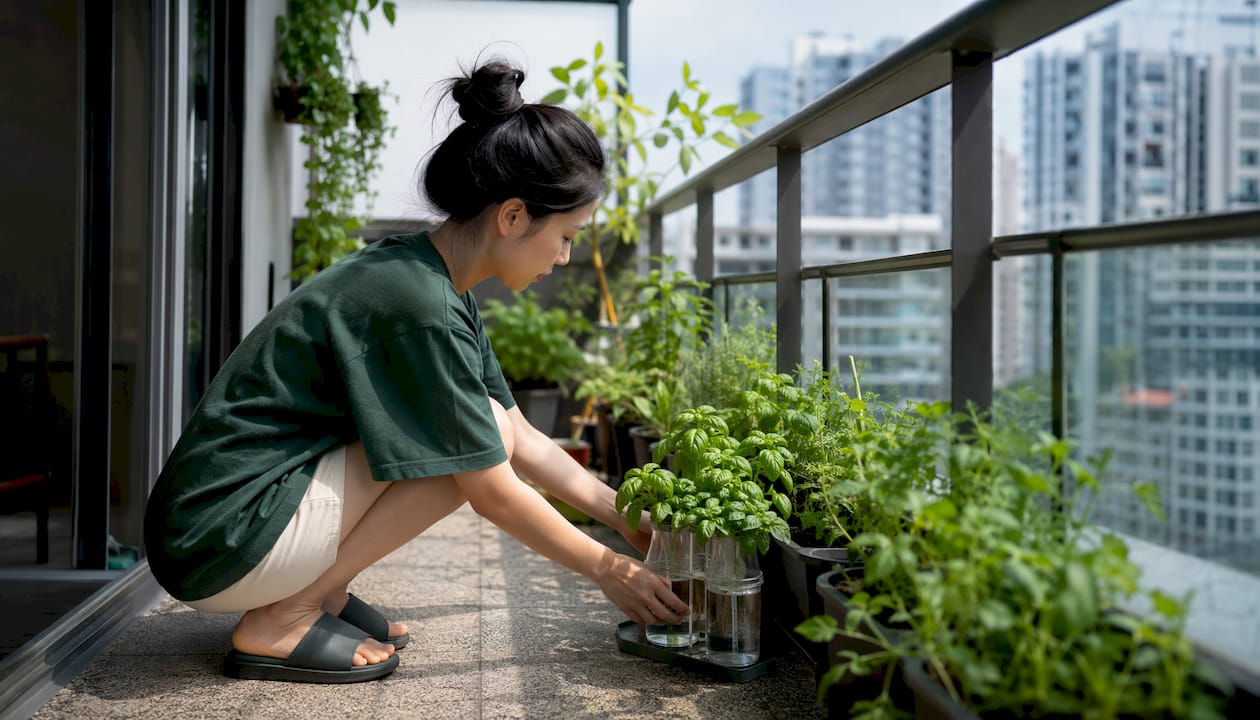
The best hydroponic systems for small apartments are passive Kratky jars, Deep Water Culture (DWC) totes, and plug-and-play countertop kits. Each fits a different budget, noise tolerance, and skill level. Here is how they stack up:
| System | Cost | Noise | Best For |
|---|---|---|---|
| Kratky jar | $25–$36 | Silent | First-ever setup |
| DWC tote | $30–$50 | Low hum | Faster growth |
| Countertop kit | $70–$130 | Silent or low hum | Zero guesswork |
Key system types at a glance:
Getting started takes less than an hour for a basic Kratky setup. Follow these steps:
Pro Tip: Plug countertop kits in at the time you want lights to turn on each morning. Non-app systems start a fixed countdown from the moment you plug them in, so a 6 PM setup means lights blazing until 10 AM.
The core list is shorter than most guides suggest:
For compact growing systems, tiered wire shelving lets you stack multiple tote setups vertically, multiplying your plant count without expanding your floor footprint. A single two-tier shelf with bar lights under each level can support multiple plants in roughly the space of a large microwave.
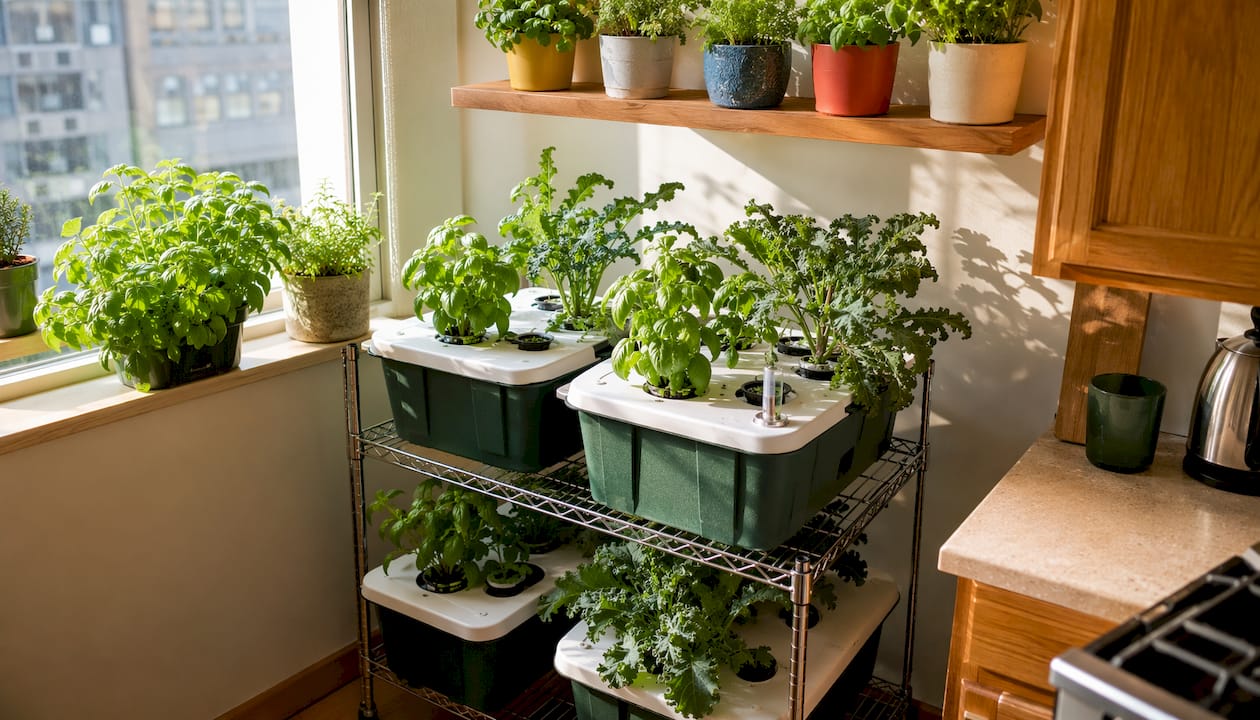
Herbs and leafy greens are the right starting point for any beginner. They grow fast, stay compact, and give you frequent harvests that keep motivation high.
Start with basil and lettuce. Once those harvests feel routine, add a second crop. Gradual expansion beats an ambitious first build that overwhelms you in week two.
The biggest myth about apartment hydroponics is that it requires complex, noisy, or expensive equipment. A passive Kratky setup costs under $36, runs silently, and produces real harvests. You do not need a grow tent, a dedicated room, or a background in chemistry.
Pro Tip: Start with one Kratky jar. Learn the rhythm of checking water levels and mixing nutrients before adding a second system. Most beginners who quit do so because they scaled too fast, not because hydroponics is hard.
Soil gardening in an apartment means bags of potting mix to store, fungus gnats hatching in damp soil, and water dripping onto counters. Hydroponics eliminates all of that. The reservoir holds the liquid, the plant sits in the lid, and the whole thing takes up less space than a coffee maker.
Apartments also offer something outdoor gardens cannot: stable, climate-controlled temperatures year-round. No frost risk, no summer heat baking pots dry, no outdoor pests. Those are genuinely good growing conditions for herbs and leafy greens. The UC Master Gardener “Hydroponics Gardening in Small Spaces” project confirmed that simple Kratky containers on balconies and windowsills produce leafy greens reliably, without electricity or complex equipment.
Nutrient management in a small system is straightforward once you understand two numbers: pH and EC (electrical conductivity). Target a pH of 5.5–6.5 for mixed greens and herbs. EC should sit at 1.5–2.0 mS/cm for leafy greens and 2.0–2.5 mS/cm for heavier-feeding herbs or compact fruiting crops.
For a Kratky jar, mix a fresh batch of nutrient solution every time you top off the reservoir. Never just add plain water, as that dilutes the nutrient concentration and throws off the balance. Understanding nutrient synergy helps you choose formulas that support healthy plant development rather than just hitting a basic NPK number. Change the full solution every 2–3 weeks to prevent salt buildup, and rinse the reservoir with clean water before refilling.
Water and electricity in the same space require basic precautions. Keep all power strips and outlets elevated above the floor and away from the reservoir. Use drip trays under every system to catch spills before they reach flooring or subfloor.
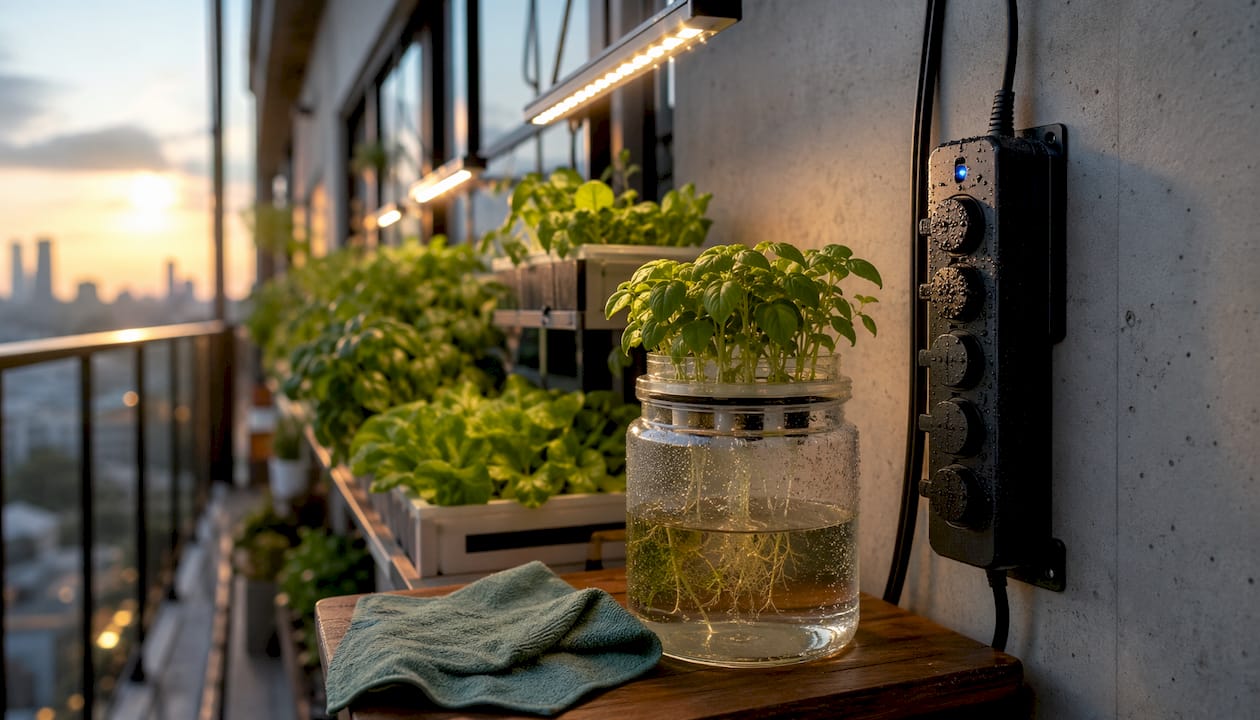
Humidity is the other factor most beginners overlook. A large garden in a small apartment can raise indoor humidity noticeably as plants transpire. Keep humidity between 40–60% with a small fan or a cracked window. Closet setups need a small exhaust fan to prevent mold from forming on walls. Opaque reservoirs and covered tubing reduce algae growth, which keeps the system cleaner and safer to handle.
A single Kratky jar costs $25–$36 all in, including nutrients and a pH kit. A DWC tote system with an air pump runs $30–$50. Add a grow light and you are at $60–$95 for a functional, lit setup that supports 3–6 plants. A full shelf system with LED bars for a corner or closet runs at a moderate price range.
Monthly running costs stay low. Electricity costs for running a 20W LED about 16 hours daily remain low at typical US rates. Nutrients and supplies typically run $5–$15 per month depending on garden size. Most apartment growers spend a modest amount to get started and expand gradually as their confidence grows.
Most hydroponic kits are designed for people with spare rooms and unlimited counter space. Sprout-lab takes a different approach: modular systems built specifically for the constraints of urban apartment life, with setups that can support up to 56 plants in a compact footprint.

Sprout-lab’s systems are built around the same principles this article covers: low maintenance, minimal mess, and a learning curve that does not require a horticulture degree. With a 4.9/5 rating across more than 25,000 completed orders, the results speak for themselves. Whether you are starting with a single herb setup or ready to scale into a full automated hydroponic system for your apartment, Sprout-lab has a configuration that fits. Browse the full range and find your starting point at sprout-lab.com.
Hydroponic systems for small apartments work best when you match the system type to your space, noise tolerance, and available light before buying anything.
| Point | Details |
|---|---|
| Start passive | A Kratky jar costs $25–$36, runs silently, and teaches core routines before you invest more. |
| pH is non-negotiable | Tap water can reach pH 7.8; a test kit ($8–$12) prevents nutrient lockout and failed crops. |
| Light drives growth | A 20–30W LED bar at $30–$45 covers a full tray of greens in any low-light apartment. |
| Best starter plants | Basil, lettuce, and microgreens grow fast, stay compact, and reward beginners quickly. |
| Sprout-lab option | Sprout-lab’s modular systems support up to 56 plants in a compact footprint, rated 4.9/5 from 25,000+ orders. |
The Kratky method is the easiest starting point. It requires no pump, no electricity, and costs $25–$36 all in, including nutrients and a pH test kit.
Passive systems like Kratky jars are completely silent. DWC air pumps produce a low hum comparable to a small aquarium, which most people find easy to tune out in a separate room.
Basil, mint, parsley, lettuce, arugula, and microgreens are the most reliable choices. Cherry tomatoes and compact peppers are possible with strong lighting but require more attention.
A basic Kratky setup runs $25–$36. A lit, multi-plant system with a grow light and DWC tote costs $60–$95 depending on scale. Monthly nutrient and supply costs typically run $5–$15. Monthly nutrient and supply costs typically run $5–$15.
Yes. Sprout-lab’s modular design supports up to 56 plants in a compact footprint, making it a practical fit for studio and one-bedroom apartments where floor space is limited.