Free shipping for order over $50

Free shipping for order over $50
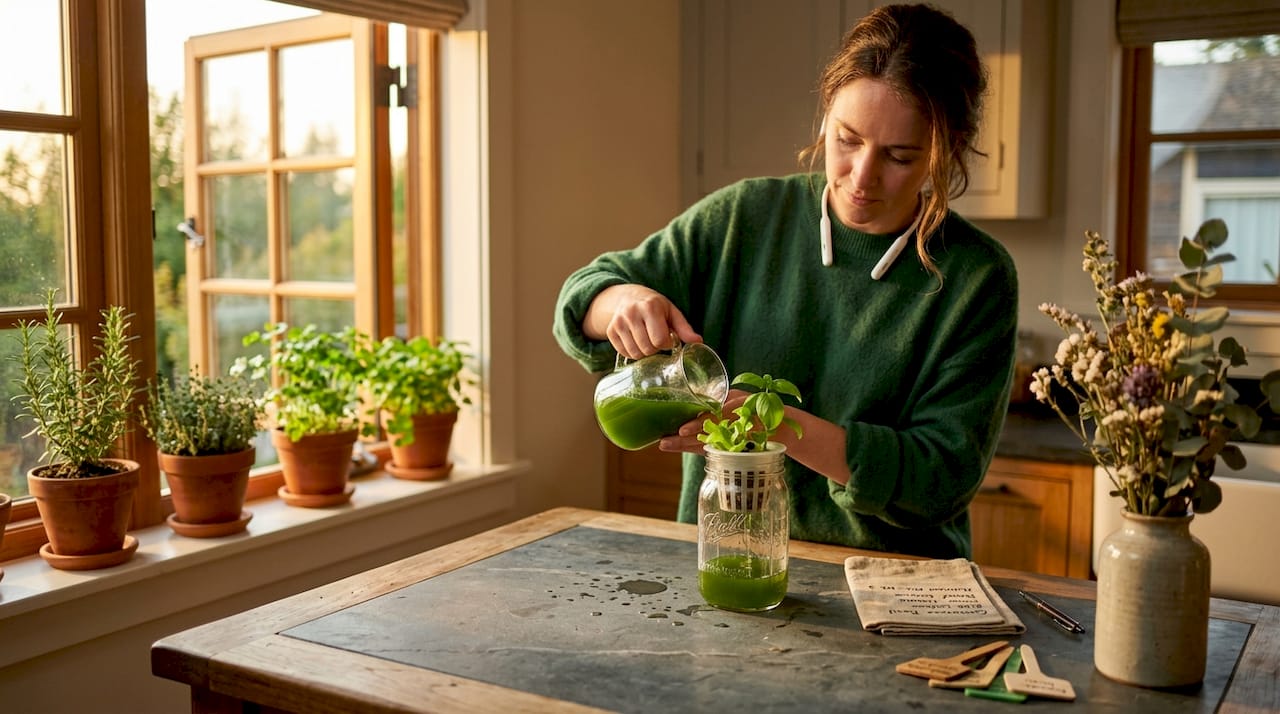
Living in an apartment or a small urban space doesn’t mean giving up on fresh food. A passive hydroponic system setup at home solves the biggest problem city growers face: no yard, no soil, no complicated equipment. You get real harvests from a windowsill or countertop, spending less than $20 to start. This guide walks you through exactly what you need, how to build it, what to watch for, and what to expect when your first lettuce or basil is ready to pick.
| Point | Details |
|---|---|
| No electricity needed | Passive hydroponics uses a static nutrient reservoir with zero pumps or moving parts. |
| Start under $20 | A basic mason jar Kratky setup costs less than $20 and works for most leafy greens. |
| Air gap is everything | Submerge net pots only 25 to 33 percent deep to give roots oxygen and prevent rot. |
| pH controls your harvest | Keep nutrient solution between pH 5.5 and 6.5 and test it one to two times per week. |
| Lettuce is your best first crop | Leafy greens and herbs harvest in 5 to 7 weeks, making early wins fast and motivating. |
The beauty of passive hydroponics at home is that the shopping list is short. You do not need a hardware store run every week. Here is what you actually need to get started.
Containers
Your reservoir holds the nutrient solution your plants drink from. Use an opaque, food-grade container, such as a dark plastic bucket, a painted mason jar, or a lidded storage bin. Light hitting the nutrient solution causes rapid algae growth, which competes with your plants for oxygen and nutrients. If you only have a clear jar, wrap it tightly in aluminum foil or black tape.
Net pots and growing medium
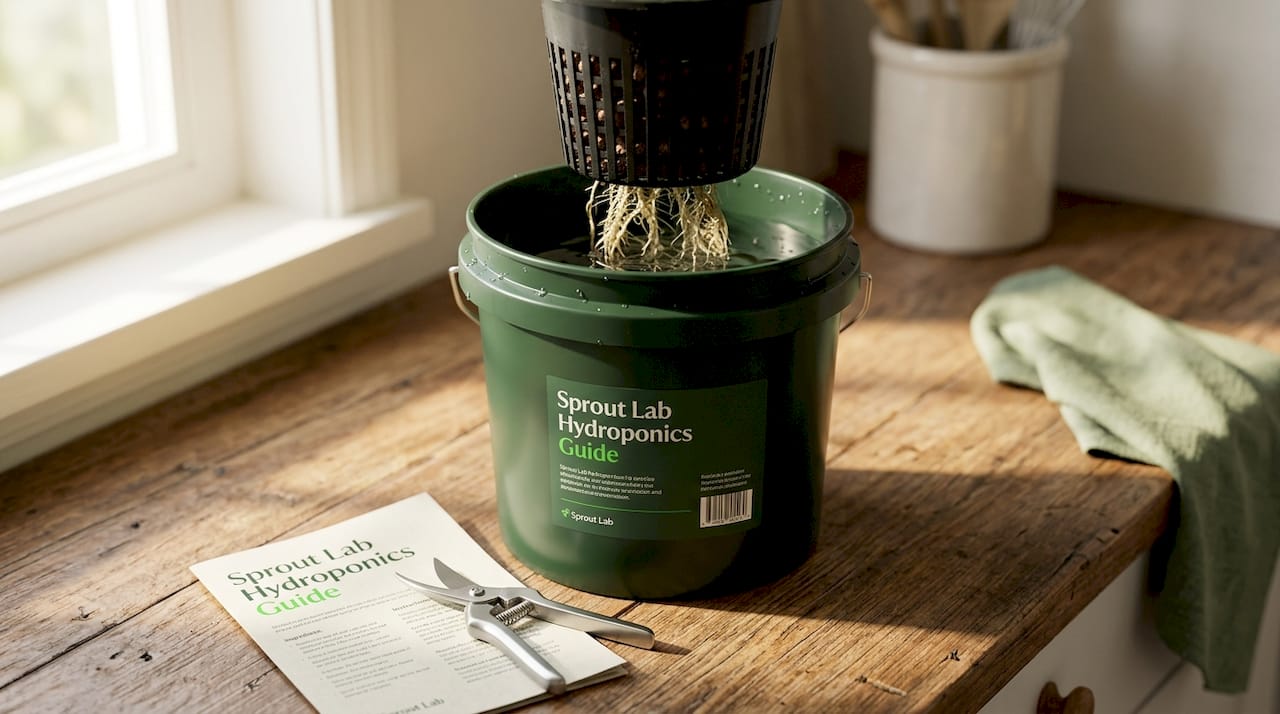
Net pots are small mesh cups that hold your plant and growing medium above the nutrient solution. A 2-inch net pot works well for herbs and lettuce. Fill them with clay pebbles, rockwool cubes, or coco coir. These materials anchor the roots and wick moisture upward without becoming waterlogged.
Nutrients and pH supplies
You need a complete hydroponic nutrient solution, not a general fertilizer. Mix it at half the manufacturer’s recommended strength for your first crop to avoid nutrient burn. You also need a pH testing kit or digital pH meter, plus pH Up and pH Down solutions to keep your water in the correct range.
Seeds and seedlings
Stick to leafy greens and herbs for your first grow. Lettuce, basil, cilantro, spinach, and mint all perform well in passive systems. Avoid tomatoes, peppers, or cucumbers until you have a few successful crops behind you.
Here is a quick cost breakdown for a basic single-plant setup:
| Item | Estimated cost |
|---|---|
| Mason jar or small bucket | $1 to $3 |
| Net pot (pack of 10) | $2 to $4 |
| Clay pebbles (small bag) | $5 to $8 |
| Hydroponic nutrient solution | $10 to $15 |
| pH testing kit | $5 to $10 |
| Seeds | $2 to $4 |
Pro Tip: Buy a nutrient solution labeled “complete” or “two-part.” Single-element fertilizers like fish emulsion leave out micronutrients your plants need.
Once your supplies are ready, assembly takes about 30 minutes. Follow these steps in order and you will avoid the most common beginner mistakes.
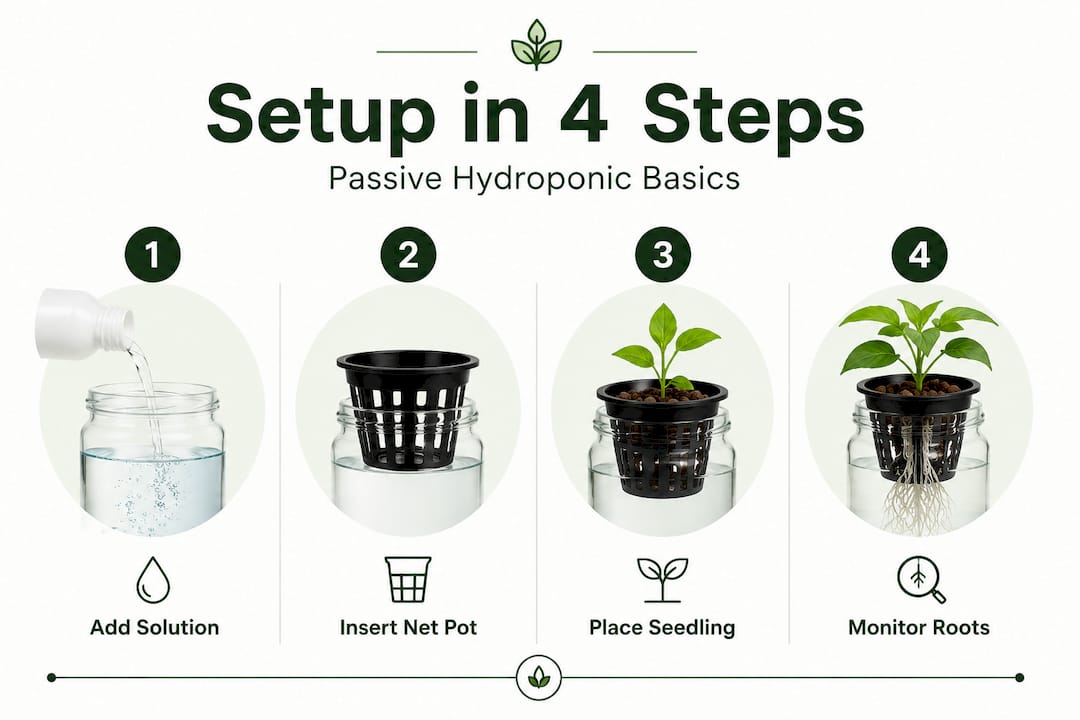
Prepare your container. Cut or drill a hole in the lid sized to fit your net pot snugly. The net pot should sit in the hole without falling through. If your container is clear, light-proof it now before adding any water.
Mix your nutrient solution. Fill the container with clean water, then add your hydroponic nutrients at half the recommended dose. Stir well. Check the pH level in hydroponics and adjust it to sit between 5.5 and 6.5 using your pH Up or Down solution. This range is where plants absorb nutrients most efficiently.
Prepare your seedlings. Start seeds in pre-soaked rockwool cubes that have been rinsed and adjusted to your target pH. If you are transplanting a seedling grown in soil, rinse every trace of soil from the roots before placing it in the net pot. Soil in a hydroponic system introduces bacteria and blocks root function.
Set the water level correctly. This step is where most beginners go wrong. Submerge the net pot only 25 to 33 percent of its depth into the nutrient solution. The bottom of the net pot should barely touch the water. This creates an air gap between the water surface and the underside of the lid. That gap is where roots get their oxygen.
Place your system in the right spot. A south-facing window works well if you get at least 6 hours of direct light. For apartments with limited sun, use a full-spectrum grow light positioned 4 to 6 inches above the plant canopy. Indoor setups benefit from 14 to 16 hours of light per day to simulate outdoor growing conditions.
Do your first checks. After 48 hours, look at the roots through the bottom of a clear net pot or lift the lid briefly. You should see white, healthy root tips reaching toward the water. Check the pH again. Write down your starting water level so you can track how fast the plant drinks.
Pro Tip: Label each container with the plant name, start date, and starting pH. This takes 30 seconds and saves hours of guesswork later when something looks off.
The biggest myth about passive systems is that they are “set and forget.” They are more accurately “set and monitor.” Most problems are small and fixable if you catch them early.
The air gap is your most important variable. The most common beginner failure is overfilling the reservoir, which submerges the stem and cuts off oxygen to the roots. If you see slimy, brown roots or a rotting smell, the water level is too high. Drain some out immediately and let the air gap reestablish.
Algae is a light problem, not a water problem. Green slime on the inside of your container means light is getting in. Remove the plant, clean the container with a diluted hydrogen peroxide solution, and re-seal any light leaks before refilling.
pH drift is normal and manageable. pH rises naturally during growth as plants consume nutrients. Test your solution one to two times per week and add a small amount of phosphoric acid (pH Down) to bring it back into the 5.5 to 6.5 range. Ignoring pH drift for more than a week leads to nutrient lockout, where plants cannot absorb minerals even if the solution is full of them.
Here is a quick reference for diagnosing common symptoms:
| Symptom | Likely cause | Fix |
|---|---|---|
| Yellow lower leaves | Nitrogen deficiency or pH too high | Adjust pH down; refresh nutrient solution |
| Crispy leaf tips | Nutrient concentration too high | Dilute solution or start fresh batch |
| Brown, slimy roots | Root rot from overfilling or poor aeration | Lower water level; increase air gap |
| Green slime in container | Algae from light exposure | Block all light; clean container |
| Slow or no growth | Insufficient light or wrong pH | Add grow light; recheck pH |
“Passive hydroponics is not about doing less. It’s about doing the right things consistently and letting the system do the rest.”
Never top off the nutrient solution mid-crop. Each batch is single-use. Adding fresh water dilutes the nutrient balance and throws off the mineral ratios your plant has adapted to. When the reservoir runs low near harvest, let it empty naturally. After harvest, clean the container thoroughly with a diluted bleach solution, rinse well, and start fresh with a new batch for your next crop.
Passive systems reward patience, but not too much of it. Leafy greens and herbs harvest in 5 to 7 weeks from seed under good light conditions. Coriander can be ready in as little as 10 to 15 days if you are harvesting microgreens. Here is what works best for a home hydroponic garden:
Compared to soil gardening, passive hydroponics delivers noticeably faster growth because nutrients go directly to the roots with no energy wasted searching through soil. Hydroponic systems use up to 98% less water than traditional soil farming, which matters if you are paying a water bill in a city apartment.
Once you complete your first crop, scaling up is straightforward. Add a second or third container with staggered planting dates so you harvest something every two weeks instead of everything at once. That is how a small windowsill setup becomes a consistent home hydroponic garden that actually replaces grocery store trips.
Pro Tip: Stick to plants suited for passive systems until you have three successful harvests. Larger fruiting plants like tomatoes need active aeration that a static reservoir cannot provide reliably.
I have helped a lot of beginners set up their first passive hydroponic systems, and the pattern I see most often is this: people overthink the setup and underthink the air gap. They spend time researching grow lights and nutrient brands, then fill the reservoir too high on day one and wonder why their roots are rotting by week two.
The air gap is not a detail. It is the entire mechanism. Roots alternate between submerged and aerial sections to get both water and oxygen, and if you flood that aerial zone, you remove the one thing that makes passive hydroponics work without a pump.
My other honest observation: the simplicity of the Kratky method is genuinely powerful for urban growers, but it requires you to stay curious. Check your pH. Look at your roots. Notice when leaves change color. None of this takes more than five minutes every few days, and it makes the difference between a thriving plant and a failed experiment.
Start with one jar and one lettuce plant. Get that right. Then add more containers. The learning curve is short, and the payoff, fresh greens you grew yourself in a studio apartment, is real.
— Luna

If you are ready to move from reading to growing, Sprout-lab makes the starting line much easier to find. Their hydroponic starter kits include everything you need for a passive setup, pre-measured nutrients, growing medium, and clear instructions built for beginners with no prior experience. With over 25,000 completed orders and a 4.9 out of 5 star rating, Sprout-lab’s products are tested by real urban growers in real small spaces. You do not need to source eight different items from eight different places. Their kits are designed so your first grow succeeds, not just survives. Check out their full range and find the setup that fits your space and budget.
A passive hydroponic system grows plants in a nutrient solution without pumps, electricity, or moving parts. The most common example is the Kratky method, where roots draw water and nutrients directly from a static reservoir while an air gap above the water provides oxygen.
A basic single-plant setup costs under $20 using a mason jar, a net pot, clay pebbles, and a small bottle of nutrients. Larger multi-plant setups using storage bins typically run $30 to $60 depending on the size and light source.
Leafy greens like lettuce, spinach, and herbs like basil and cilantro grow best in passive systems. These plants have shallow roots and short harvest cycles that match well with the static reservoir approach.
Check pH and water level two to three times per week, especially during the first two weeks. After the plant is established and roots are visible, once or twice a week is enough for most leafy greens.
Yes. A full-spectrum LED grow light running 14 to 16 hours per day replaces sunlight effectively for leafy greens and herbs. Position the light 4 to 6 inches above the plant canopy and adjust as the plant grows.