Free shipping for order over $50

Free shipping for order over $50
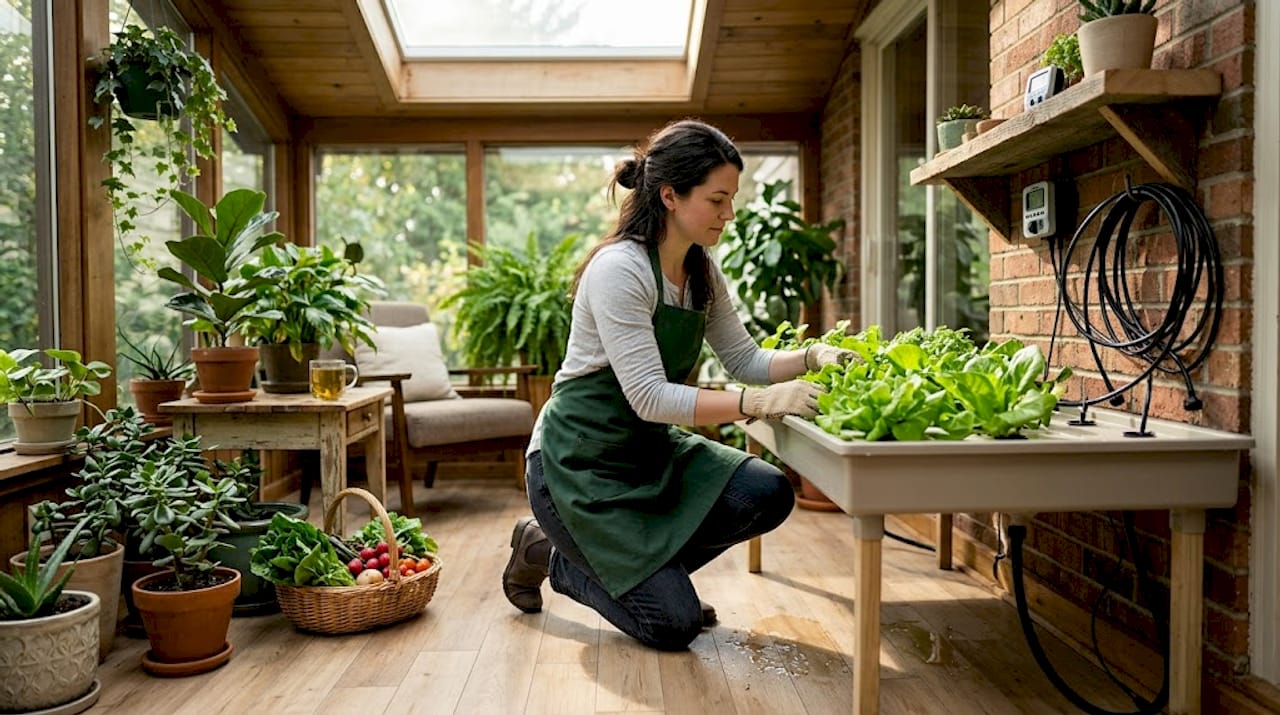
Most people who stumble onto flood and drain hydroponics assume it’s complicated, expensive, or built for commercial growers. That assumption stops a lot of beginners before they even get started. Understanding what is a flood and drain system quickly reveals the opposite: it’s one of the most forgiving, efficient, and scalable methods available to home growers. Whether you’ve seen it called “ebb and flow” or “flood and drain,” you’re looking at the same system. This article breaks down exactly how it works, why it produces better results than soil, and how you can set one up without a steep learning curve.
| Point | Details |
|---|---|
| Flood and drain = ebb and flow | Both terms describe the same system; knowing this prevents research confusion and bad troubleshooting. |
| Cyclical flooding boosts roots | Periodic nutrient floods followed by draining deliver oxygen and nutrition simultaneously to root zones. |
| Real yield and water gains | Hydroponics can improve yields by 20 to 25% over soil while using up to 90% less water through recirculation. |
| Setup is accessible and affordable | A first-time build typically costs $150 to $280 and takes 3 to 5 hours to assemble. |
| Safety components are non-negotiable | An overflow standpipe and check valves prevent catastrophic flooding and siphoning failures. |
A flood and drain system is a hydroponic growing method that delivers nutrients to plants by periodically flooding a grow tray with nutrient solution and then draining it back into a reservoir below. The cycle repeats on a timer throughout the day. Flood and drain systems are widely used in home, commercial, and educational settings because they are adaptable and easy to automate.
Here’s the detail that trips up most beginners: “ebb and flow” and “flood and drain” are completely interchangeable terms. They describe the exact same mechanics. If you’ve been reading about ebb and flow systems on one site and flood and drain on another, you weren’t looking at two different methods. This matters because searching for troubleshooting help under the wrong term can send you in circles.
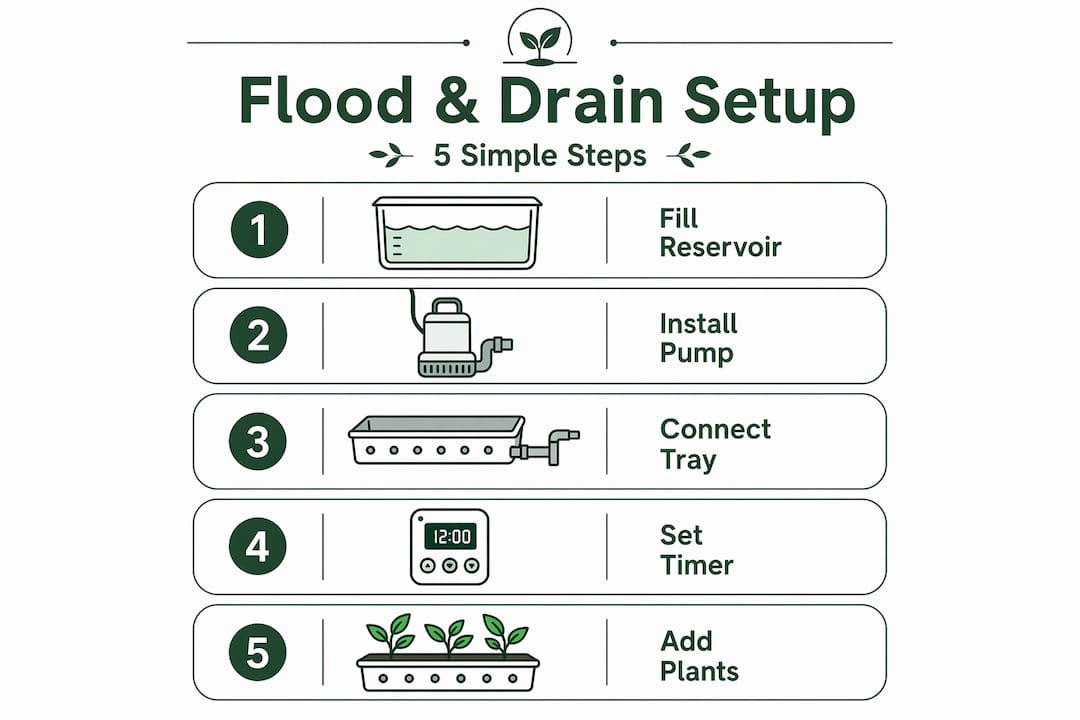
A standard flood and drain setup uses a small collection of parts that work together as a loop:
The flooding process itself creates a vacuum effect as water drains. That suction pulls fresh, oxygenated air down around the roots, which is one of the biggest advantages of the system over passive soil growing.
Pro Tip: Never rely solely on your timer to prevent overflow. The standpipe is your real insurance policy. Set its height to about 70% of your grow medium depth so roots never sit submerged.
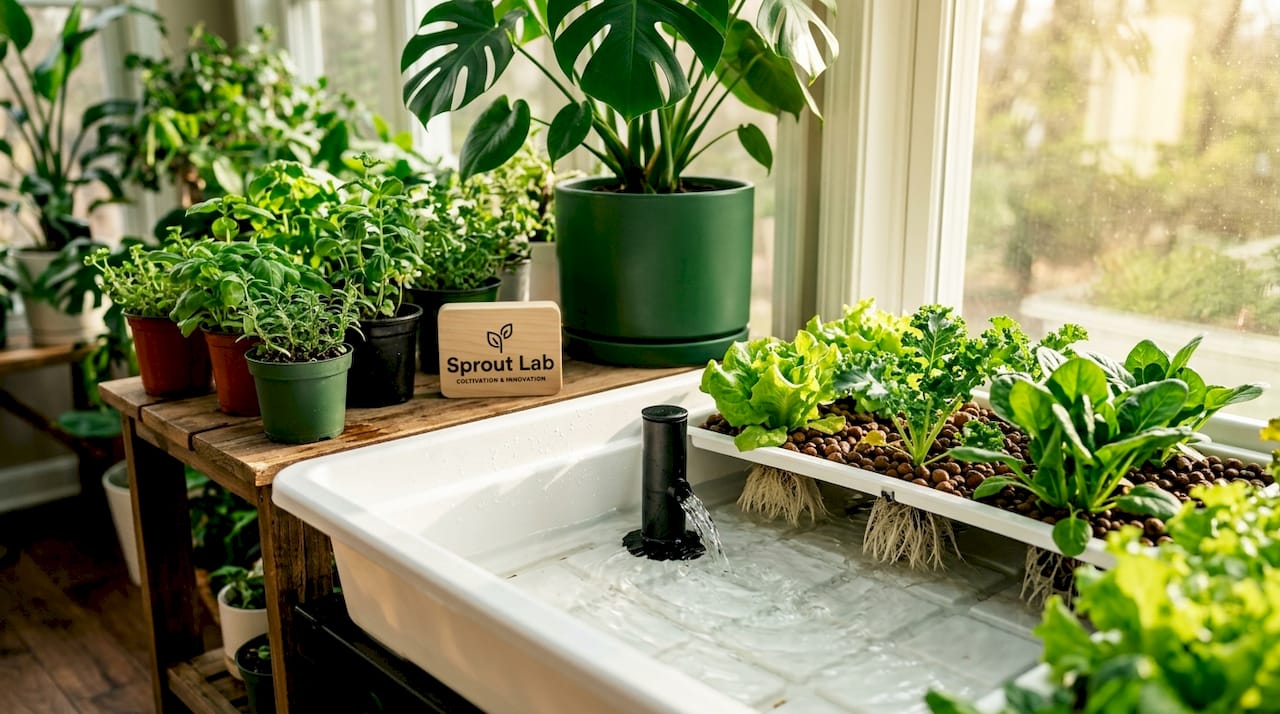
The reason flood and drain hydroponics has stayed popular for decades is straightforward: it works exceptionally well across a wide range of crops and growing environments. The cyclical flooding and draining oxygenates roots via a vacuum effect, preventing root rot and supporting crops like herbs, peppers, and strawberries.
Let’s look at the concrete advantages that separate this method from growing in soil:
The oxygenation advantage is genuinely underappreciated by beginners. Most new growers focus on nutrients and light, then wonder why their roots look brown and slimy. A well-tuned flood and drain cycle solves that problem at the mechanical level without any extra products or treatments.
Building your first flood and drain system does not require advanced skills or a large budget. Here’s a practical overview of the process from planning to first flood.
A first build typically costs $150 to $280 and takes between 3 and 5 hours to assemble, including setup and initial testing. You don’t need any special tools beyond a drill, a hole saw bit for your fittings, and basic hardware.
| Component | Estimated Cost | Notes |
|---|---|---|
| Grow tray (2ft x 4ft) | $30 to $55 | Ensure it is food-safe and water-tight |
| Nutrient reservoir (20 gal) | $25 to $45 | Opaque containers prevent algae growth |
| Submersible pump | $20 to $40 | Over-specify by 20 to 30% for head height |
| Digital timer | $10 to $20 | Allows multiple on/off cycles per day |
| Hydroton clay pebbles (grow medium) | $20 to $35 | Must be rinsed thoroughly before use |
| Flood and drain fittings kit | $15 to $30 | Standpipe, drain fitting, tubing included |
Pro Tip: When testing your drain speed, the tray should empty completely within 15 to 20 minutes of the pump shutting off. If it takes longer, check for clogs at the drain fitting or reduce the amount of medium blocking the drain hole.
Once your system is running, the ongoing work is minimal. But there are specific failure points that catch new growers off guard.
The most common problems include:
For crop selection, flood and drain hydroponics handles a wide variety. You can explore the best plants for hydroponics to match your setup size and goals, but as a starting point: herbs germinate fast and tolerate frequent flooding well, leafy greens like lettuce and spinach thrive with shorter flood cycles, and fruiting plants like peppers reward deeper medium and longer cycle intervals.
Pro Tip: When growing mixed crops in one tray, group plants with similar water needs together. Place high-demand fruiting plants near the fill inlet where nutrient solution arrives first, and lighter-feeding herbs toward the drain end.
I’ve worked with growers who spent months confused because one forum called it “ebb and flow” and another used “flood and drain.” They genuinely thought they were researching two different systems and kept second-guessing their builds. Once that terminology confusion clears up, everything else clicks much faster.
What I’ve found through experience is that beginners consistently underestimate two things: the standpipe and the pump size. The standpipe is not optional or decorative. It is the failsafe that prevents a timer malfunction from turning your grow room into a pond. And cheap, undersized pumps are the single most common reason first builds fail to flood consistently. Spend an extra $15 on a pump rated higher than you think you need. You won’t regret it.
The other lesson I’d pass on is this: flood and drain systems are far more forgiving than they look on paper. The growing medium holds moisture between cycles, which gives you a real buffer if something goes wrong. Compared to other hydroponic methods where roots are constantly exposed, that buffer is genuinely reassuring for beginners. Get your safety components right, rinse your hydroton properly, and you’re most of the way there.
If you’re a hobbyist wondering whether this is “too technical” for you, it isn’t. A few hours, a modest budget, and one test run before your plants go in. That’s really all it takes.
— Luna

If this breakdown has you ready to build your first system, Sprout-lab has everything you need in one place. Their DIY hydroponic starter systems are designed specifically for beginners who want a working setup without guesswork, covering flood and drain builds with step-by-step guidance and curated component lists. For growers who want to explore lower-maintenance options alongside their flood and drain setup, Sprout-lab’s passive hydroponic setups offer a solid complement to active systems. With a 4.9/5 star rating across more than 25,000 orders, Sprout-lab’s products deliver results that beginners and experienced growers both rely on.
There is no difference. Flood and drain and ebb and flow are two names for the exact same hydroponic system. The terms are fully interchangeable across guides, forums, and product listings.
Flood frequency depends on plant size. Small seedlings typically need 1 to 2 floods per day, while larger, actively growing plants often benefit from flooding every 3 to 4 hours.
A first-time flood and drain build typically costs $150 to $280 and can be completed in 3 to 5 hours, making it one of the more accessible active hydroponic systems for home growers.
Herbs, leafy greens, peppers, and strawberries all perform well in flood and drain hydroponics. Crop versatility is one of the system’s strongest advantages, and most beginner-friendly plants adapt easily to timed flood cycles.
The growing medium retains enough moisture to buffer roots temporarily during brief power or pump outages, reducing immediate stress. However, prolonged failures require manual intervention to prevent the medium from drying out completely.