Free shipping for order over $50

Free shipping for order over $50
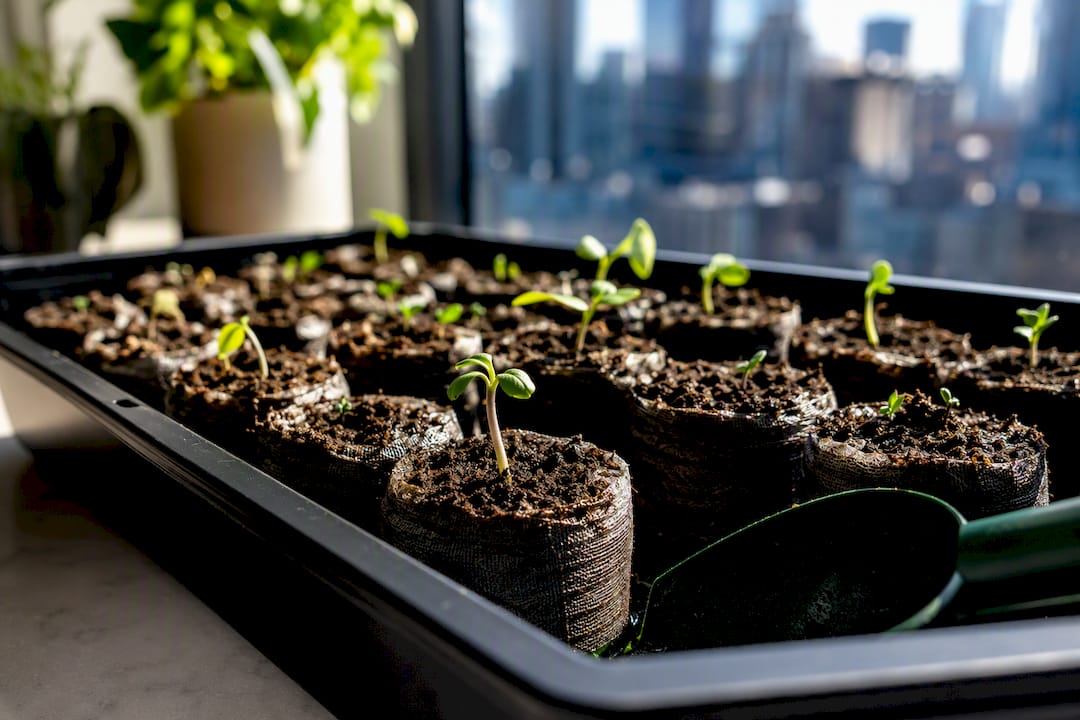
Sow two to three seeds per rockwool or coir plug, keep them warm and covered in plain pH-adjusted water, and wait for the first true leaves before adding any nutrients. Move seedlings under light the moment cotyledons appear, and transplant once roots show through the plug and two true leaves have formed. Most leafy greens usually reach transplant readiness within a couple of weeks; fruiting crops take longer and require warmer germination temperatures throughout.
TL;DR:
- Most hydroponic seedlings are ready for transplant within 10 to 18 days, depending on the crop, with some methods producing seedlings in as few as 4 to 12 days.
- Rockwool requires pre-soaking in slightly acidic water before sowing, while coir plugs need rinsing to remove excess salts for optimal germination.
- Maintain seedling temperatures between 68 to 72°F for leafy greens and 75 to 82°F for fruiting crops, with humidity levels above 90% during germination.
- Use a full-spectrum LED light at 150 to 250 PPFD on a 16 to 18-hour cycle to keep seedling stems compact and sturdy.
- Transplant only after roots poke through the plug, true leaves develop, and seedlings are stiff enough to stand upright without support.
Getting hydroponic seed germination right starts with picking the correct media, not the fanciest light or reservoir. The seed doesn’t care about your system’s price tag. It cares about moisture, oxygen, and temperature staying steady for about a week.
Two starter media dominate hydroponic seed starting for home growers:
Beyond media, a basic propagation bench needs a tray with a clear humidity dome, a seedling heat mat with a thermostat, net pots sized to your plugs, and a small full-spectrum LED. If you’re running an active system rather than a passive tray, add an air pump and air stone to keep any standing water oxygenated.
Skip clay pebbles at this stage. They’re excellent for supporting a rooted plug once it’s transplanted, but they drain too fast and drift too much to hold the constant moisture a germinating seed needs. Save them for the transplant step.
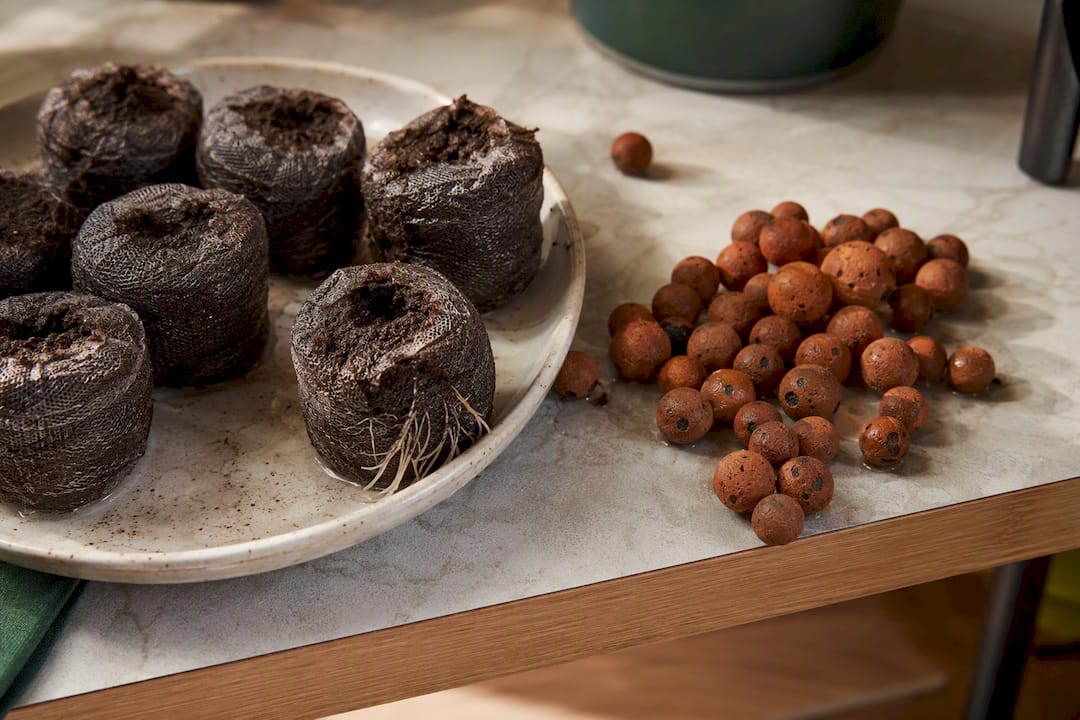
The workflow is short but the order matters. Skip a step and you’ll either drown the seed or dry it out before it cracks.
Some growers skip trays entirely in favor of slant-board propagation, angling seedlings so roots grow long and straight with minimal transplant shock. That method reliably produces transplant-ready seedlings in 4 to 12 days, which is worth trying if you’re germinating a lot of seeds at once and want uniform starts.
Pro Tip: Keep media damp, not saturated. A plug that squeezes out water like a wet sponge is drowning its own seed. It should feel like a well-wrung dishcloth.
Three numbers decide most germination outcomes: warmth, moisture, and light timing. Get those three right and the rest of hydroponic seedling care mostly takes care of itself.
Oxygen matters just as much as any number on a meter. Standing water in a reservoir or drip tray loses dissolved oxygen fast, especially once temperatures climb past 75°F. An air stone running continuously in any active reservoir keeps roots breathing and cuts your risk of rot dramatically.
Most seed-starting failures trace back to one of three problems, and each has a fairly obvious tell once you know what to look for.
Salvaging a slow batch rarely beats the time cost of resowing.
Look for three signs together before you move a seedling: visible white roots poking through the plug, two or more true leaves, and a stem sturdy enough to stand upright without support. Leafy greens usually hit that mark in 10 to 18 days; fruiting crops take longer.
Full instructions for protecting root structure during the move live in this guide to transplanting hydroponic seedlings, and it’s worth reading before your first batch is ready.
A modular hydroponic setup mirrors the exact bench workflow above; you’re just scaling the same tray, dome, and net pot logic up to a system that holds many plants without any complicated wiring or plumbing.
Choosing between the two mostly comes down to how many plugs you’re starting at once and how much daily attention you want to give the system.
Most failed hydroponic seed germination has nothing to do with the system and everything to do with impatience. New growers feed too early, seal the dome too long, or panic and resow a batch that just needed one more warm day. Give a technique two or three tries before judging it, and keep notes on what temperature and timing actually worked in your space. Small, repeated experiments teach you more than any single guide can.
— Irwin Lee
Everything covered above, the tray, the dome, the heat mat, the timing, works whether you assemble it piece by piece or start with a system built around that exact sequence. Sprout Lab’s passive hydroponic system is built for exactly the low-maintenance bench workflow described here: minimal daily fuss during germination, straightforward transplant once roots show.

If you’re planning to scale past a single tray of seedlings, Sprout Lab’s reservoir hydroponic system gives you room to grow multiple batches into one continuous setup instead of juggling separate trays. This brand holds a 4.9 out of 5 star rating across many completed orders, reflecting numerous home growers who started exactly where you are now: with a tray of plugs and a question about what comes next. Browse the starter systems and pick the one that matches how much bench space and attention you actually have.
The germination timing and troubleshooting guidance above draws on SmartHydroLab’s propagation guide for temperature and PPFD targets, Epic Gardening’s beginner seed-starting guide for feeding timing, a PMC study on slant-board germination for alternative propagation methods, and Johnny’s Selected Seeds’ grower library for stepwise sowing practices.
Yes. Most seeds germinate well directly in an inert medium like rockwool or coir kept moist with plain pH-adjusted water, with no soil required at any stage.
Leafy greens like lettuce, basil, and kale are the easiest starting points because they germinate fast and tolerate a wider humidity range than fruiting crops like tomatoes or peppers.
Pre-soak a rockwool or coir plug, sow two to three seeds per plug, cover with a humidity dome, and keep it warm until cotyledons emerge, then vent, light, and hold off on nutrients until true leaves appear.
Most leafy greens germinate within a few days and reach transplant readiness in 10 to 18 days, while slant-board methods can produce transplant-ready seedlings in as little as 4 to 12 days.