Free shipping for order over $50

Free shipping for order over $50
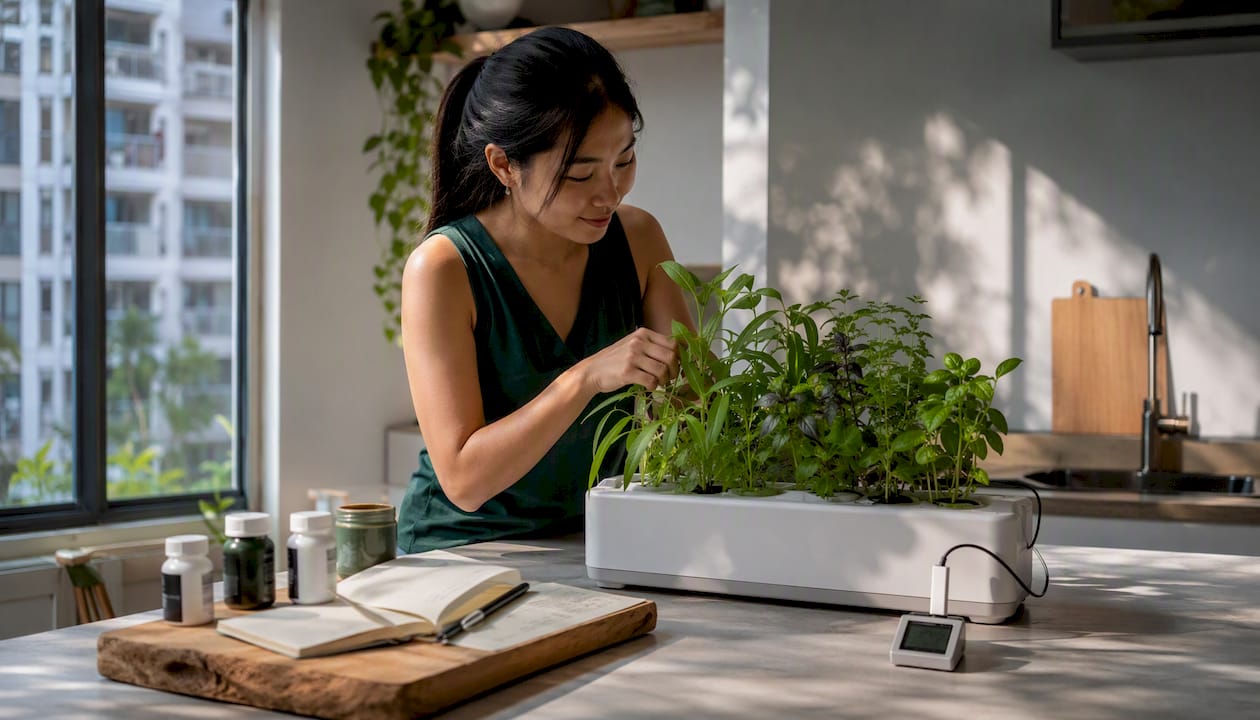
A compact reservoir-based hydroponic setup gets most Singapore urban beginners to their first harvest faster than any other method. Start with a Kratky or small DWC (deep water culture) system using Sprout-lab’s modular reservoir kit, and you can be cutting leafy greens in as little as 3–6 weeks. Fruiting crops like compact tomatoes or dwarf papaya take longer and need a system upgrade first. Sprout-lab carries a high rating from many completed orders, which suggests the learning curve is manageable.
What you need to start:
Singapore apartments are warm, humid, and short on floor space. That combination punishes outdoor soil beds but suits indoor hydroponics almost perfectly. A closed-loop system gives you direct control over moisture, nutrients, and temperature — the three variables that most often derail tropical crops in constrained spaces. Indoor hydroponics delivers faster growth and higher yields than small-scale soil growing precisely because you remove the unpredictability.
For busy urban growers, that predictability is the real advantage. You are not waiting on rainfall or fighting soil compaction. Sprout-lab’s compact modular systems are designed around this reality: a single countertop unit can hold up to 56 plants, and the modular design means you add capacity only when you actually need it.
Start with crops that thrive in small reservoirs and forgive beginner mistakes. Fruiting vines are rewarding but save them for after your first successful leafy harvest; consider learning about self-watering vegetable garden techniques to simplify irrigation as you upgrade.
Beginner crops (Kratky or DWC reservoir):
Intermediate crops (small DWC or upgraded reservoir):
Advanced/upgrade required (Dutch bucket or drip system):
Kratky is the simplest entry point: no pump, no electricity for the reservoir, just a container with nutrient solution and net pots. It works well for leafy greens and herbs. The downside is that dissolved oxygen drops as plants grow, which slows things down.
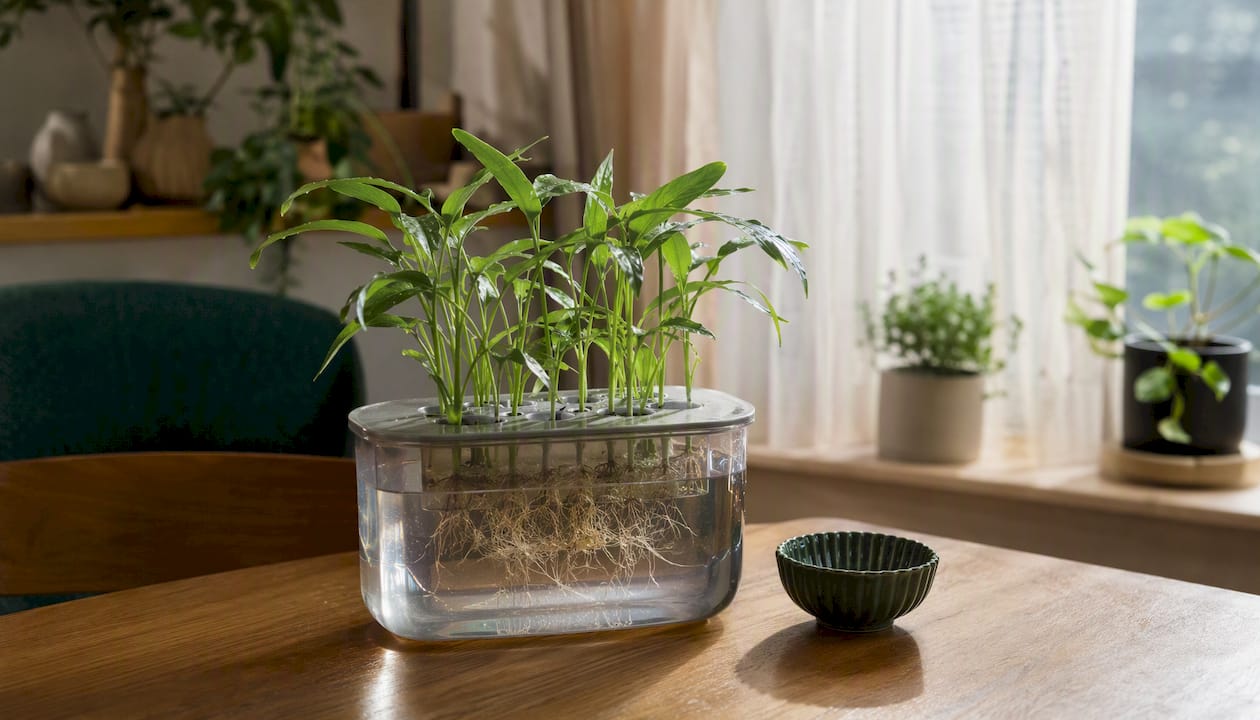
DWC with an air stone fixes that. A small air pump keeps oxygen levels high, speeds root development, and makes the system easier to scale. For most beginners, DWC is the better starting point if you can spend an extra $15–$20 on a pump.
Upgrade triggers to watch for:
When those signs appear, Sprout-lab’s modular system expands into Dutch-bucket or drip configurations without starting over. That modularity is what separates it from a fixed-size DIY bucket.
Pro Tip: Before upgrading, run one full leafy-green cycle to completion. You will understand your water and nutrient consumption patterns far better, which makes sizing the next system much easier.
Buy these before you start: Sprout-lab reservoir kit (or opaque container), a full-spectrum LED panel, a digital pH meter, a two-part or three-part hydroponic nutrient solution, net pots (2-inch for seedlings), clay pebbles or rockwool cubes, and an air pump with air stone for DWC. For local sourcing of pH meters, nutrients, and grow lights, Sprout-lab stocks all of these in one place.
Assembly steps:
First-week daily checklist: check pH (target 5.8–6.2), verify the air pump is running, confirm the light timer fired, and top off with plain pH-adjusted water if the level drops more than 10%.
Pro Tip: Plug your pump and lights into a GFCI outlet. Water and electricity near each other in a small apartment is the one risk worth taking seriously from day one.
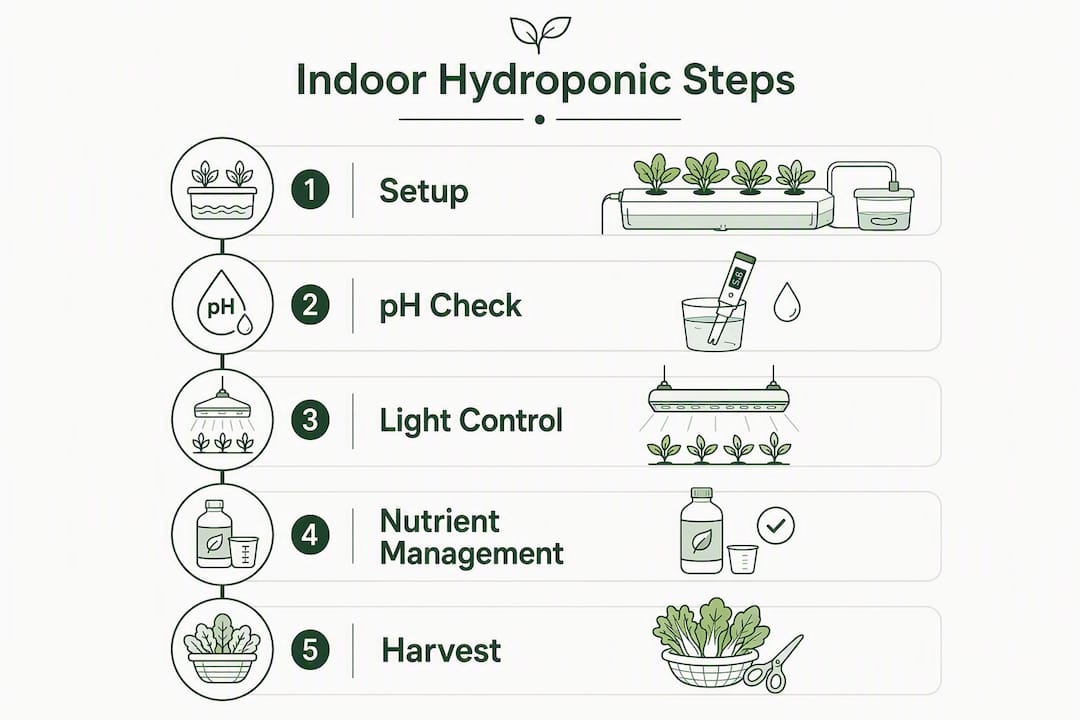
pH control is the single most important technical habit in hydroponics. A calibrated digital pH meter and checks every 2–3 days prevent the majority of beginner failures. A $20 meter pays for itself the first time it catches a pH drift before your plants show symptoms.
Nutrient lockout happens when pH drifts outside the crop’s absorption window, not because you ran out of nutrients. Yellow leaves in a well-fed system almost always mean pH is off, not a deficiency. Check pH before adding more fertilizer.
| Crop | Target pH | Target EC (mS/cm) | System |
|---|---|---|---|
| Water spinach / kangkong | 5.5–6.8 | 1.5–2.5 | Kratky or DWC |
| Malabar spinach | 5.5–7.0 | 1.5–2.5 | DWC |
| Thai basil | 5.5–6.8 | 1.5–2.5 | Kratky or DWC |
| Compact cherry tomatoes | 5.8–6.2 | — | DWC or drip |
| Dwarf papaya | 5.5–6.8 | 1.6–2.4 | Dutch bucket |
| Long beans | 5.5–6.8 | 1.5–2.5 | Dutch bucket |
Start seedlings at half the manufacturer’s nutrient dose and increase gradually as plants mature. Over-fertilizing seedlings causes yellowing that beginners routinely misread as a deficiency, then compound by adding more fertilizer.
Leafy crops need extended periods of full-spectrum light daily; fruiting crops want longer light durations and higher light intensity. Keep your LED panel 18–24 inches above the canopy for leafy greens, and drop it to 12–18 inches for fruiting plants that need more intensity.
Keep reservoir water at 18–22°C (65–72°F) to maintain dissolved oxygen and prevent root rot. Singapore’s ambient temperatures can push reservoir temps higher, so consider a small aquarium chiller or placing the reservoir away from direct sunlight.
Environmental targets at a glance:
Place a clip fan at canopy height rather than pointing it directly at the root zone. Heat rises in small apartments, so mount lights on adjustable hangers so you can raise them as plants grow taller.
Expect 3–6 weeks from seed to first harvest for leafy greens; compact fruiting crops take 8–16+ weeks after transplant.
Quick troubleshooting:
A short repeatable routine beats an intensive monthly cleanup every time.
| Frequency | Task |
|---|---|
| Daily | Check pH, verify air pump, confirm light timer |
| Weekly | Top off reservoir with pH-adjusted water; inspect roots for browning |
| Biweekly | Full reservoir change with fresh nutrient solution |
| Monthly | Clean net pots, rinse lines, wipe reservoir walls |
For leafy greens, use a cut-and-come-again approach: harvest outer leaves and let the center keep growing. Fruiting vines need soft ties and occasional pruning to keep weight off the net pots. After each full crop cycle, rinse everything with a dilute hydrogen peroxide solution before replanting.
A single countertop DWC or Kratky fits in a small footprint roughly the size of a large cutting board. A basic DWC built from repurposed containers has modest hardware costs; a complete beginner setup with a quality LED and pH meter generally costs a few hundred dollars.
Cost and space breakdown:
For small-space placement strategies, a kitchen counter, bathroom shelf with good ventilation, or a dedicated grow tent in a bedroom corner all work. Keep the system away from air-conditioning vents, which can dry roots and cause temperature fluctuations.
Most beginner hydroponic failures come down to two things: a system that is too complicated to start and no clear path to scale up. Sprout-lab solves both. Its modular reservoir kits are designed for countertop use, hold up to 56 plants in a compact footprint, and expand into Dutch-bucket or drip configurations when you are ready for fruiting crops. You are not buying a fixed box; you are buying a starting point.

The 4.9/5 rating from over 25,000 completed orders reflects something specific: the systems are genuinely beginner-friendly, not just marketed that way. Every kit is compatible with standard pH meters and nutrient solutions, so you are not locked into proprietary consumables. Browse the reservoir system beginner guide to see which kit fits your space, or check the modular system options when you are ready to plan for fruiting crops.
A compact DWC or Kratky reservoir system with a digital pH meter is the fastest, most reliable path to a first harvest of tropical vegetables indoors.
| Point | Details |
|---|---|
| Start with leafy greens | Water spinach and Malabar spinach harvest in 3–6 weeks in a basic DWC or Kratky setup. |
| pH control prevents most failures | Check pH every 2–3 days with a digital meter; target 5.8–6.2 for most tropical greens. |
| Budget $150–$250 to start properly | A full beginner setup with LED and pH meter runs $150–$250; basic Kratky starts at $50–$80. |
| Upgrade triggers are clear | Move to Dutch bucket or drip when roots crowd the reservoir or you switch to fruiting crops. |
| Sprout-lab scales with you | Sprout-lab’s modular reservoir kits start compact and expand to fruiting-crop configurations without replacing the whole system. |
Most tropical vegetable hydroponic guides spend pages on system comparisons and almost nothing on the moment when things go sideways at week two. That is when beginners panic, add more nutrients, and make the problem worse.
The real skill in indoor hydroponics is restraint. When leaves yellow, the instinct is to feed more. The correct move is to check pH first, because nine times out of ten the nutrients are already there and the plant just cannot absorb them. A $20 pH meter and the discipline to check before reacting is genuinely the difference between a thriving system and a failed one.
Starting small with a single reservoir is not a compromise. It is the fastest way to understand how your specific space, light, and water interact. One successful leafy-green cycle teaches you more than any guide can. After that, scaling to fruiting crops with Sprout-lab’s modular expansion feels straightforward rather than intimidating.
Water spinach (kangkong), Malabar spinach, and Thai basil are the easiest starting points. They tolerate beginner pH fluctuations, grow fast in a basic DWC or Kratky setup, and harvest in 3–6 weeks.
Check pH every 2–3 days using a calibrated digital pH meter. Most tropical leafy greens perform best at pH 5.8–6.2; drifting outside that range causes nutrient lockout even when nutrients are present.
Upgrade when roots are crowding the reservoir, plants are drinking it dry in under 48 hours, or you want to grow fruiting crops like dwarf papaya or long beans, which need more root volume and irrigation control than a small reservoir provides.
Yes. A countertop DWC or Kratky setup fits in a small footprint roughly the size of a large cutting board and runs quietly. Use a GFCI outlet, keep the reservoir covered to prevent algae, and place the system away from air-conditioning vents to avoid temperature swings.
A basic Kratky setup costs $50–$80; a complete beginner kit with a quality LED panel and pH meter typically runs $150–$250. Ongoing monthly costs for nutrients and electricity are modest for compact single-reservoir systems.