Free shipping for order over $50

Free shipping for order over $50
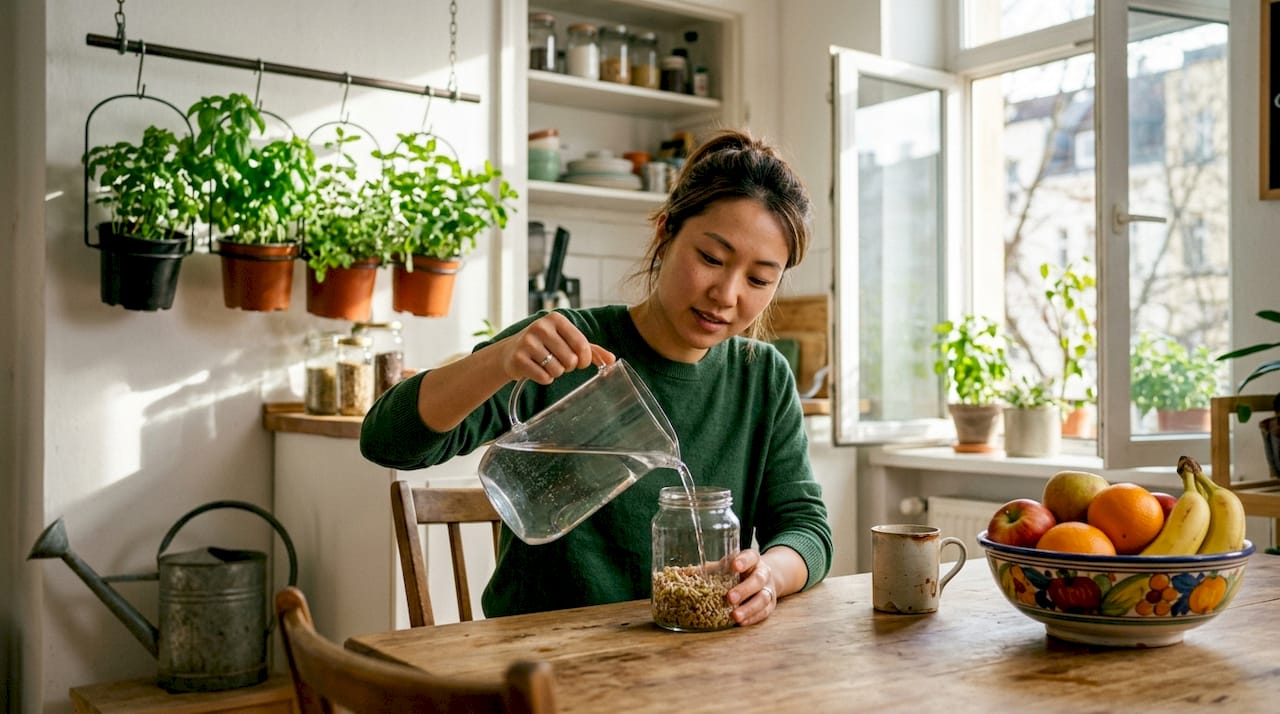
A sprout jar is a glass container fitted with a mesh or perforated lid that lets you grow edible sprouts indoors without soil, grow lights, or gardening experience. The standard setup is a wide-mouth 32-ounce Mason jar with a stainless steel mesh lid, a combination favored for its airflow, easy cleaning, and batch scalability. For urban beginners with limited counter space and zero outdoor access, this method is one of the most practical ways to grow fresh, nutritious food at home year-round. A single batch costs roughly $0.25 to produce versus $4 or more at retail, and the whole process takes 3–7 days from seed to harvest.
The sprouting process has three phases: soaking, rinsing, and draining. Each phase serves a specific purpose, and skipping or rushing any one of them leads to poor results.
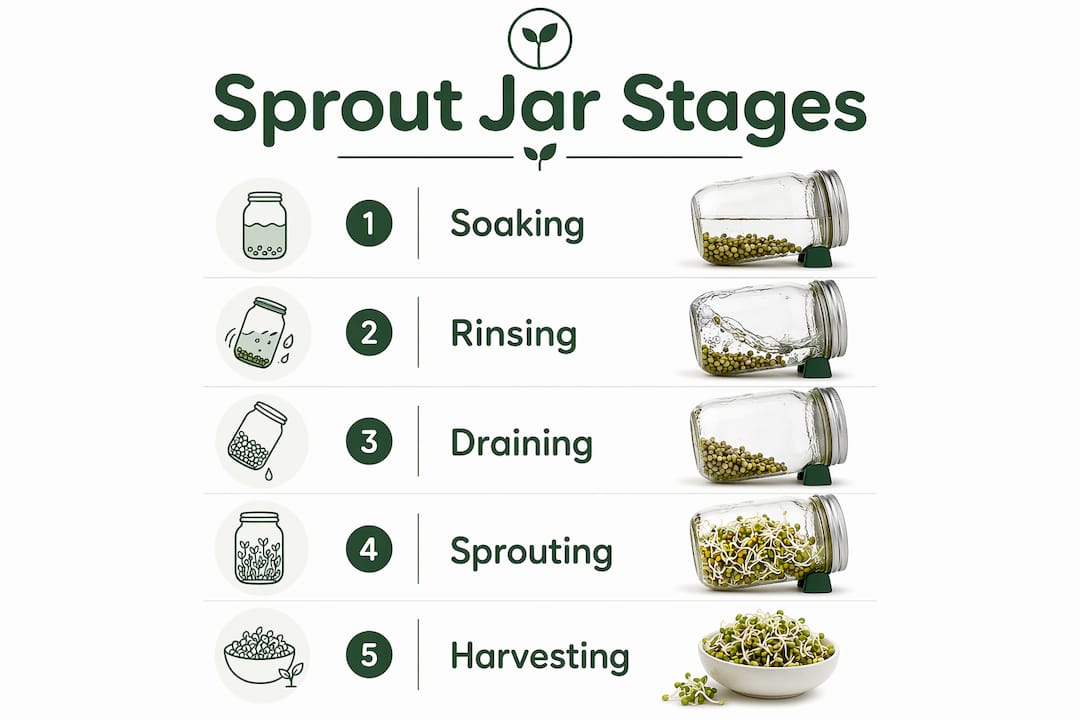
Start by measuring your seeds. Use 1–2 tablespoons for small seeds like alfalfa or broccoli, and up to a quarter-cup for larger seeds like lentils or mung beans. Overpacking the jar is the most common beginner mistake. Seeds expand significantly during soaking, and a crowded jar blocks airflow and invites mold.
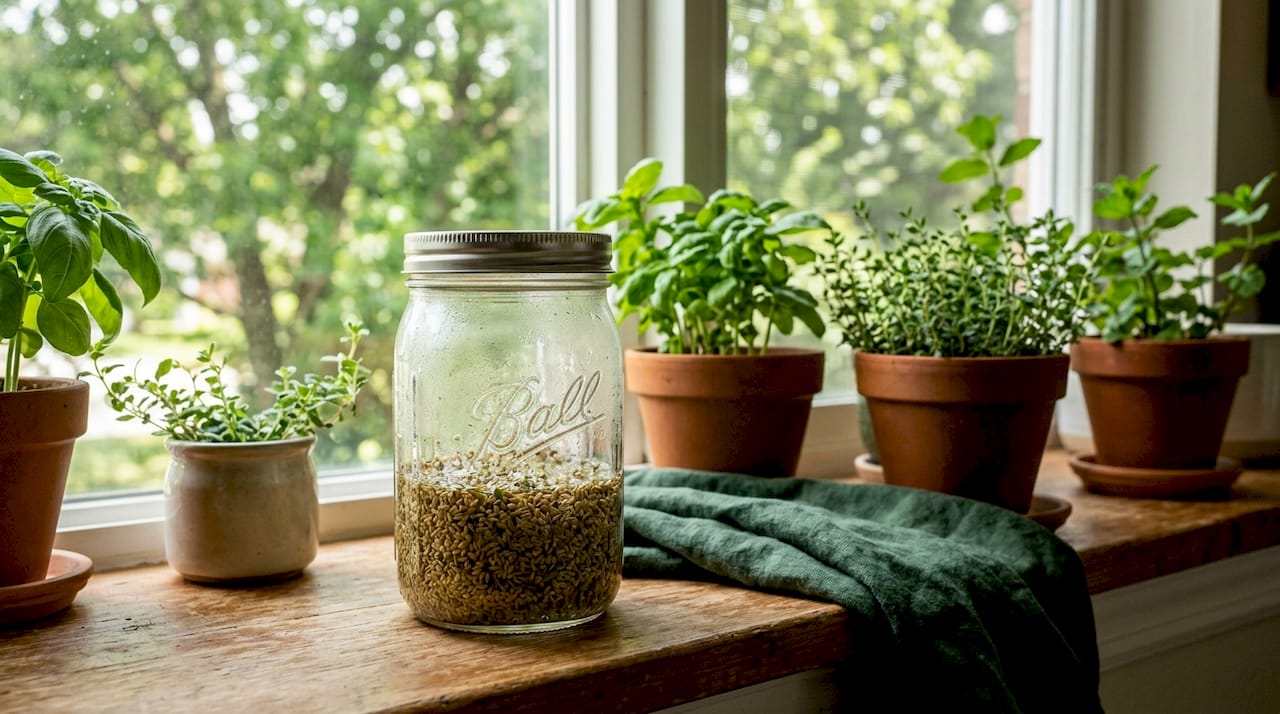
Add filtered water to cover the seeds by at least two inches, then secure the mesh lid. Soak times depend on seed size: small seeds need 4–8 hours, medium seeds need 8–10 hours, and large seeds need 8–12 hours. Soaking overnight works well for most seeds.
After soaking, drain the water through the mesh lid, then refill and swirl the seeds gently with fresh water. Drain again completely. Repeat this rinse-and-drain cycle twice daily, spacing the rinses roughly 12 hours apart. Consistent rinsing removes metabolic waste that builds up as seeds germinate, keeping the batch fresh and free of off-flavors.
Pro Tip: Use filtered or low-chlorine water for rinsing. Chlorine in tap water slows germination and can leave a bitter taste in the finished sprouts.
After each rinse, prop the jar upside down at a 45-degree angle in a bowl or dish rack. This position lets excess water drain out through the mesh while keeping air circulating around the seeds. Water pooling at the bottom of the jar is the primary cause of rot and mold. The angle is not optional. It is the single most important mechanical step in the entire process.
Most seeds sprout within 3–7 days. Alfalfa and broccoli typically finish in 4–5 days. Lentils and mung beans are often ready in 3–4 days. Harvest when the tails are about half an inch long and the sprouts smell fresh and clean.
Seed selection determines both the safety and the flavor of your sprouts. The single most important rule: buy seeds labeled specifically for sprouting. These seeds are tested against pathogens like Salmonella and E. coli. Regular dried beans from the grocery store are not processed the same way and carry a higher contamination risk when eaten raw.
The five best seeds for jar sprouting are:
Climate and water quality both affect your results. High humidity speeds up germination but also increases mold risk. Hard tap water can slow germination and affect flavor. Filtered water is the practical fix for most water quality issues.
Pro Tip: If you are pregnant, elderly, or immunocompromised, add an optional sanitization step before soaking. A brief rinse in a 1:10 dilution of food-grade hydrogen peroxide and water reduces surface pathogens on seeds before they sprout.
Sourcing matters beyond just the label. A quality sprout supply guide can help you identify reputable seed suppliers who test for contamination and offer consistent germination rates.
Most sprouting failures trace back to one of four causes: mold, rot, seed hull buildup, or off-flavors. Each has a clear fix.
Between batches, wash the jar and mesh lid with hot soapy water and let both air dry completely before reusing. Residue from a previous batch can contaminate the next one.
Pro Tip: Proper drainage and airflow using 45-degree tilt positioning is the most reliable way to prevent fungal spoilage. Set a phone reminder for your twice-daily rinse until the habit is automatic.
The nutritional case for homegrown sprouts is strong. Sprouting activates enzymes in the seed over 3–7 days, and homegrown sprouts deliver up to 30 times greater nutrient bioavailability compared to the unsprouted seed. Those activated enzymes also support digestion by breaking down compounds that otherwise make raw legumes harder to process.
The economics are equally compelling. Growing sprouts at home costs roughly $0.25 per batch. A bag of certified sprouting seeds typically yields 3–5 pounds of finished sprouts over multiple batches. At $4 or more per retail package, the savings add up fast for anyone eating sprouts regularly.
Practical advantages for apartment dwellers include:
For beginners who want to expand beyond sprouts, growing food in small spaces follows naturally from the same low-maintenance mindset that makes jar sprouting so accessible.
A sprout jar is the most cost-effective and space-efficient way for urban beginners to grow fresh, nutrient-dense food at home with no soil and no special equipment.
| Point | Details |
|---|---|
| Use the right jar | A wide-mouth 32-ounce Mason jar with a mesh lid gives the best airflow and easiest cleaning. |
| Follow the three phases | Soak seeds for 4–12 hours, rinse twice daily, and drain at 45 degrees to prevent rot. |
| Buy sprouting-certified seeds | Only seeds labeled for sprouting are tested against Salmonella and E. coli for safe raw consumption. |
| Nutrient density is real | Sprouting increases nutrient bioavailability by up to 30 times compared to the dry seed. |
| Cost savings are significant | Home sprouting costs roughly $0.25 per batch versus $4 or more at retail. |
Most beginner gardeners I talk to assume they need outdoor space, special equipment, or a green thumb to grow their own food. Sprout jars prove all three assumptions wrong in under a week.
What I find most compelling about the soaking-rinsing-draining method is how repeatable it is. There is no guesswork once you understand the three phases. You do the same steps every day, and the results are consistent. That predictability builds real confidence, which is exactly what beginners need before they invest in anything more complex.
The money angle surprised me when I first ran the numbers. Spending $0.25 to produce a batch of broccoli sprouts that would cost $4 at the store is not a marginal saving. It is a structural change in how you think about fresh food. Once you see that, it is hard to go back to buying packaged sprouts.
My honest advice: start with alfalfa or mung beans. They are forgiving, fast, and hard to mess up. Once you have two or three successful batches under your belt, you will naturally want to try more seeds and eventually expand to other indoor growing methods. The sprout jar is not the end of the road. It is the beginning of a much more satisfying relationship with growing your own food.
— Luna
Sprout jars are a great starting point, but many urban growers quickly want to produce more variety with the same low-maintenance approach.

Sprout-lab designs garden systems for busy people who want fresh food without the daily labor of traditional gardening. Their modular setups fit compact apartments and can support up to 56 plants in a small footprint, with a 4.9/5 rating across more than 25,000 completed orders. Whether you are ready to add herbs, leafy greens, or a full indoor food garden alongside your sprout jar practice, Sprout-lab offers the soil mixes, systems, and guidance to make that next step straightforward. Visit sprout-lab.com to find the right setup for your space.
A sprout jar is a glass jar fitted with a mesh or perforated lid used to grow edible sprouts indoors without soil. The standard version is a wide-mouth 32-ounce Mason jar paired with a stainless steel mesh lid.
Most seeds sprout within 3–7 days. Small seeds like alfalfa finish in 4–5 days, while mung beans and lentils are typically ready in 3–4 days.
No. Use only seeds labeled specifically for sprouting. Regular dried beans from the grocery store are not tested for pathogens like Salmonella and E. coli and are not safe for raw consumption.
Drain the jar thoroughly at a 45-degree angle after every rinse and avoid overpacking seeds. In hot or humid conditions, rinse three times daily instead of two to prevent moisture buildup.
Properly stored sprouts last up to 7 days in the refrigerator. Sprouts that are starting to peak can be frozen and used in smoothies or cooked dishes.