Free shipping for order over $50

Free shipping for order over $50
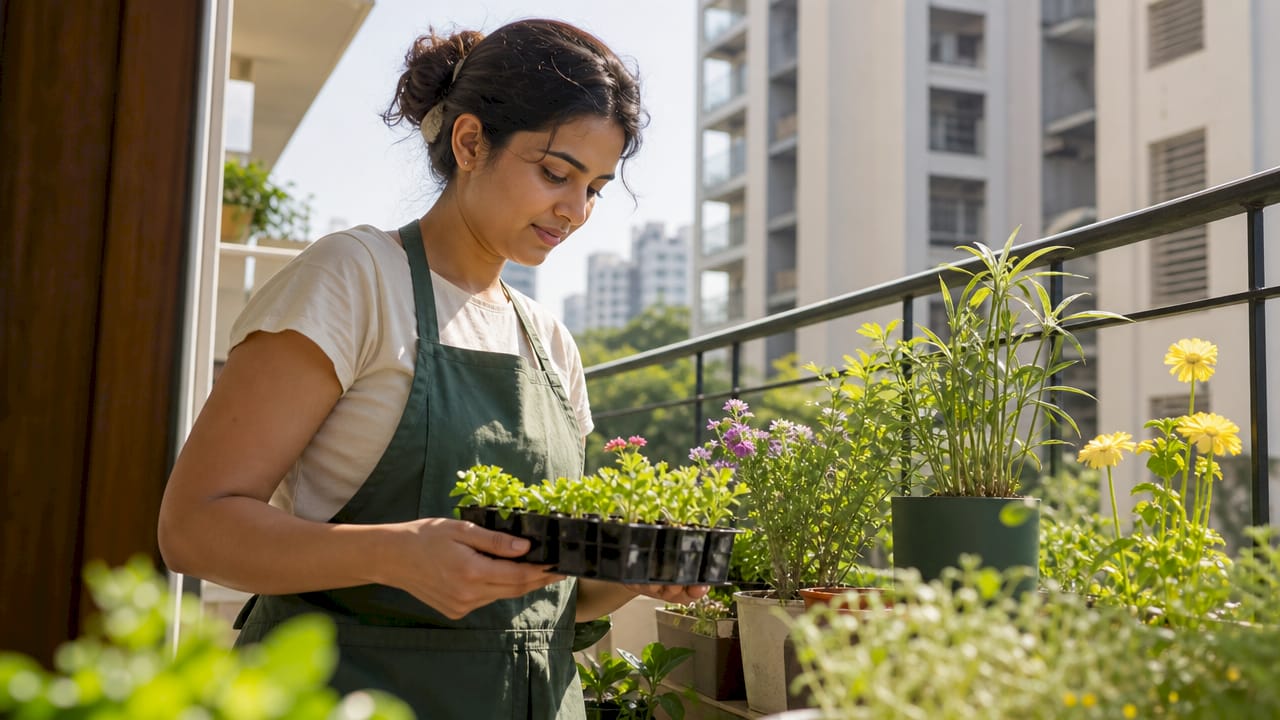
A garden sprout is the young seedling that emerges from a seed in the first days of plant growth, and it is the foundation of every successful small-space food garden. Getting this stage right determines whether your vegetable seedlings thrive or fail before they ever reach a pot. The Old Farmer’s Almanac recommends starting small with a 4×4 or 4×8 foot raised bed or container setup, which gives beginners full control over drainage and soil quality. For urban growers with a windowsill or a spare corner, mastering the garden sprout stage is the single most effective thing you can do before investing in larger setups. Sprout-lab’s hydroponic systems are built around exactly this principle: give every seed the best possible start.
Sprouting seeds indoors is straightforward when you follow a clear sequence. The most common beginner mistake is skipping steps or rushing the process. Each step below builds on the last, so work through them in order.
Choose the right seeds. Fast-germinating varieties like radishes, lettuce, basil, and spinach are the best starting point. They sprout within 3–7 days and tolerate beginner-level care well.
Use sterile seed-starting mix. Never use garden soil from outside. Sterile seed-starting mix prevents the fungal damping off disease that kills young seedlings at the soil line. Garden soil compacts in containers and blocks the air roots need.
Soak larger seeds before planting. Beans, peas, and sunflower seeds germinate faster after a 4–8 hour soak in room-temperature water. Tiny seeds like lettuce and basil do not need soaking.
Plant at the correct depth. The general rule is to plant a seed twice as deep as its diameter. Shallow planting dries out seeds; deep planting blocks light from reaching the sprout.
Keep the mix moist, not wet. Water gently with a spray bottle or a watering can with a fine rose head. The goal is consistent moisture without pooling water at the bottom of the tray.
Time your planting to your local frost dates. Tomatoes need to start indoors 6–8 weeks before the last frost, and peppers need 8–10 weeks. Lettuce and radishes can start any time of year indoors.
Cover trays with a clear dome or plastic wrap. This traps humidity and speeds germination. Remove the cover as soon as the first sprouts appear to prevent mold.
Pro Tip: Label every tray the moment you plant. Seedlings look nearly identical in the first week, and mixing up tomatoes with peppers will cost you weeks of growing time.
The right environment separates healthy, compact seedlings from the pale, stretched ones that collapse before transplanting. Three factors matter most: light, temperature, and moisture.
Light intensity and duration. A windowsill rarely provides enough light for strong seedlings. Grow lights placed 1–3 inches above seedlings and run for 12–16 hours daily prevent the leggy, weak growth caused by low light. LED grow lights are the most energy-efficient option for small apartments.
Temperature range. Most vegetable seeds germinate best between 65°F and 75°F. A seedling heat mat placed under trays raises soil temperature by 10–20°F, which dramatically speeds up germination for heat-loving plants like tomatoes and peppers.
Humidity and airflow. High humidity under a dome helps germination, but once sprouts emerge, airflow becomes critical. A small fan set to low, running a few hours each day, strengthens stems and reduces mold risk.
Containers suited to small spaces. Shallow seedling trays, recycled yogurt containers, or purpose-built sprouting jars all work well. The key requirement is drainage holes. Standing water at the bottom of any container causes root rot within days.
Watering schedule. Check moisture levels every morning. Push a finger one inch into the mix. If it feels dry, water. If it still feels damp, wait. Overwatering is the leading cause of seedling death indoors.
Pro Tip: If you notice your seedlings leaning toward the window, rotate the tray 180 degrees every day. This keeps growth upright and even without any extra equipment.
Most sprouting failures trace back to two causes: too little light or too much water. Knowing what to look for lets you fix problems before they kill a whole tray.
Damping off. This fungal disease causes seedlings to collapse at the soil line, seemingly overnight. It spreads in wet, poorly ventilated conditions. Prevention is the only real solution: use sterile mix, water carefully, and run a fan near your trays.
Leggy seedlings. Tall, thin stems that flop over signal insufficient light. Pale or stretched growth means the seedling is reaching for a light source it cannot reach. Move grow lights closer or increase daily light hours.
Overwatering. Yellowing lower leaves and a sour smell from the soil are the clearest signs. Let the mix dry out slightly between waterings and check that drainage holes are not blocked.
Mold on the soil surface. White fuzzy growth on top of the mix is usually harmless but signals too much moisture and not enough airflow. Increase fan time and reduce watering frequency.
Pest problems. Fungus gnats are the most common indoor pest. Their larvae live in wet soil and damage roots. Letting the top inch of soil dry between waterings breaks their breeding cycle without any chemicals.
Healthy sprouts have dark green leaves, short compact stems, and roots that hold the mix together when you lift the tray. If yours look like that, you are on track.
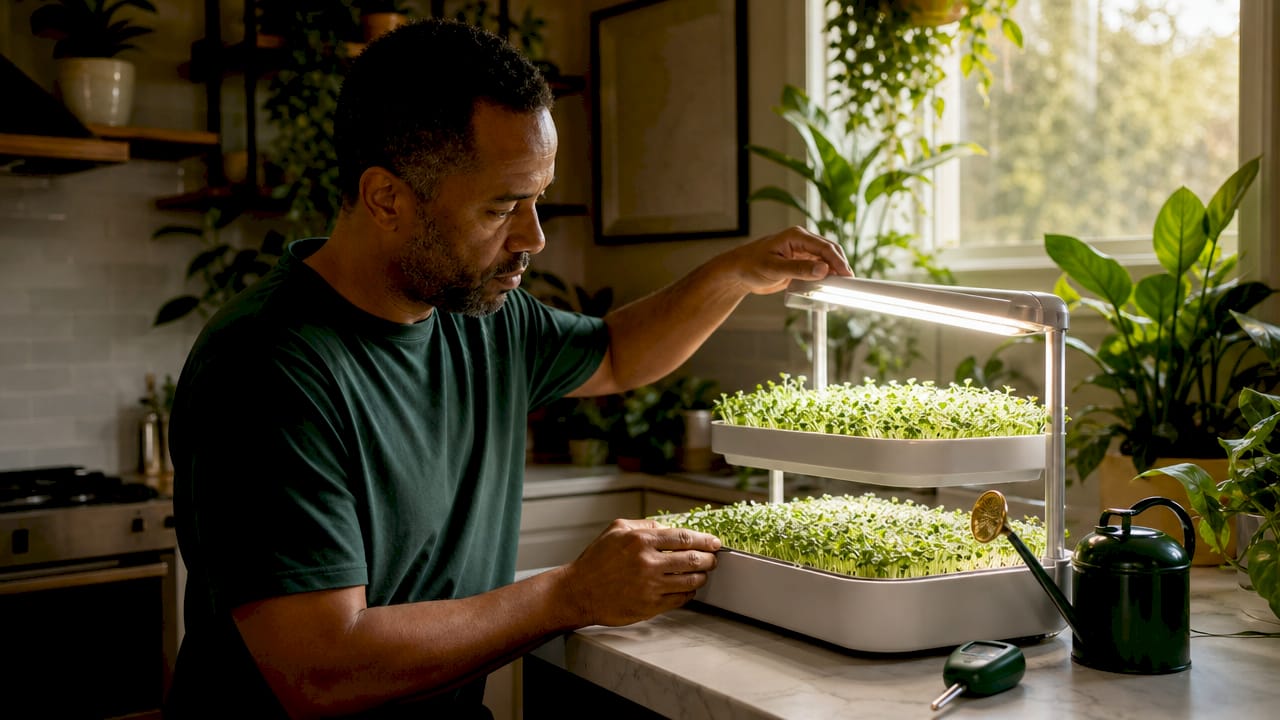
Sprouts become productive food plants when you match the right variety to your space and growing method. Urban gardening success comes from starting with a few high-yield, container-friendly plants rather than trying to grow everything at once.
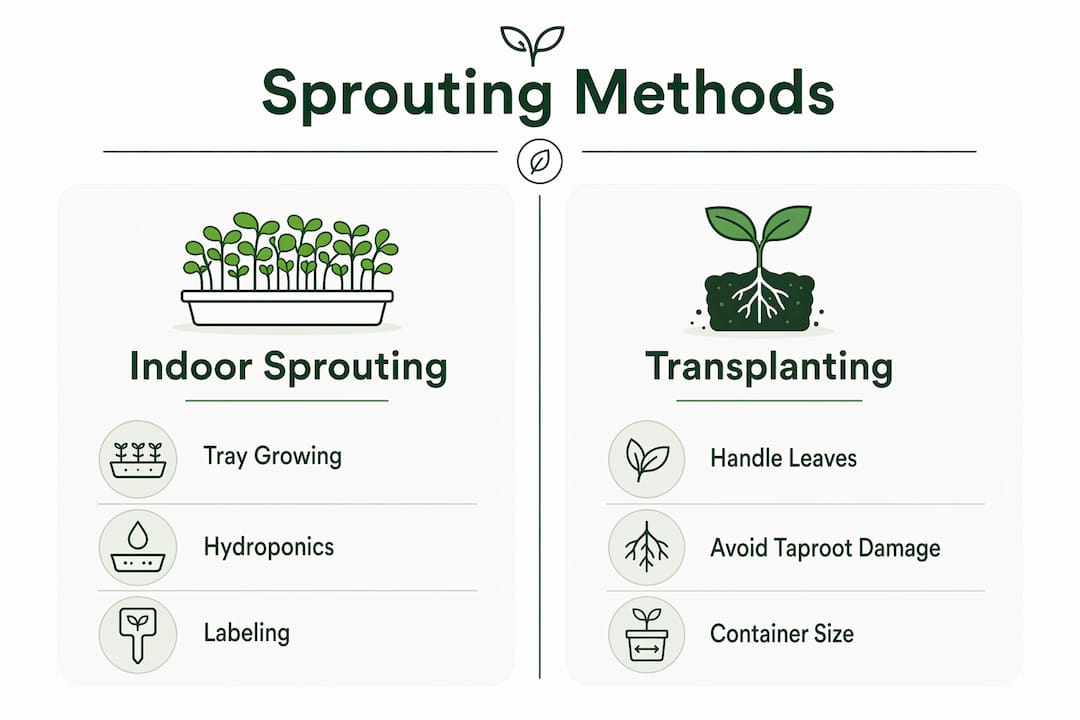
The table below shows which plants work best as sprout-to-harvest crops in small indoor spaces, and which are better direct-seeded.
| Plant | Best method | Container size | Time to harvest |
|---|---|---|---|
| Lettuce | Sprout indoors, transplant | 6-inch pot or tray | 30–45 days |
| Basil | Sprout indoors, transplant | 6–8 inch pot | 3–4 weeks after transplant |
| Tomatoes | Sprout indoors, transplant | 5-gallon bucket | 60–80 days after transplant |
| Radishes | Direct seed in container | 4-inch deep tray | 25–30 days |
| Carrots | Direct seed only | 12-inch deep container | 70–80 days |
Carrots and other root crops do not transplant well because their taproots are easily damaged. Direct seeding them into their final container avoids transplant shock entirely.
When transplanting seedlings, handle them by the leaves, never the stem. A damaged stem cannot recover, but a leaf can be lost without killing the plant. Water transplants immediately after moving them and keep them out of direct sun for 24 hours while they settle.
Sprouts grown for culinary use, such as radish sprouts or sunflower shoots, follow a different path. Harvest them with scissors at soil level when they reach 1–2 inches tall, typically 5–7 days after germination. They require no transplanting and produce a second flush of growth in many cases. For growers with very limited space, this indoor food garden approach delivers fresh food in under two weeks with almost no equipment.
Hydroponic setups pair exceptionally well with the sprout stage. Once seedlings develop their first true leaves, they can move directly into a hydroponic system where nutrient delivery is precise and water use is minimal. Sprout-lab’s modular systems support up to 56 plants in a compact footprint, which makes the transition from sprout tray to full production straightforward for apartment growers.
Successful indoor sprouting depends on sterile growing media, adequate light, and careful moisture control from day one.
| Point | Details |
|---|---|
| Start with the right seeds | Fast-germinating varieties like lettuce, radishes, and basil give beginners the quickest, most reliable results. |
| Use sterile seed-starting mix | Sterile mix prevents damping off; garden soil compacts and introduces fungal disease to containers. |
| Light is the top priority | Grow lights placed 1–3 inches above seedlings and run 12–16 hours daily prevent leggy, weak growth. |
| Match plants to your method | Transplant-friendly crops like tomatoes and lettuce start as sprouts; root crops like carrots are better direct-seeded. |
| Fix problems early | Pale stems signal low light; yellowing leaves signal overwatering. Both are correctable if caught within a day or two. |
The mistake I see most often is not a lack of skill. It is a lack of patience in the first week. Beginners check their trays every hour, lift the dome, poke the soil, and then wonder why germination is uneven. Seeds need darkness, warmth, and undisturbed moisture to crack open. Every time you lift the dome, you release the humidity that makes that happen.
The second pattern I notice is over-investment before proof of concept. Someone buys 12 varieties of seeds, fills 20 trays, and then gets overwhelmed when half of them fail. Starting small with two or three varieties teaches you far more than a large batch does, and the losses hurt less.
Grow lights changed everything for urban growers. Before affordable LED panels became widely available, windowsill growing produced weak, stretched seedlings that rarely survived transplanting. A basic LED grow light on a timer costs less than a dinner out and produces seedlings that are genuinely comparable to what professional nurseries grow. That shift is real and worth acting on.
The joy of growing your own food from a sprout is not about the harvest alone. It is about watching something you planted respond to your care. That feedback loop, checking on your trays each morning and seeing new growth, builds the attentiveness that makes you a better grower over time. Start with one tray. Get that right. Then scale up.
— Luna
Growing food in a small space gets easier when your setup does more of the work for you. Sprout-lab’s hydroponic systems for urban growers are built specifically for apartments and compact spaces, supporting up to 56 plants without a yard or a greenhouse.

Sprout-lab also offers premium soil mixes formulated for seedling health, so you start with the right growing medium from the first day. With a 4.9/5 star rating across more than 25,000 completed orders, the products are proven by growers at every experience level. Whether you are sprouting your first tray of lettuce or moving into a full hydroponic setup, Sprout-lab has the tools to match where you are right now.
A garden sprout is the young seedling that emerges from a seed in the first days of germination. It is the earliest stage of plant growth and the starting point for all vegetable seedlings.
Fast-growing seeds like radishes and lettuce sprout in 3–7 days. Slower varieties like tomatoes and peppers take 7–14 days, especially without a heat mat.
Leggy seedlings are caused by insufficient light. Move grow lights to within 1–3 inches of the seedlings and run them for 12–16 hours daily to produce compact, strong growth.
Yes. Shallow trays, recycled containers with drainage holes, and a basic LED grow light are all you need to grow edible sprouts and vegetable seedlings indoors year-round.
Damping off is a fungal disease that collapses seedlings at the soil line. Using sterile seed-starting mix, watering carefully, and running a small fan near your trays prevents it effectively.