Free shipping for order over $50

Free shipping for order over $50
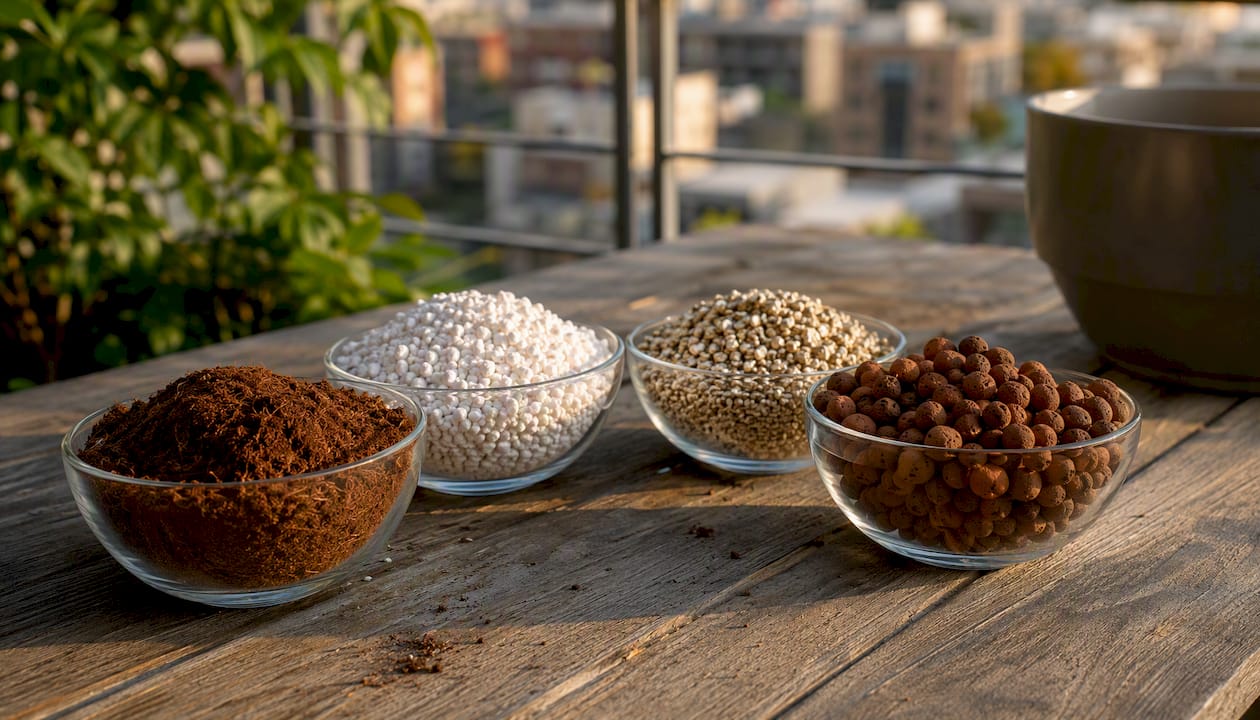
For most beginner gardeners, a quality potting soil or a buffered coco coir and perlite mix is the best place to start. Both forgive the mistakes almost everyone makes in the first few grows, mainly overwatering and skipping pH checks. That forgiveness comes down to buffering: soil already carries organic matter and nutrients, and a properly buffered coco mix has had its calcium and magnesium binding issue neutralized before it ever reaches your container, so you’re not fighting the medium while you’re still learning to read your plants.
Here’s where to start today:
The best grow medium for a first-time gardener is a quality potting soil or buffered coco coir and perlite blend, because both buffer feeding and pH mistakes that inert hydro media cannot.
| Point | Details |
|---|---|
| Start with soil or buffered coco | Both forgive watering and feeding mistakes better than inert hydro media like rockwool or LECA. |
| Watch the pH range | Keep soilless mixes between 5.5 and 6.5; bagged soil usually buffers close to neutral on its own. |
| Water by touch, not schedule | Water when the top inch of medium feels dry rather than on a fixed daily routine. |
| Match medium to reusability goals | LECA and pumice last for years if rinsed and sterilized; rockwool and most potting mixes are single-use. |
| Progress in order | Move from soil to buffered coco to hydroponics as confidence grows, and start with a pre-buffered mix like those from Sprout-lab to skip early pH troubleshooting. |
A growing medium is whatever holds your plant’s roots in place while supplying water, oxygen, and a path to nutrients. That’s it. Dirt does this job in nature; everything else on this list is a human attempt to do it better, cheaper, cleaner, or with less mess indoors.
The three broad categories work very differently, and knowing which one you’re holding changes how you water and feed.
Soil is alive. It holds bacteria, fungi, and organic matter that slowly release nutrients and buffer pH swings on their own. Soilless mixes (coco coir, peat, perlite, vermiculite, and blends of these) are sterile and inert, or close to it. They give roots something to grip and hold moisture, but they don’t feed the plant, so you’re responsible for every nutrient that goes in. Hydroponic media (rockwool, LECA, growstones) do almost nothing but hold the plant upright while roots sit in or near a nutrient solution. There’s essentially zero nutrient buffering, which means feeding mistakes show up fast.
The Oklahoma State University Extension notes that soilless media must independently provide oxygen, water, nutrient access, and physical support, since they don’t bring any of that to the table on their own the way garden soil does. A separate OSU Extension horticulture guide makes the practical consequence clear: because soilless media are sterile, they demand a dedicated feeding schedule and closer attention to pH and electrical conductivity than soil ever does.
A quick way to sort where you land:
Here’s every medium you’ll run into shopping for your first setup, what it’s actually good at, and where it falls short.
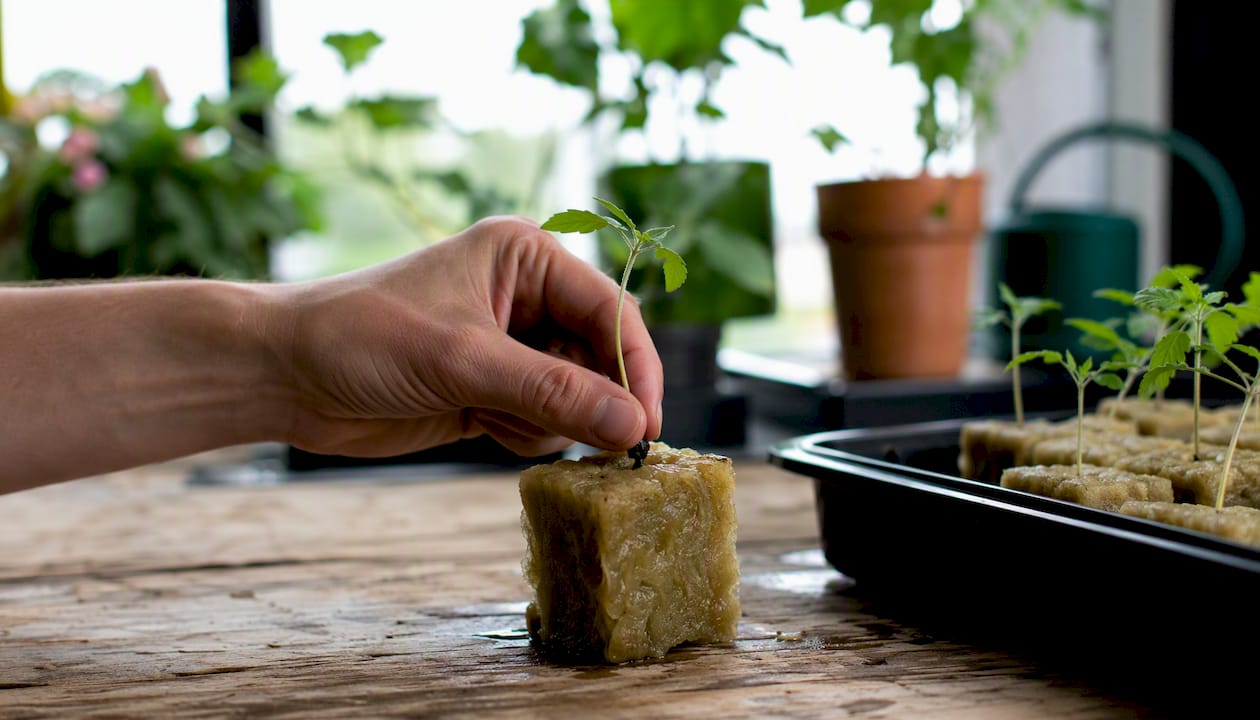
Rockwool (mineral wool) is spun volcanic rock pressed into cubes and slabs. It holds water extremely well and provides excellent aeration in the same breath, which is why it’s a hydroponic standard for seed starting and cuttings. The catch: raw rockwool is alkaline straight out of the package and needs conditioning in pH-adjusted water before use, and it’s not biodegradable, so most growers treat it as single-use.
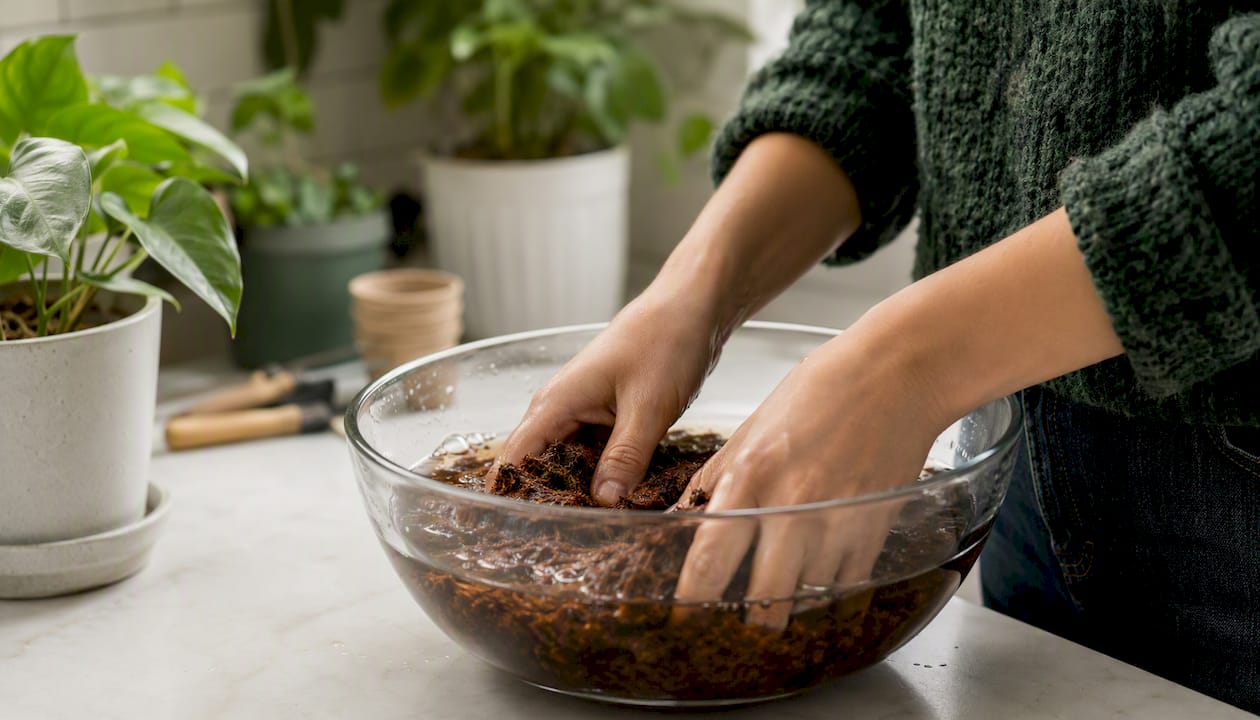
Coconut coir (coco coir or cocopeat) comes from ground coconut husks and behaves like a renewable peat substitute. It holds moisture well, resists compaction better than peat, and works in containers or hydro setups. Unbuffered coir binds calcium and magnesium, starving your plant of both unless you buy pre-buffered coir or treat it yourself with a cal-mag supplement.
Hydroton, better known as LECA (expanded clay pebbles), is fired clay balls that are completely inert and pH neutral. Drainage and aeration are excellent, water retention is not, so LECA suits hydroponic systems and semi-hydro houseplant setups far better than it suits anything you’re hand-watering on a forgetful schedule. Rinse and sterilize it between grows and it lasts indefinitely.
Perlite is volcanic glass popped like popcorn under heat, and it’s nearly weightless. It adds drainage and aeration to any mix but holds almost no water or nutrients on its own, so it’s a supporting ingredient, not a standalone medium. Dust from dry perlite is a real irritant, so wear a mask when you’re pouring it.
Vermiculite is a mineral that expands into light, spongy flakes and does the opposite job of perlite: it holds water and nutrients rather than draining them away. Mixed with perlite, the two balance each other out, which is why seed-starting blends almost always contain both.
Peat moss (sphagnum peat) is decomposed sphagnum harvested from bogs, and it’s been the backbone of potting mixes for decades because it holds water and nutrients so efficiently. It’s naturally acidic, so mixes need lime to correct pH, and it’s a slow-to-renew resource, which is the main environmental knock against it.
Pumice is another volcanic rock, denser than perlite, so it doesn’t float to the top of your pot the way perlite eventually does. It adds long-term aeration and drainage without breaking down, making it a favorite for succulent and cactus mixes and for growers who want a permanent structural amendment.
Growstones are made from recycled glass, engineered as a greener alternative to expanded clay. They hold more water than LECA while still draining well, and the recycled-glass angle appeals to growers trying to cut down on mined or quarried materials in their setup.
Sand and gravel drain aggressively and add weight, which matters if you’re trying to keep a top-heavy plant upright, but their weight also makes them expensive and impractical to ship or move in bulk. They hold almost no nutrients and are rarely a beginner’s best choice outside of succulent mixes.
Rice hulls are a byproduct of rice milling, lightweight and surprisingly durable for aeration, and they’re a genuinely sustainable substitute for perlite in mixes.
Composted bark breaks down slowly, adds structure, and is common in mixes for larger container plants and woody perennials that need a coarser, longer-lasting medium.
Soilless or potting mixes blend several of the above (typically peat or coco, plus perlite or vermiculite) into a ready-to-use product, often pre-loaded with starter nutrients. The UF/IFAS Extension points to exactly this combination as the reason bagged potting mixes are the most forgiving entry point for new growers.
| Medium | Best for | Water retention | Aeration/drainage | pH neutrality | Reusability | Cost/availability | Beginner ease | Environmental impact |
|---|---|---|---|---|---|---|---|---|
| Rockwool | Seed-starting, cuttings, hydroponics | High | High | Needs conditioning | Single-use | Moderate, widely sold | Moderate | Not biodegradable |
| Coco coir | Container plants, hydroponics | High | Moderate | Needs buffering | 1 to 2 seasons | Low, widely sold | High | Renewable byproduct |
| LECA (Hydroton) | Hydroponics, semi-hydro houseplants | Low | High | Neutral | Reusable indefinitely | Moderate | High | Reusable, low waste |
| Perlite | Aeration additive, all systems | Low | High | Neutral | Reusable | Low, widely sold | High | Mined, low renewability |
| Vermiculite | Seed-starting, propagation | High | Low | Neutral | 1 season | Low, widely sold | High | Mined, low renewability |
| Peat moss | Container plants, potting mixes | High | Moderate | Acidic | Single-use | Low, widely sold | High | Slow to renew |
| Pumice | Container plants, succulents | Low | High | Neutral | Reusable indefinitely | Moderate | Moderate | Mined, durable |
| Growstones | Hydroponics, container plants | Moderate | High | Neutral | Reusable | Moderate | Moderate | Recycled glass |
| Sand/gravel | Succulents, structural weight | Low | High | Neutral | Reusable | Low, but heavy to ship | Moderate | Mined, high shipping impact |
| Rice hulls | Aeration additive, hydroponics | Low | High | Neutral | 1 season | Low | Moderate | Renewable byproduct |
| Composted bark | Larger containers, perennials | Moderate | Moderate | Slightly acidic | Single-use | Low | Moderate | Renewable byproduct |
| Soilless potting mix | Container plants, general use | High | Moderate | Buffered | Single-use | Low, widely sold | Very high | Mixed, depends on blend |
Notice how few of these are pH neutral out of the bag. That single column is the difference between a medium you can use straight from the package and one that needs a conditioning step first.
Ask yourself four questions before you buy anything.
Your answers point you toward one of three lanes. Lean toward soil if you’re growing in containers, watering by hand, and want the lowest-effort option with the most room for error. Lean toward coco coir if you want more control over feeding than soil allows but still want a forgiving buffer, or if you’re building a passive hydro system where a fully inert medium isn’t required. Lean toward inert hydro media (rockwool, LECA) only once you’re ready to manage a nutrient solution directly, because there’s no organic material left to correct a mistake for you.
A few red flags worth memorizing. Never drop raw rockwool straight into a system without conditioning it in pH-adjusted water first; it starts alkaline and will spike your reservoir’s pH otherwise. Never use unbuffered coco coir for calcium-sensitive crops like tomatoes without a cal-mag supplement on hand. And think twice before ordering sand or gravel online. Their weight makes shipping costs disproportionate to what you’re actually getting for a beginner container garden.
Every medium needs some prep before it touches your roots, and skipping it is where most beginner problems start.
Coco coir needs a pre-soak and a buffer. Soak dry coco bricks in water until fully expanded, then treat with a cal-mag solution (or buy pre-buffered coir) so it won’t rob your plant of calcium and magnesium during the first weeks of growth.
Perlite should be rinsed before use to knock down the fine dust that irritates lungs and eyes. Wear a dust mask while handling dry perlite or vermiculite, and dampen the bag slightly before opening it.
Rockwool needs conditioning: soak cubes in water adjusted to a pH around 5.5, and never use tap water straight from the faucet if your water runs alkaline.
Peat moss is often bone dry and hydrophobic straight out of the bag. Rewet it gradually, working water in over several minutes, rather than dumping it in all at once and watching the water run off the surface.
Potting soil mixes need no special prep beyond a good fluff to break up compacted clumps before filling containers.
Pro Tip: Keep a small pH test kit near your workspace. A five-dollar drop kit catches a rockwool or coco pH problem before it ever reaches your roots, which is far cheaper than replanting a dead seedling.
Reusability varies by medium. Rinse and sterilize LECA between grows (a diluted hydrogen peroxide soak works) and it will outlast several seasons. Perlite can be reused once rinsed clean of old root debris, though it breaks down slightly each cycle. Rockwool and most bagged potting mixes are best treated as single-use. Once roots have fully colonized a rockwool cube or a mix has been through one full grow cycle, the University of Nevada Extension notes that its water-holding and pH behavior has usually shifted enough that starting fresh is the safer bet.
Pick the one that matches how much control you want, then follow the steps in order.
The University of Minnesota Extension points to Deep Water Culture as the cheapest and easiest hydroponic entry point precisely because it needs so little beyond a container, an air stone, and one of these inert media, which is exactly why Plan C leans on it.
Most first-grow problems trace back to the medium, not the plant. Here’s how to read the symptoms.
| Symptom | Likely medium-related cause | Quick fix |
|---|---|---|
| Yellowing lower leaves | Overwatering, compacted soil starving roots of oxygen | Let the medium dry out further between waterings; check drainage holes aren’t blocked |
| Slow or stalled growth | Unbuffered coco coir locking up calcium/magnesium | Add a cal-mag supplement and retest in one week |
| Wilting despite wet medium | Root rot from waterlogged, low-aeration mix | Repot into a mix with more perlite or pumice; trim any blackened roots |
| White crust on medium surface | Salt buildup from nutrient overfeeding | Flush with plain pH-adjusted water until runoff is clear |
| Rockwool turning green/slimy | Algae growth from light exposure and excess moisture | Cover exposed rockwool surface; reduce watering frequency |
| Plant won’t stand upright | Insufficient support from lightweight media alone (perlite/vermiculite only) | Mix in a heavier component like composted bark or add stakes |
Run through a quick four-point check before you panic over any symptom. Squeeze the medium: does it feel soggy, bone dry, or right? Smell it: a sour or rotten-egg smell usually signals anaerobic conditions from overwatering. Pull the plant gently and inspect the roots: white and firm is healthy, brown and mushy is root rot. Finally, test pH and EC if you have a meter. Soil should sit close to neutral, coco mixes usually run 5.5 to 6.5, and straight hydro media depends entirely on what you’re feeding it, since the medium itself carries no buffer to hold pH steady.
Most first-time growers reach for hydroponics because it looks impressive online, then get discouraged when a pH swing kills a seedling in 48 hours. That’s backwards. The plants don’t care how sophisticated your setup looks. They care whether the roots have consistent water, oxygen, and nutrients, and soil or a buffered coco mix delivers all three without demanding that you become a chemist first.
The progression that actually works is soil, then buffered coco, then hydroponics, in that order, and skipping steps is the single most common reason beginners quit gardening in the first season. Sprout-lab builds its soil mixes around this exact philosophy, blending pre-buffered ingredients specifically so a first-time grower doesn’t need to test pH daily just to keep a basil plant alive. One caveat worth repeating: whatever medium you pick, it has to match both your plant’s needs and your system type. A calcium-hungry tomato in unbuffered coco will struggle no matter how good your watering schedule is.
Choosing between a dozen grow mediums is confusing enough without also guessing whether a bag of coco coir has already been buffered. Sprout-lab removes that guesswork by selling soil mixes that arrive pre-balanced for specific plant types, so you skip the pH testing and cal-mag math that trips up most first-time growers.

If Plan A or B above sounds like your speed, a ready-made potting mix gets you growing the same day it arrives. If you’re leaning toward Plan C and want to try hydroponics without building a system from scratch, the reservoir hydroponic system guide walks through a beginner setup that pairs directly with the rockwool-and-LECA approach covered above. And for anyone growing in a small apartment or balcony, compact growing systems let you scale up to dozens of plants without needing a backyard.
Start simple: pick up a bag of soil mix or a starter hydro kit, and get your first seedling in the medium within the week.
Perlite and vermiculite are among the cheapest options by volume, and a bag of either costs just a few dollars at most garden centers. Sand and gravel are also cheap to buy but often end up costing more once shipping weight is factored in.
Root vegetables like carrots and potatoes, along with large woody plants and most trees, struggle in hydroponic systems because they need deep, stable soil structure that inert media and suspended roots can’t replicate.
The six primary types are aeroponics, ebb-and-flow (flood and drain), water culture (including Deep Water Culture), nutrient film technique (NFT), drip systems, and wick or passive systems, ranging from simple passive setups to active systems needing pumps and monitoring.
Common potting mediums include peat moss, coco coir, perlite, vermiculite, composted bark, and pre-blended soilless potting mixes that combine several of these for balanced water retention and drainage.
Soil is generally easier for beginners because its organic matter and biology buffer watering and feeding mistakes, while hydroponic media offer no such cushion and demand closer nutrient and pH monitoring from day one.