Free shipping for order over $50

Free shipping for order over $50
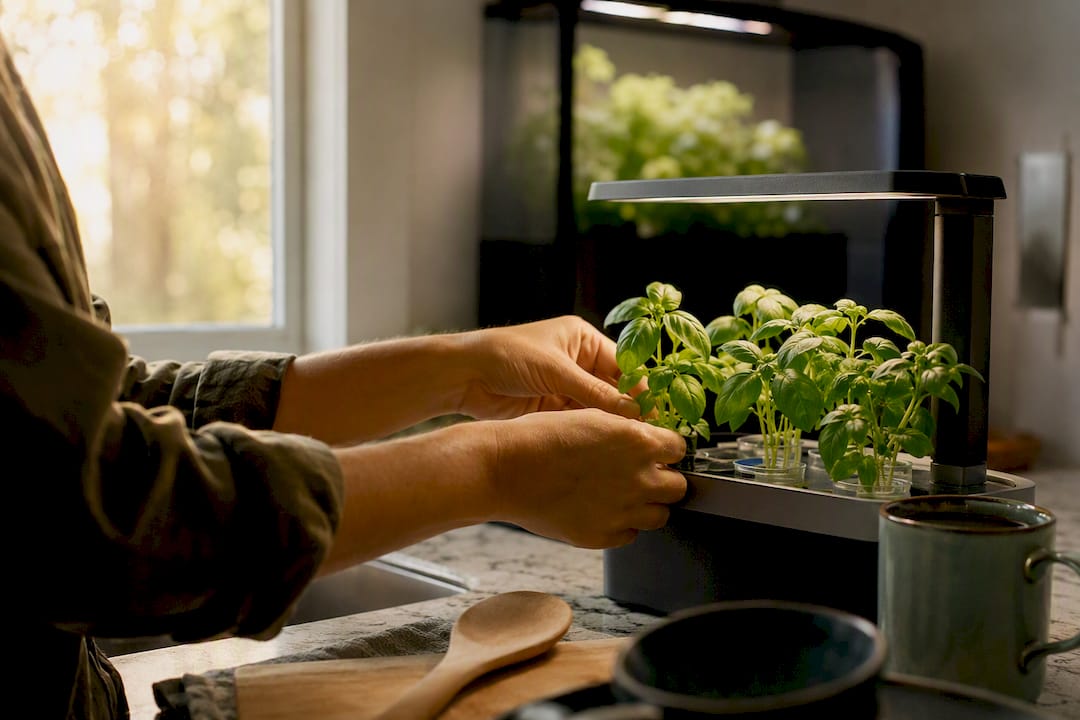
Yes: for most apartment beginners, a compact, automated reservoir-based countertop hydroponic system is the easiest way to grow herbs and baby greens year-round. Sprout-lab makes a modular option built for small counters that cuts down on guesswork. Expect smaller yields than a backyard garden, but far less mess and almost no soil, weeding, or bug management.
TL;DR:
- Active reservoir systems with circulation are more forgiving for beginners because they minimize dosing errors and promote faster growth.
- Measure your counter space accurately and choose a system with adjustable lighting and manageable reservoir size to avoid overcrowding and noise issues.
- Focus on fast-growing, shallow-rooted plants like herbs, lettuce, and microgreens, while avoiding large fruiting plants and root vegetables unsuitable for small systems.
- During the first month, keep pH between 5.5 and 6.5, change nutrients every 10 to 14 days, and monitor reservoir temperature to prevent root problems.
- Sprout-lab’s modular systems allow scalability, and starting with a small, automated setup enhances success and reduces maintenance challenges.
Countertop hydroponics means growing plants in water mixed with dissolved nutrients instead of soil, usually under a small built-in LED light, sitting right on your kitchen counter. No dirt, no drainage trays, no outdoor space required. The plant’s roots hang directly in the nutrient solution or sit in a wicking medium that pulls water up to them, and the light stands in for the sun.
That setup works brilliantly for a narrow band of plants and poorly for others. Herbs and baby greens thrive because they have shallow, fast-growing root systems and don’t need much vertical space before harvest. A basil plant or a head of lettuce can go from seed to plate in a jar the size of a mason jar. Compare that to a tomato vine, which needs deep roots, heavy nutrient loads, and a trellis system that no countertop unit can support.
There are two basic approaches, and the difference matters more than most first-time buyers realize:
For a beginner in an apartment, active reservoir systems tend to win out. They’re more forgiving of small dosing mistakes because the water keeps moving, and most come with the pump, light, and reservoir already built into one countertop unit. Passive setups cost less and run silently, which makes them a smart second unit for a bedroom or desk, but they demand more careful initial mixing since there’s no circulation to even things out.
Picking a system by looks or price alone is how most people end up with something that hums all night or barely fits between the toaster and the coffee maker. A few measurable factors predict success far better than marketing photos do.
1. Measure your actual footprint first. Grab a tape measure before you shop. Most countertop units run somewhere between 8 and 14 inches wide and 12 to 20 inches tall with the light arm extended, but product photos routinely make units look smaller than they are. Independent reviewers specifically flag this: measure your counter space, then check the unit’s listed dimensions against it, including clearance for the light arm to raise as plants grow.
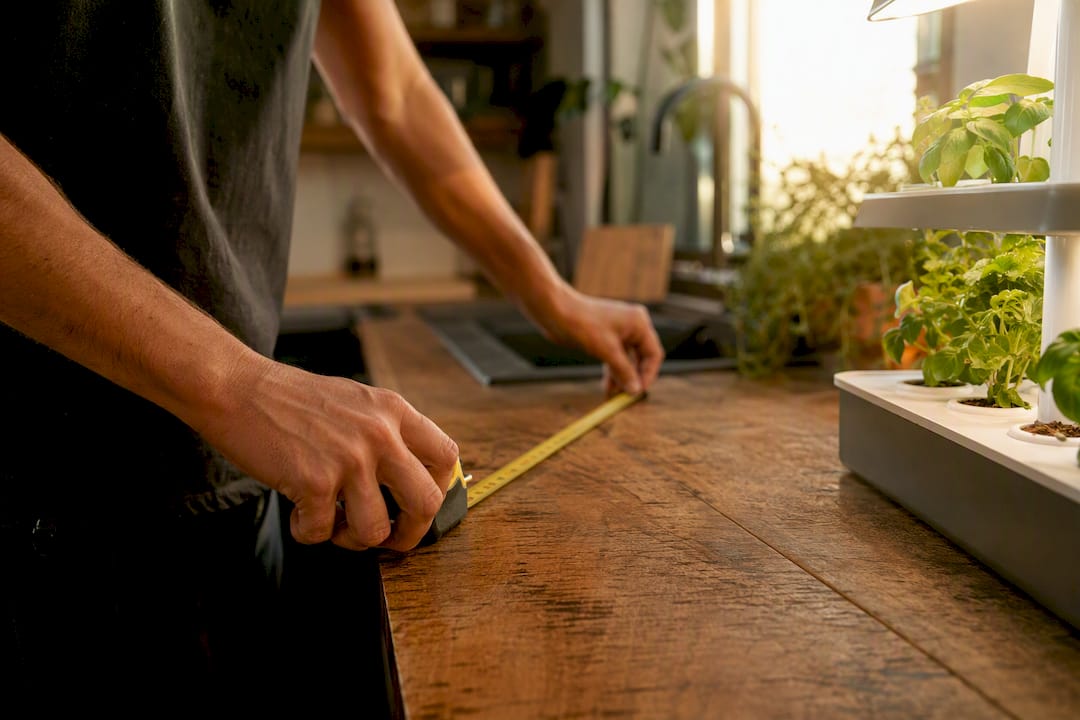
2. Check the light’s power and positioning. Look for full-spectrum LEDs in roughly the 20 to 30 watt range for a countertop unit, with an adjustable arm that lets you raise the light as your canopy fills in. Most systems run lights 14 to 16 hours on and 8 to 10 hours off, mimicking a long summer day without cooking the leaves.
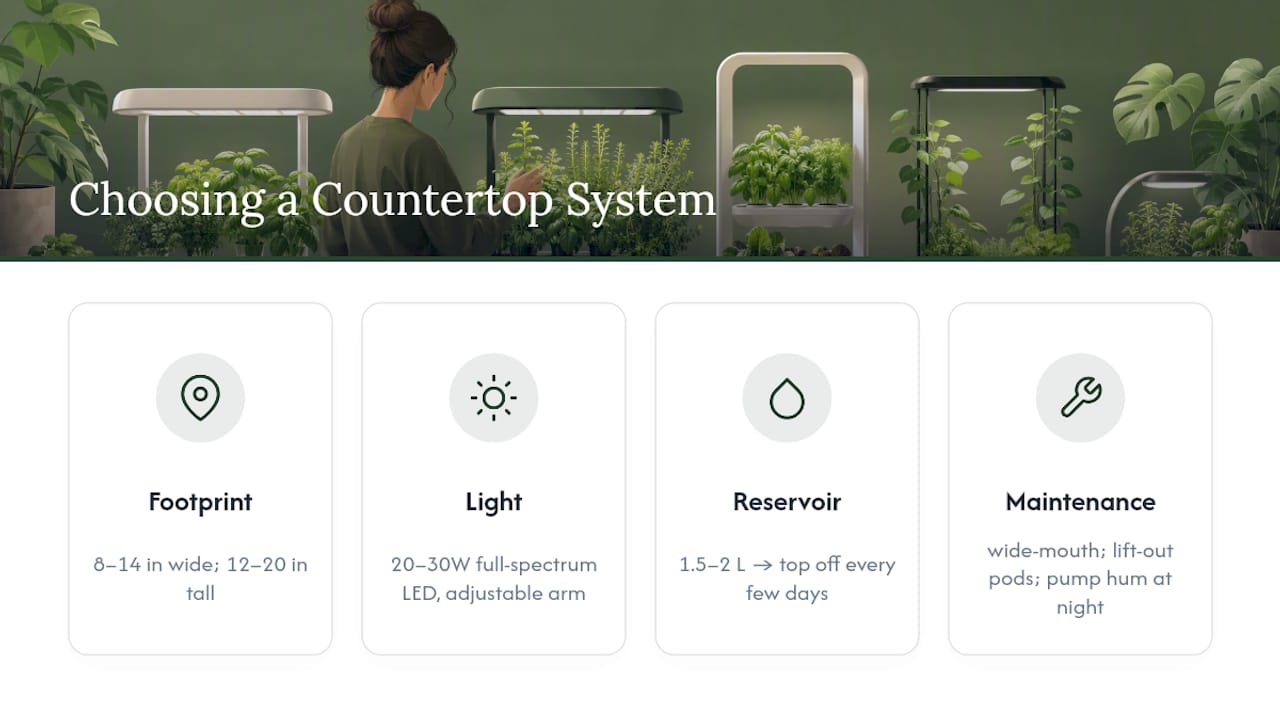
3. Weigh reservoir size against refill frequency. A bigger reservoir means fewer top-offs, but it also means a bulkier unit. A 1.5 to 2 liter reservoir usually needs topping off every few days; anything larger buys you closer to a week between checks.
4. Listen before you buy. Passive and Kratky-style units are silent since they have no pump. Pump-driven DWC systems produce a low, steady hum, comparable to a small aquarium filter, which is fine on a kitchen counter but worth avoiding on a nightstand.
5. Check how easy the unit is to clean. Look for a wide-mouth reservoir you can reach into with a sponge, and pods or net cups that lift out individually instead of one fused tray.
6. Decide between pre-dosed pods and open seed cups. Pods cost more per planting but remove the guesswork of nutrient measuring, which matters a lot in your first month.
7. Factor in automation versus manual control. Automated reminders and self-adjusting light timers reduce daily thinking, but every added sensor is one more part that can fail. Manual systems ask more of you but are simpler to troubleshoot when something goes wrong.
Pro Tip: Don’t judge a system’s noise level from a product video. Ask in reviews specifically about nighttime use, since a hum that’s unnoticeable during the day can be surprisingly loud in a quiet bedroom at 2 a.m.
Running costs are lower than most people expect. A typical 20 watt LED running 16 hours a day works out to roughly $1.33 a month at average US electricity rates, and nutrient concentrate for a small reservoir lasts months. Consumer Reports’ testing of countertop gardens confirms that footprint, light quality, and ease of maintenance, not price, are what actually separate a good unit from a frustrating one.
The first month determines whether you stick with hydroponics or shove the unit in a closet by week three. Most failures trace back to the same handful of avoidable mistakes.
Pick a spot away from sleeping areas and curious pets. A kitchen counter or a dining table corner works better than a nightstand, since the light runs most of the day. If pets are around, choose a unit with a covered reservoir. Cats and small dogs will drink from an open nutrient tank if given the chance.
Fill the reservoir and dose conservatively. Mix nutrients at the low end of the manufacturer’s recommended range for your first cycle. Test pH immediately with a basic test kit or strips, aiming for a target range of 5.5 to 6.5, the sweet spot where most herbs and greens absorb nutrients efficiently. Our guide to pH management walks through correction steps if your reading lands outside that band.
Start with 2 to 3 pods, not a full tray. Experienced growers consistently recommend filling only a fraction of your unit’s capacity at first. Overcrowding causes shading and uneven nutrient uptake before you’ve even learned the system’s rhythm. Stagger your sowing dates by a week or two so you’re not harvesting everything at once.
Set your light schedule and check canopy distance. Run the light 14 to 16 hours a day on a timer, and keep 2 to 4 inches between the bulb and the leaf tops. Raise the arm as seedlings grow to avoid leaf burn from getting too close.
Top off with plain water between full changes. This is the single most misunderstood rule in home hydroponics. Never add nutrient concentrate to top-off water; only dose nutrients during a scheduled full reservoir change, usually every 10 to 14 days. Otherwise nutrient concentration creeps up in a small reservoir and can burn roots. Our nutrient dosing guide breaks down a simple schedule.
Keep a small log, even a sticky note on the fridge works, tracking four things: date, water top-off amount, pH reading, and any nutrient or cleaning action. A simple maintenance log is one of the cheapest ways to cut early failure rates, because it forces you to notice small changes before they become plant emergencies.
Once your system is running, upkeep takes about five minutes a day and one longer session per week. Skipping the small stuff is what leads to the big, plant-killing problems.
Test pH weekly and correct as needed. Drift outside the 5.5 to 6.5 range blocks nutrient absorption even when the reservoir looks perfectly healthy. A few drops of pH up or down solution, added slowly and retested, is usually all it takes.
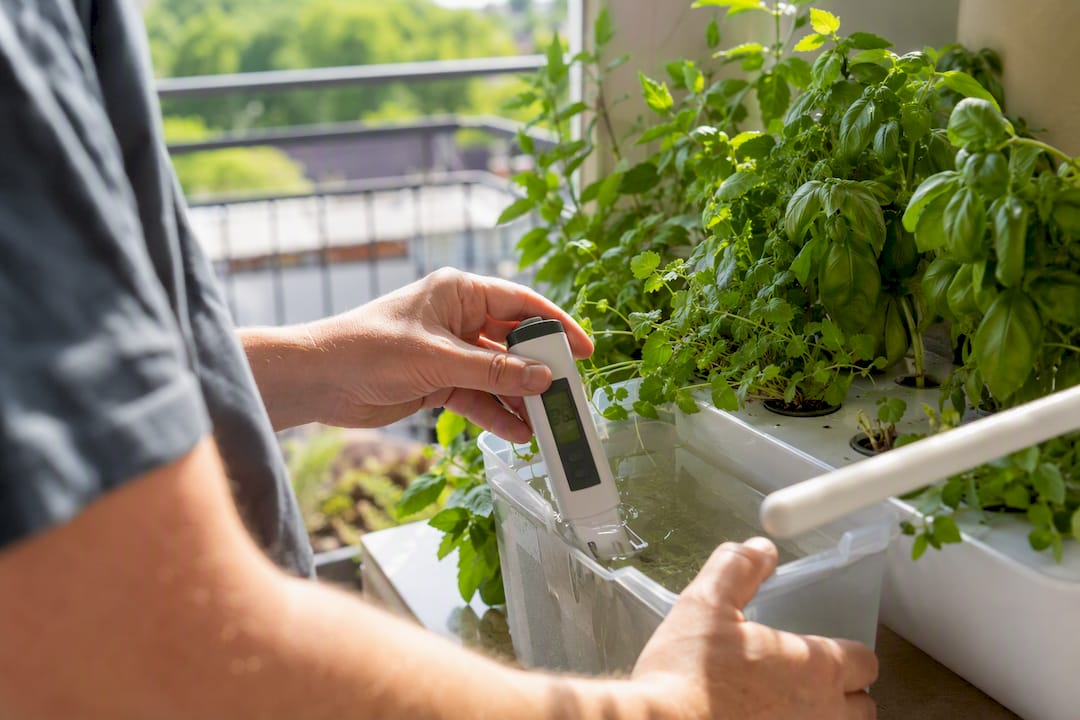
Change the full nutrient solution every 10 to 14 days. Small reservoirs concentrate salts faster than large ones, so over-dosing is a common beginner error, especially when someone tops off with nutrient mix instead of plain water. Stick to the schedule rather than eyeballing it.
Watch reservoir temperature. Keep it in the 65 to 72°F range. Water above roughly 75°F sharply raises the risk of root rot, so avoid placing your unit directly above a warm oven, dishwasher, or inside an unventilated cabinet. If roots already look brown and slimy, cut away the affected sections, drop the reservoir temperature, and do a full water change immediately.
Block light from reaching the reservoir to stop algae. Algae needs light and nutrient-rich water to grow, both of which a hydroponic reservoir provides in abundance. Most units solve this with an opaque lid or wrap; if yours doesn’t, black tape around the reservoir walls works fine, paired with a full cleaning every couple of weeks.
Check the pump if you hear new noise or reduced flow. A sudden rattle or drop in bubbling usually means the intake is clogged with root debris. Unplug the unit, remove the pump, and rinse the intake screen and impeller under running water.
Prune regularly to protect airflow. Trim outer leaves on basil and lettuce once they start shading the pods next to them. Poor circulation under a thick canopy is a quiet contributor to both mold and slow growth, and it’s an easy fix with a pair of kitchen scissors.
Not every plant belongs in a countertop system, and knowing which ones to skip saves you a wasted growing cycle.
Plants that consistently do well:
Plants to avoid on small countertop systems: large fruiting plants like tomatoes and peppers, vining crops like cucumbers, and root vegetables like carrots. They need either deep root space, heavy nutrient loads, or physical support structures that a compact unit simply can’t provide. Save those for a larger reservoir-based grow setup if you catch the bug for something bigger.
If your unit has multiple pods, pair plants with similar light and nutrient needs, herbs together, greens together, rather than mixing a slow-growing parsley with a fast lettuce that will shade it out within two weeks. Staggering your sowing by a week between pods also means you’re not harvesting and resowing everything on the same day, every time.
Sprout-lab’s modular hydroponic system scales from a single countertop unit up to a full setup supporting as many as 56 plants, which matters more than it sounds like it should. Most beginners start with modest ambitions and then, once the first basil harvest actually works, want to add lettuce, then chives, then a second tray. A modular design lets that happen without buying an entirely new system. Customers have reported a 4.9 out of 5 star rating across more than 25,000 completed orders, with frequent mentions of fast seed germination and visibly healthier plants compared to their first attempts at soil gardening.
Those buyer priorities line up directly with what actually predicts success on a counter: a footprint that’s honestly measured rather than optimistically photographed, wide-mouth reservoirs designed to be wiped clean in under a minute, and included guidance that walks a total beginner through their first pH check instead of assuming they already know one. Sprout-lab also backs its systems with plant care content and dosing guidance, which matters most in that shaky first month when a grower isn’t yet sure whether a yellowing leaf is normal or a warning sign.
Picture a studio apartment kitchen with about 12 inches of open counter next to the stove. A single compact Sprout-lab unit fits that space with room to spare, handles three or four herb pods comfortably, and takes roughly the same five minutes of daily attention as feeding a houseplant. Six months later, if the herbs are gone in a week and the grower wants greens too, the same modular frame accepts an added tray instead of forcing a full system replacement. That’s the practical case for starting modular even if your first goal is small: our guide to reservoir hydroponic systems covers how that scaling works in more detail.
Here’s what a realistic first month looks like, not the polished version from a product page. Days 1 through 5 are mostly waiting: you’ll check the reservoir daily, but germination for most herbs takes 5 to 10 days, and nothing visible happens until it does. Resist the urge to add more nutrients because “it looks slow.” It’s not slow. It’s normal.
By week two, you should see stable seedlings with their first true leaves, the pointed ones that come after the initial round leaves. This is when pH drift becomes more noticeable, since young roots are more sensitive, so this is the week to actually use your test kit rather than skip it. Week three is usually uneventful: steady growth, maybe your first light adjustment as stems reach up. Week four is when most fast herbs and baby greens are ready for a first light harvest, snip outer leaves rather than pulling the whole plant, so it keeps producing.
The emotional trap is expecting a lush jungle by day 10. You’ll get a handful of herb sprigs at first, and that’s the honest yield of a starter setup. Fill 2 or 3 pods, not all of them, and use that first cycle to learn your system’s habits before you commit to a full tray.
— Luna
If you’ve read this far, you already know the real decision isn’t whether hydroponics works. It’s whether you’ll pick a system sized honestly for your counter instead of one that looks good in a product photo and crowds your toaster in real life. Sprout-lab’s compact automated systems are built around exactly the criteria covered above: measured footprints, accessible reservoirs, and modular frames that grow with you instead of forcing a second purchase.

If your counter space is tight, start with a compact automated setup sized for a single tray of herbs. If you’re already thinking past herbs toward a rotating supply of greens, a modular system lets you add trays later without starting over. And if you’d rather skip electricity entirely for your first attempt, a passive Kratky-style starter kit is the lowest-cost way to test the waters, literally. Pick the option that matches your counter and your ambition, and check the full range of setups to compare footprints side by side before you order.
A few outside resources back up the guidance in this article and are worth bookmarking. University of Minnesota Extension’s small-scale hydroponics guide explains the science behind DWC systems and substrate choices in more technical depth. Consumer Reports’ countertop garden testing offers independent, brand-agnostic evaluations focused on footprint and light performance. For herb-specific troubleshooting from growers who’ve made the early mistakes already, Urban Harvest Lab’s beginner guide is a solid second opinion. And if you’re curious about complementary uses for a fresh herb harvest, this roundup of eco-friendly herb products is worth a browse.
A compact, automated reservoir-based system is generally the easiest starting point because circulation reduces dosing mistakes and most units bundle the light, pump, and reservoir together. Sprout-lab’s modular countertop units are built specifically around that entry-level use case while still allowing you to expand later.
The main drawbacks are the upfront cost of a unit, dependence on electricity for active systems, the need to monitor pH and nutrients regularly, a learning curve around correct dosing, and vulnerability to root rot if reservoir temperature or cleanliness slip.
Fast-growing herbs like basil, chives, and parsley, along with leafy greens like lettuce and arugula and quick-turnaround microgreens, all do well in countertop systems because of their shallow roots and short time to harvest.
Large fruiting plants like tomatoes and peppers, vining crops like cucumbers, and root vegetables like carrots generally don’t work on small countertop units because they need deeper roots, more nutrients, or physical support the system can’t provide.