Free shipping for order over $50

Free shipping for order over $50
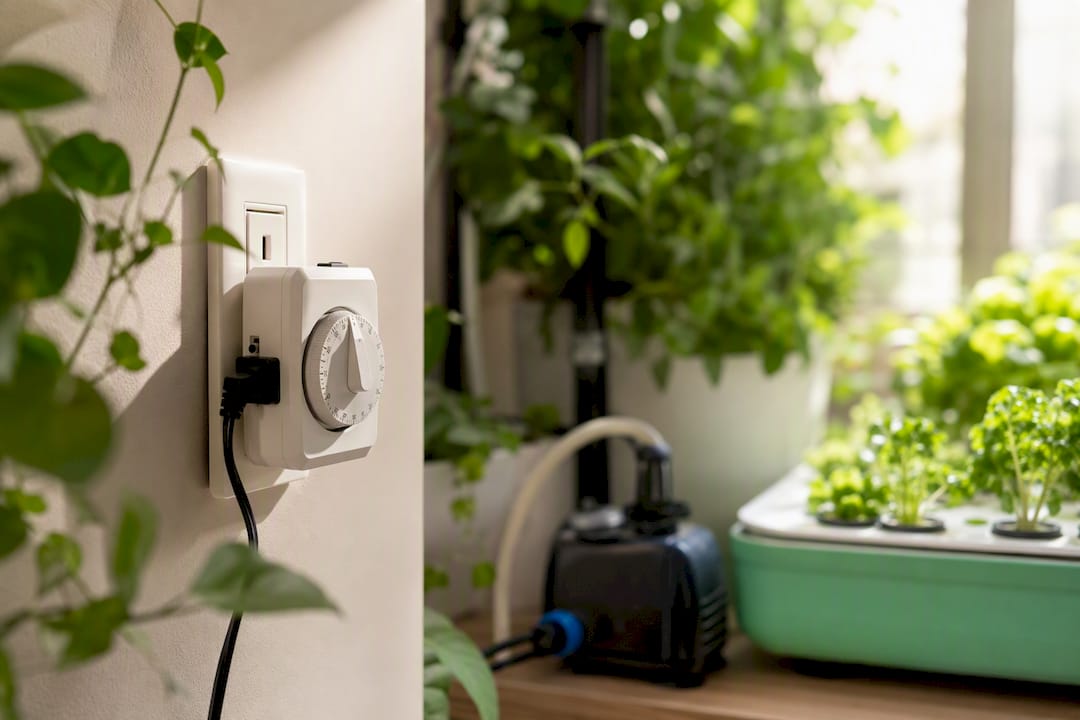
A hydroponic timer is an electromechanical or electronic switch that turns lights, pumps, and fans on and off according to a schedule you set. Understanding how hydroponic timers work comes down to one distinction: use simple timers (mechanical dials or Wi-Fi smart plugs) for daily light schedules, and use digital or cycle timers for frequent pump cycling that needs minute-level accuracy.
Before you plug anything in, check three things:
Hydroponic timers automate lighting and irrigation by switching power on a schedule, but pump cycling demands digital or cycle timers while lighting tolerates simpler mechanical or smart-plug options.
| Point | Details |
|---|---|
| Match timer to task | Use mechanical timers or smart plugs for daily light schedules, digital or cycle timers for pump cycling. |
| Check load and inrush current | Confirm a timer’s amp rating covers both running and startup draw before wiring in a pump. |
| Test every full cycle | Watch equipment respond in person after any new program or hardware change to confirm actual delivery. |
| Know timer limits | Timers switch power only; upgrade to a smart controller when you need pH, EC, or remote dosing control. |
| Start with the right kit | Sprout-lab’s automated setups pair lighting and irrigation zones with hardware sized for reliable timer control. |
Every timer sits between the wall outlet and your equipment, and it does one job: complete or break the electrical circuit on a schedule. How it does that mechanically depends on the type.
A mechanical dial timer uses small plastic pins arranged around a rotating 24-hour face. Each pin represents a 15 or 30-minute block, and when a pin engages, it trips an internal lever that closes the circuit. There’s no computer chip involved, just a synchronous motor turning the dial at the same rate as a wall clock. Digital timers replace that mechanical dial with a microchip and a solid-state relay, which lets you program exact start and stop times down to the minute, sometimes the second. Cycle timers work differently still: instead of clock times, you set a repeating duration, like “5 minutes on, 55 minutes off,” which loops continuously regardless of the time of day.
Voltage and current matter more than most beginners expect. A pump might list a modest running wattage but pull two or three times that for a fraction of a second at startup, an effect called inrush current. A cheap timer rated right at the pump’s running load can arc, weld its contacts shut, or fail outright the first time that motor kicks on.
Clock accuracy and memory are the quiet failure points. Mechanical timers ride through short power outages because the dial just stops turning and picks up where it left off once power returns. Digital timers without a battery backup often reset to a default schedule, or worse, start from zero, throwing off your photoperiod by hours. For pump cycles, even small drift adds up. A cycle timer that runs 10% long over a week can mean the difference between moist media and a waterlogged root zone.
Picture it as a simple chain: mains power feeds into the timer, the timer’s internal switch (or an external relay it triggers) opens and closes, and that action controls the device at the end of the line.
Pro Tip: After programming any new schedule, stay and watch one full cycle in person. Confirm the light actually clicks on, the pump actually primes, and the timer display matches real-world time before you walk away.
Picking the right timer type prevents most of the headaches growers run into with automation. A timer needs to match the application: segment timers handle simple daily routines, cycle timers manage repeat durations, and digital timers step in for anything needing multi-event or minute-level precision.
Mechanical (analog) segment timers are the cheapest option, often under $10, and they’re genuinely fine for grow lights on a fixed 16/8 or 18/6 photoperiod. Their weakness is granularity. Because they only switch in 15 to 30-minute blocks, they’re a poor fit for short, frequent pump cycles where you need a precise 5 or 10-minute flood.
Programmable digital timers solve that precision problem. They allow multiple programs per day, minute-level (sometimes second-level) accuracy, and most models hold their schedule through a power outage thanks to a built-in battery backup. This is the category worth spending a bit more on if pumps are involved.
Cycle or interval timers are a specialized sub-class built around repeating on/off durations rather than clock times, which makes them the natural choice for aeroponic misting or any system needing a tight, unchanging rhythm.
Wi-Fi smart plugs and app-based controllers add remote scheduling, phone notifications, and usage logs. They’re convenient for catching a missed light cycle while you’re away, but they lean on your home network and a cloud service to function, which makes them better suited to non-critical loads like lighting rather than pump cycling, where a dropped connection at the wrong moment matters more.
| Timer type | Best for | Precision | Max load | Programmability | Battery backup |
|---|---|---|---|---|---|
| Mechanical dial | Lighting | 15 to 30-minute steps | Typically 10 to 15 amps | Daily repeating schedule | None (survives outages passively) |
| Digital timer | Irrigation, pumps | Minute-level | Varies by model, usually 10 to 15 amps | Multiple daily programs | Yes, common |
| Cycle/interval timer | Aeroponics, frequent misting | Second to minute-level | Varies by model | Repeat duration, not clock-based | Model-dependent |
| Wi-Fi smart plug | Lighting, non-critical loads | Minute-level, app-scheduled | Typically 10 to 15 amps | App-based, remote | Cloud-dependent memory |
Before buying, confirm four things: the minimum switching interval, the rated load in amps or watts, how many outlets or channels you actually need, and whether high-draw equipment should trigger a relay instead of running straight through the timer.
Timers commonly manage six categories of equipment in a home setup:
What goes on a timer changes depending on which hydroponic method you’re running. In a deep water culture (DWC) setup, only the light usually sits on a timer. The air pump stays on around the clock, since continuous oxygenation keeps roots from suffocating and shouldn’t be interrupted to save a few cents of electricity. Ebb-and-flow systems are built around the timer. The pump cycles on for a short flood, then off long enough for the medium to drain fully. NFT (nutrient film technique) systems usually run the pump continuously, so the timer’s only job there is lighting. Drip systems fall somewhere in between. Depending on your medium and pot size, you might run short frequent pulses or near-continuous flow.
A practical rule of thumb: anything you can afford to have running non-stop, like an air pump for a DWC reservoir setup, is a poor candidate for a timer built to save power. Anything that needs to switch on a predictable schedule, like lights or flood cycles, is exactly what a timer is designed for.
Start conservative and adjust from there rather than guessing at aggressive intervals on day one. A good timer program should make operations predictable: begin with a modest schedule, watch the root zone for several days, and change only one variable at a time.
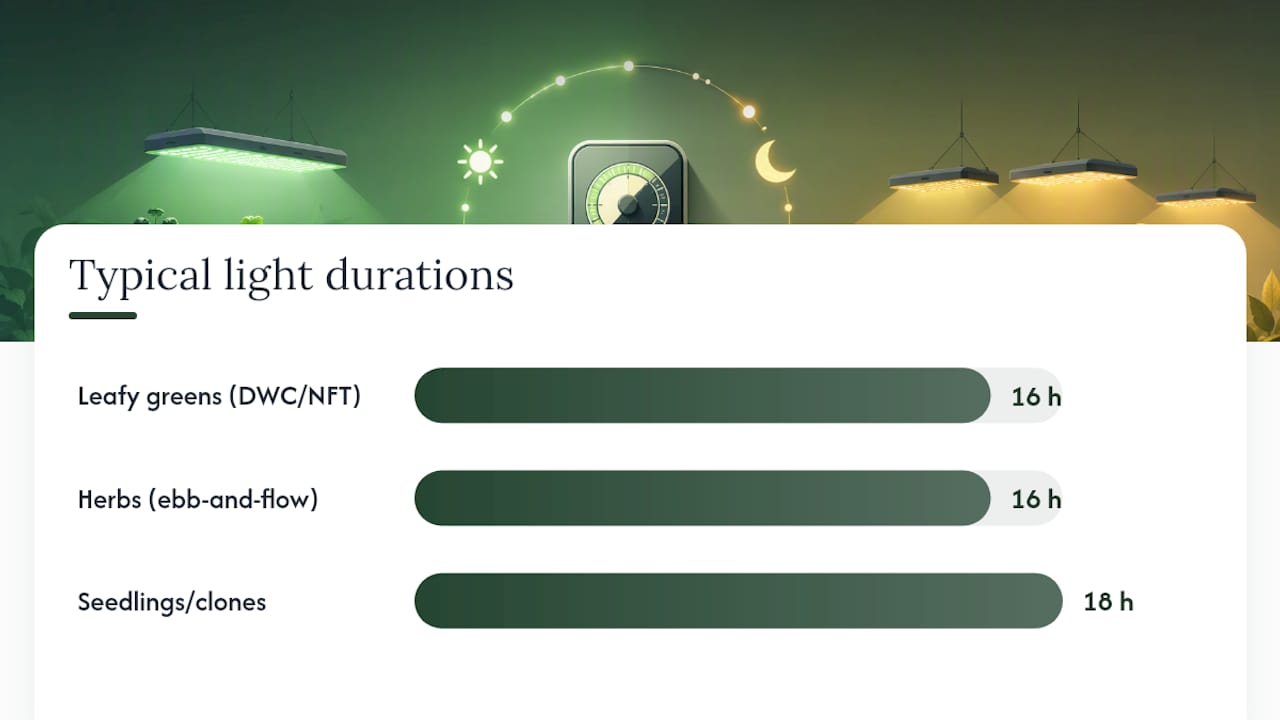
| System type | Light schedule | Pump/irrigation cycle |
|---|---|---|
| Leafy greens (DWC/NFT) | 16 hours on, 8 hours off | Air pump continuous; NFT pump continuous |
| Herbs (ebb-and-flow) | 16 hours on, 8 hours off | 15 minutes on every 1 to 2 hours during light period |
| Seedlings/clones | 18 hours on, 6 hours off | Light misting, 5 to 10 minutes every 2 to 3 hours |
Typical ebb-and-flow ranges run 15 to 30 minutes on every 1 to 2 hours during the light period, but the right number for your setup depends on medium and plant size. Fine-tune with these steps:
Make sure the pump-off period is long enough for complete drainage where your system requires it. A flood table that never fully drains invites root rot, and it’s worth confirming your chosen timer’s rated load comfortably covers your pump before you lock in a schedule.
Setting up a timer safely takes about ten minutes and prevents the two failure modes that actually matter: electrical hazards and flooded floors.
That last point deserves emphasis. Pumps and HID ballasts can pull several times their running current for a split second at startup, and that surge is what fries budget timers. Running the math is simple: a pump rated at 100 watts on a 120-volt circuit draws roughly 0.83 amps at steady state, well inside a 10-amp timer’s rating. But if startup surge briefly triples that draw, a timer rated exactly at the load’s edge has no margin.
Pro Tip: After wiring anything new, run one complete cycle while you watch. Confirm the pump actually primes, water reaches the far end of your lines, and the reservoir drains back down before you leave the room. This single habit catches loose fittings and mis-set intervals before they cost you a tray of seedlings, echoing the routine testing practices that keep larger operations running smoothly. For step-by-step buildout help, see how a flood and drain system goes together.
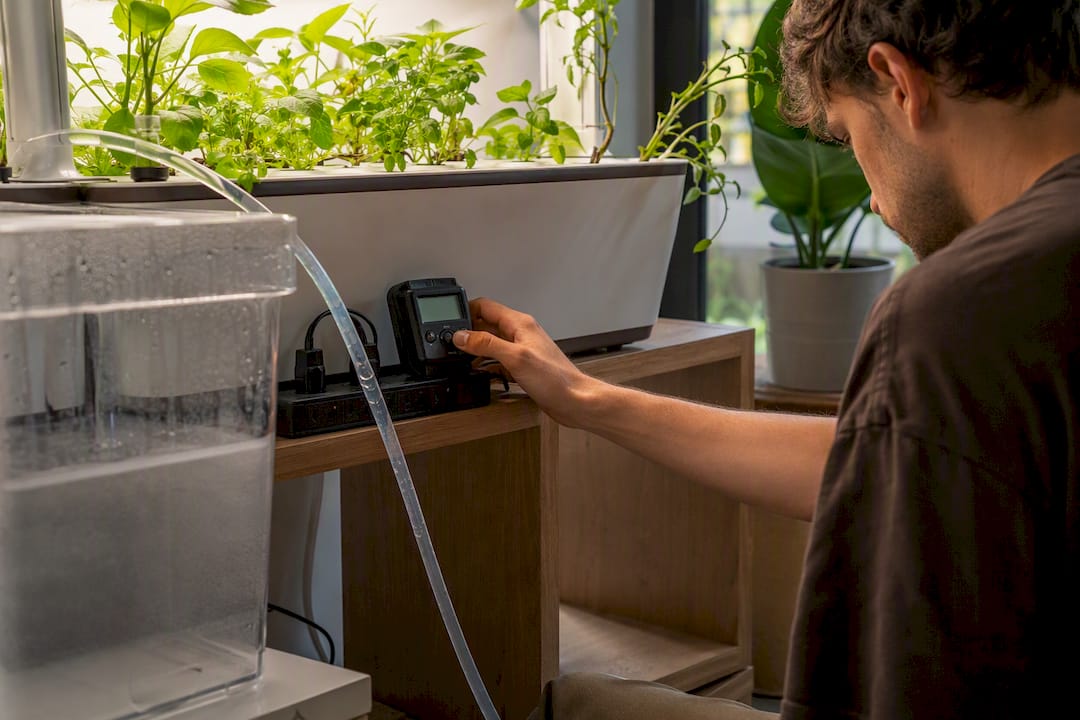
A timer only does one thing: switch power on a schedule. It has no idea what your pH or EC actually is. Smart controllers are a different category entirely because they read sensors and can dose nutrients or send alerts based on what they measure.
A basic timer is enough if you’re running a small personal setup, you’re home often enough to spot-check the reservoir, and your crops tolerate minor swings in feed timing. Consider upgrading to a controller when any of these show up:
Timers automate the “when.” Controllers add the “how much” and “how healthy.” Most home growers do fine on a good digital timer for years before that upgrade becomes necessary.
Most timer failures trace back to one of three habits: using a mechanical dial for a pump cycle that needs minute-level precision, ignoring a device’s inrush current when checking the timer’s rating, or skipping that first full observed cycle after any change.
When a schedule seems to fail, work through it in order:
Two things to never do: don’t put critical aeration, like a DWC air pump, on a timer meant to save power, and don’t assume a timer’s audible click means water actually reached the plant. Confirm flow, not just switching.
Keep a written log of every schedule you program, whether that’s a notebook by the grow tent or a note on your phone. It sounds basic, but it’s the fastest way to spot when a “mystery” wilting episode actually traces back to a schedule you changed three weeks ago and forgot about.
Pro Tip: If you’re shopping for a timer or a full automated kit, check the load rating and outlet count against your actual equipment list before buying, not after. Sprout-lab’s automated setup guide breaks down which configurations pair well with simple timers versus which need more robust switching.
Most beginners overthink the timer and underthink the schedule behind it. The mechanism, whether it’s a $9 mechanical dial or a $40 Wi-Fi plug, matters far less than whether you actually watched a full cycle before trusting it unattended. I’ve seen more crop damage from an unverified schedule than from a cheap timer.
Start with a digital timer for pumps, a basic timer or smart plug for lights, and tune from there. Give any new setup a few days before you decide it’s wrong.
Once you understand the mechanics, the next decision is picking hardware that fits your space and doesn’t require you to babysit a dial every day. That’s where a purpose-built system saves the guesswork: Sprout-lab’s automated hydroponic setups are configured for compact spaces, letting you run up to 56 plants with lighting and irrigation zones already sized to match reliable timer control.

If your priority is photoperiod control for leafy greens or herbs, look at setups built around straightforward light scheduling. If you’re after a flood-and-drain or reservoir-based system that leans on precise pump cycling, the reservoir hydroponic system guide walks through which configuration fits a beginner’s first automated grow. Either way, browse the current setup options and match one to the equipment list you just worked out.
For most leafy greens and herbs, run lights 16 hours on and 8 hours off, and set ebb-and-flow pumps for 15 minutes on every 1 to 2 hours during the light period, adjusting based on runoff and media moisture.
It depends on your system type: NFT and DWC setups typically run pumps continuously, while ebb-and-flow systems cycle every 1 to 2 hours for about 15 minutes, tuned to how quickly your medium drains.
No, continuous flow is rarely the goal for drip or flood systems. A cycle or digital timer switches irrigation on for short, repeated intervals so roots get oxygen between feedings instead of sitting in constant water.
Reservoir change frequency depends on system size and crop, but pairing a consistent timer schedule with regular checks on pH and EC helps you catch when nutrient solution needs replacing before plants show stress.