Free shipping for order over $50

Free shipping for order over $50
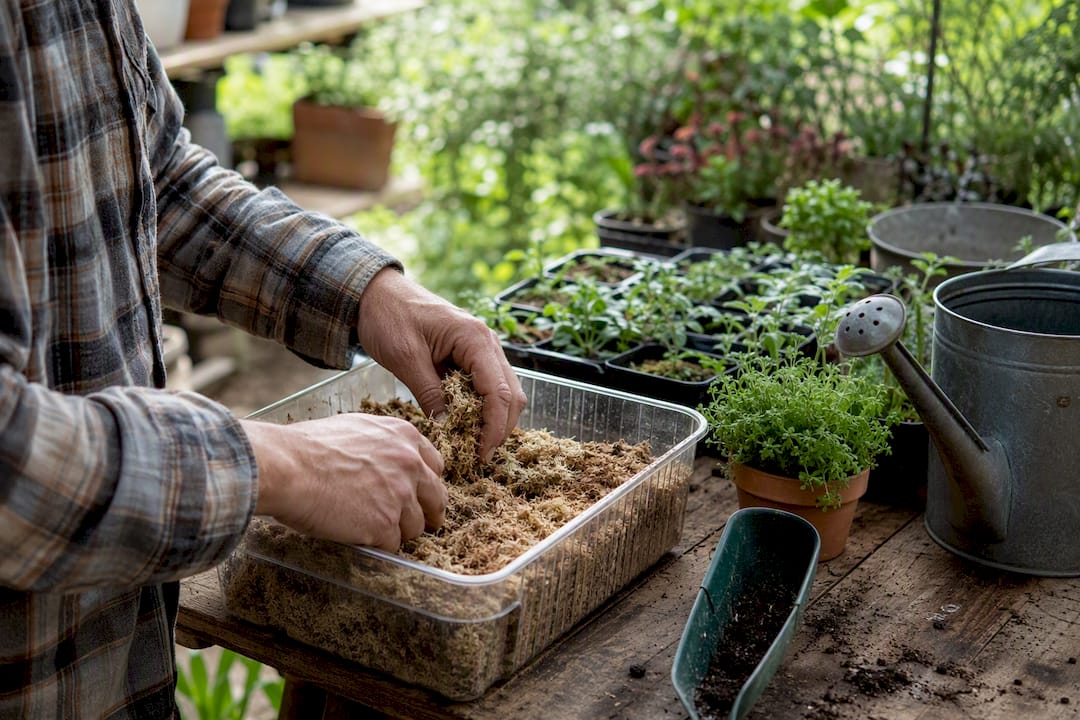
To root cuttings in sphagnum moss, hydrate long-fiber sphagnum until it passes the squeeze test, nestle each node into damp (not dripping) moss inside a clear humid container, and wait for branching roots before moving to soil.
Sphagnum can hold up to 20 times its weight in water, which is exactly why the squeeze test matters. Skip it, and that same water-holding capacity turns into a rot problem instead of a rooting advantage.
Sphagnum moss propagation works because its fiber structure holds ample water while preserving the air pockets that stem cuttings need to root without rotting.
| Point | Details |
|---|---|
| Pass the squeeze test first | Hydrated moss should feel heavy and damp, never drip when pressed. |
| Choose long-fiber moss | Chilean or New Zealand sphagnum resists compacting better than shredded peat. |
| Wait for real roots | Transition only after roots reach 3 to 5 inches with visible branching. |
| Use soak-and-tease | Remove about 80% of moss, leave a buffer, and pot into a chunky mix. |
| Stabilize your microclimate | A Sprout-lab humidity dome and tray set helps maintain the steady humidity moss propagation depends on. |
Sphagnum’s cell structure is the whole story. The fibers hold a huge reserve of water while leaving air pockets between them, so roots get consistent moisture without drowning. Standard potting soil can’t do both at once, which is why so many stem cuttings sit in soggy dirt and rot before they ever root.
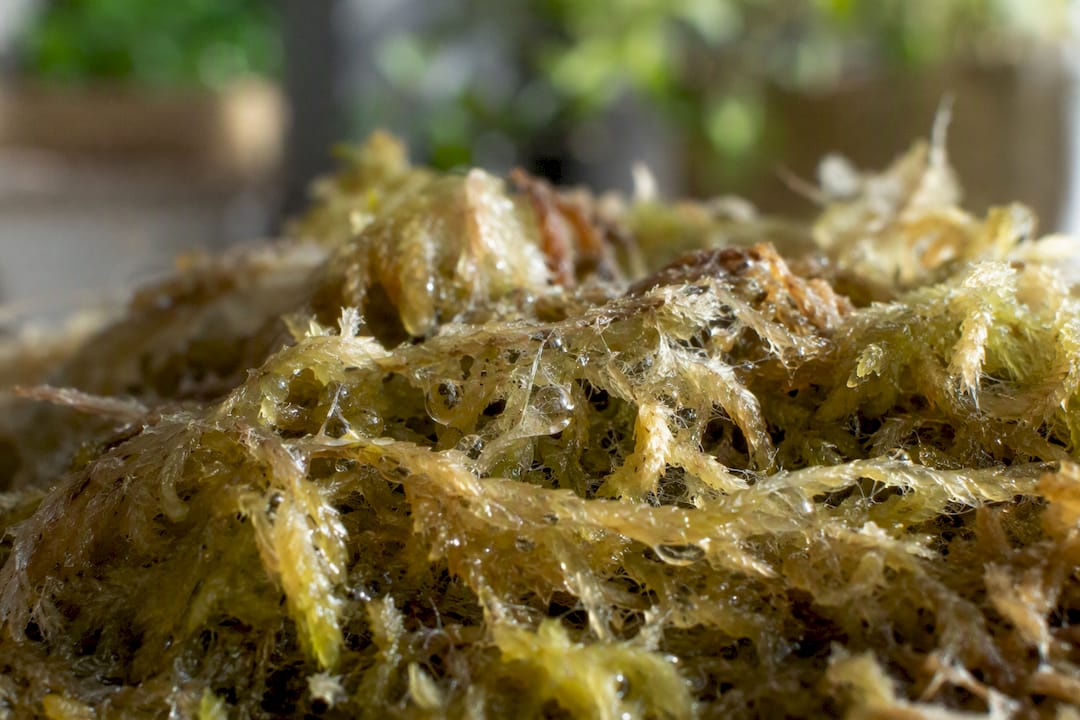
This medium suits soft-stem houseplants best: pothos, philodendrons, hoyas, and most aroids root readily in damp moss. Woody or very thick-stemmed plants tend to stall or rot before establishing.
Rooting speed varies more by species than most guides admit:
These are windows, not guarantees. Temperature, node health, and moss freshness shift the timeline in either direction.
Long-fiber sphagnum, the kind sourced from Chile or New Zealand, is the right choice here. It keeps its stringy structure and resists compacting, unlike shredded peat, which packs down and suffocates roots. Don’t confuse the two at the garden center.
Use rain, distilled, or dechlorinated water whenever you can. Chlorinated tap water is one of the quieter reasons moss fragments stall out.
Pro Tip: Let a jug of tap water sit uncovered overnight before using it. Most household chlorine off-gasses in that time, and your moss will thank you for it.
Preparation is where most people either set themselves up for success or unknowingly plant the seeds of stem rot.
The moss should feel heavy and cool to the touch, never wet enough to leave your palm damp. That’s the texture you’re aiming for every single time you refresh a batch. Never pack it down tight into the container. Compacted moss loses the air pockets that make it work in the first place, and that’s when anaerobic pockets and rot start.
A clear container isn’t just convenient. It lets you spot mold, dryness, or rot early, before roots are damaged. Perforated lids matter almost as much, since a sealed box with zero airflow is a shortcut to fungal problems.
Two setups work well:
Keep the box somewhere that stays between 70 and 80°F, in bright indirect light. Direct sun through glass will cook a closed container fast, turning your humidity dome into a small oven. If your home runs cool in winter, a seedling heat mat under the container speeds things along noticeably. A humidity dome and tray setup built for this exact job removes a lot of the guesswork around lid fit and airflow.
Getting the node placement right is what separates a cutting that roots in three weeks from one that just sits there.
Rooting hormone isn’t required for easy rooters like pothos, but it can meaningfully speed things up on slower species like hoya.
The daily habits during this stretch matter more than any single setup decision. Open the container for two to three minutes every one to three days, depending on how humid your home already runs. This brief airing prevents the stagnant, oxygen-starved air that invites mold.
Check moisture with the same squeeze test you used during prep. If the moss feels dry and crumbly, mist lightly; if water pools when you press it, leave the lid off longer next time.
Watch for these warning signs:
Most soft-stem houseplants show first roots within 2 to 6 weeks, though hoya and other slow rooters can stretch past that window without anything being wrong.
Moving too early is the single most common way people ruin a cutting that had already done the hard part. Wait until you see branching secondary roots 3 to 5 inches long before you even think about potting.
Pro Tip: Keep humidity elevated for the first week after potting, either with a loose plastic bag over the plant or a humidity dome nearby. Moss roots haven’t built up the same tolerance for dry air that soil-grown roots have.
Stem rot is usually visible before it’s fatal. If you catch blackened or mushy tissue at the base, cut back into firm, healthy tissue above the damage and start over in fresh moss. Reusing rotted moss just reinfects the new cutting.
Collapse after potting almost always traces back to a mix that’s too dense or too wet. Repot into a chunkier blend, water less frequently, and give the plant a temporary humidity boost while it adjusts.
A foul smell or visible mold means airflow has been inadequate. Increase your airing frequency, pull out any visibly affected moss, and if the smell persists, replace the moss entirely and wipe down the container before reusing it.
Slow or stalled rooting, particularly with hoya and other patient species, often responds to a warmer spot, a heat mat set to gentle warmth, or a rooting hormone dip if you haven’t already tried one.
Restoration-scale studies on Sphagnum back up what hobbyists learn through trial and error: precise water-level control determines success, and both over- and under-watering measurably reduce growth. That’s the scientific version of the squeeze test.
Water quality is not a minor detail. Tray propagation protocols call for dechlorinated water and about an inch of standing water in a lower tray to maintain steady capillary contact, the same principle behind a simple cup-in-tray setup at home.
Sphagnum’s 20 times its weight water-holding capacity is what makes all of this possible in the first place, provided you respect the balance between moisture and airflow rather than saturating the medium.
My go-to setup is a clear shoebox-sized bin with a loosely fitted lid, never fully sealed. I’ve found that logging root length once a week, even a rough guess, makes the difference between guessing when to transition and actually knowing.
— Luna
Getting the microclimate right is the hardest part of this whole process, and it’s also where most propagation attempts quietly fail. A humidity dome and seedling tray set holds moisture steady without you fiddling with plastic wrap and rubber bands, and once your cuttings are ready for the soak-and-tease transition, a chunky, well-draining soil mix built for aroids saves you from guessing at bark-to-perlite ratios yourself.
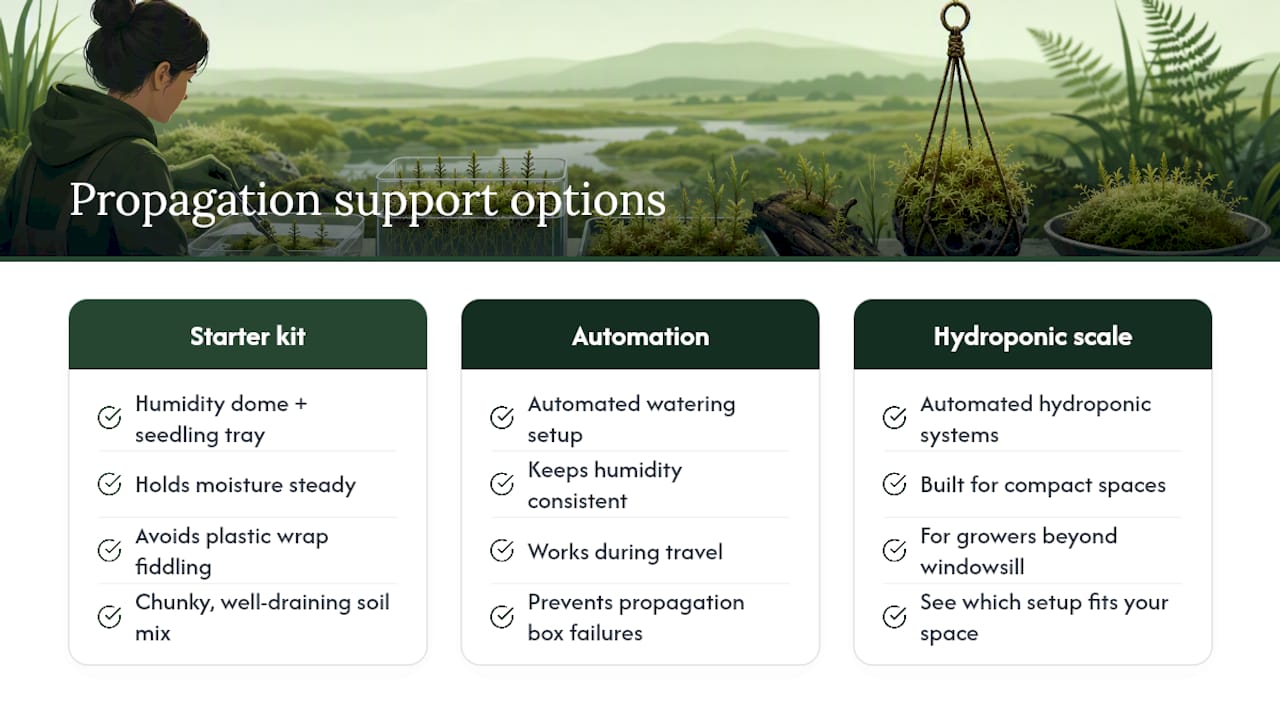
If you’re propagating at any real volume, an automated watering setup keeps humidity and moisture consistent even when you’re busy or traveling, which is usually when a propagation box fails. For growers ready to scale beyond a windowsill tray, take a look at automated hydroponic systems built for compact spaces and see which setup fits your space.
Dried sphagnum moss used for propagation is dead material and won’t regrow; it only serves as a rooting medium. Fresh, living moss fragments can regenerate, but the bagged long-fiber moss you buy for cuttings has already been dried and processed.
Yes, many houseplants root directly in properly hydrated sphagnum moss without any soil at all. Once roots reach 3 to 5 inches, transition them into a chunky potting mix using the soak-and-tease method rather than leaving them in moss long term.
Most soft-stem houseplants like pothos and philodendron show roots within 2 to 3 weeks, while slower species like hoya can take 4 to 6 weeks or more. Temperature, moss freshness, and node health all shift that window.
Long-fiber sphagnum sourced from Chile or New Zealand works best because it resists compacting and preserves the air pockets roots need. Shredded or preserved peat moss packs down too easily and increases the risk of stem rot.