Free shipping for order over $50

Free shipping for order over $50
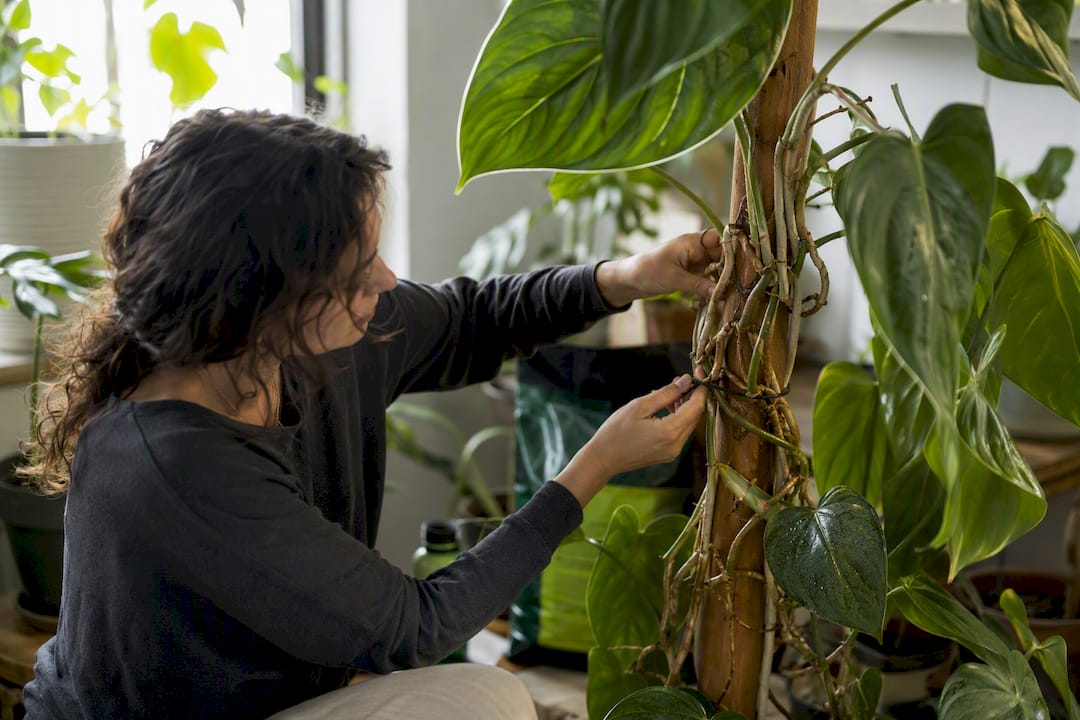
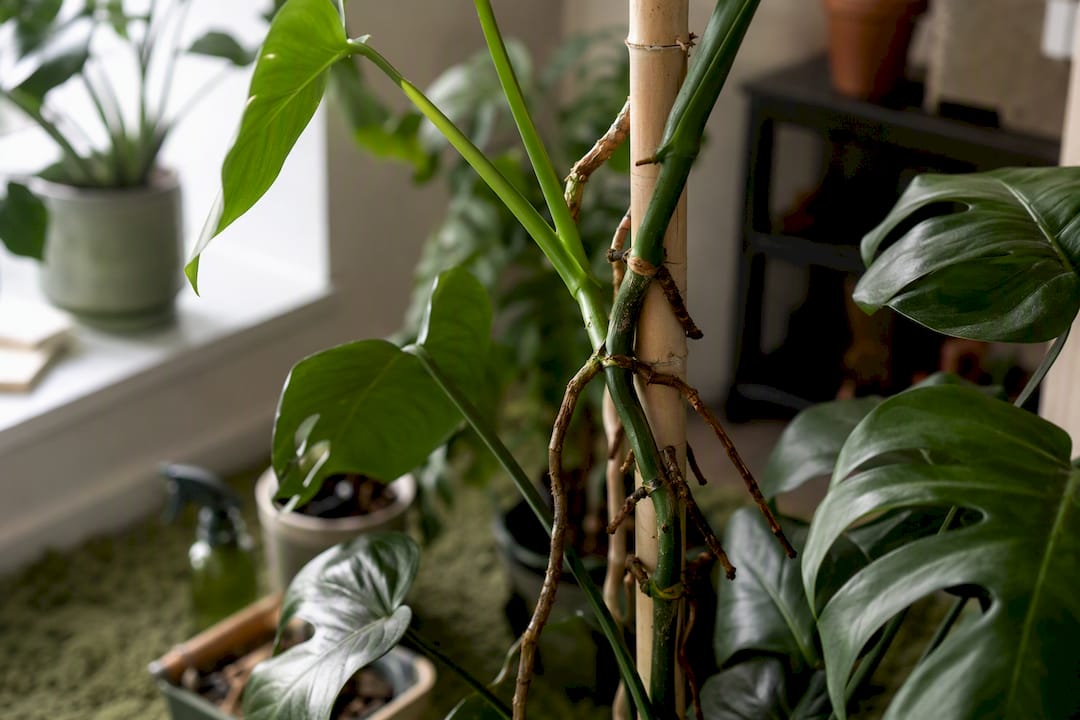
If your Monstera or Philodendron is throwing out those thick, finger-like roots along the stem, leave most of them alone. Aroid aerial root care comes down to one decision: redirect the root into soil or onto a support where it can keep working, or trim it cleanly if it’s purely in the way. These roots are living tissue, not leftover plumbing, and cutting them off wholesale trades away free moisture and nutrient uptake for a tidier-looking stem.
Here’s the quick version before we get into specifics:
Crowded plant, roots everywhere? Attach to a pole. Root looks brown and mushy? Skip straight to rescue mode, covered below. Want more plants? Use the root for propagation instead of tossing the cutting.
Aroid aerial root care works best when you treat these roots as active, functional tissue that thrives with a support, humidity, and a chunky mix rather than as something to remove on sight.
| Point | Details |
|---|---|
| Redirect, don’t remove | Tuck healthy roots into soil or attach them to a support before reaching for scissors. |
| Target moderate to relatively high humidity | Most common aroids grow thicker, more active aerial roots within this range. |
| Know rot from shriveling | Mushy and foul-smelling means rot; dry and wrinkled but firm just needs more humidity. |
| Rehab slowly | Prune to healthy tissue, repot into a chunky mix, and hold off on heavy watering for two weeks. |
| Use the right materials | Sprout-lab’s chunky aroid mix and Plant Grow Pole address the drainage and attachment issues behind most root problems. |
Aerial roots aren’t cosmetic. A comparative study on three high-humidity Araceae species found that aerial roots pulled in more nitrogen per milligram of dry weight than the plant’s soil roots, and the same plants grew more biomass when humidity was high. That’s the physiological case for caring about them instead of snipping every one you see.
In the wild, most popular aroids (Monstera, Philodendron, Anthurium) are hemi-epiphytes. They start in soil, then climb trees and send roots out to grip bark and pull moisture from the air. Indoors, aerial roots do the same three jobs:
Aim for moderate to relatively high relative humidity for most common aroids, and expect thicker, more active aerial root growth as you climb toward that range. Anthuriums and some Philodendron species push out aerial roots even more eagerly than Monstera when humidity climbs, so don’t be surprised if your plants behave differently side by side.
Once you know a root is healthy, you’ve got four real choices. Which one wins depends on the plant’s size, your humidity, and how much you want it to look like a jungle specimen versus a tidy houseplant.
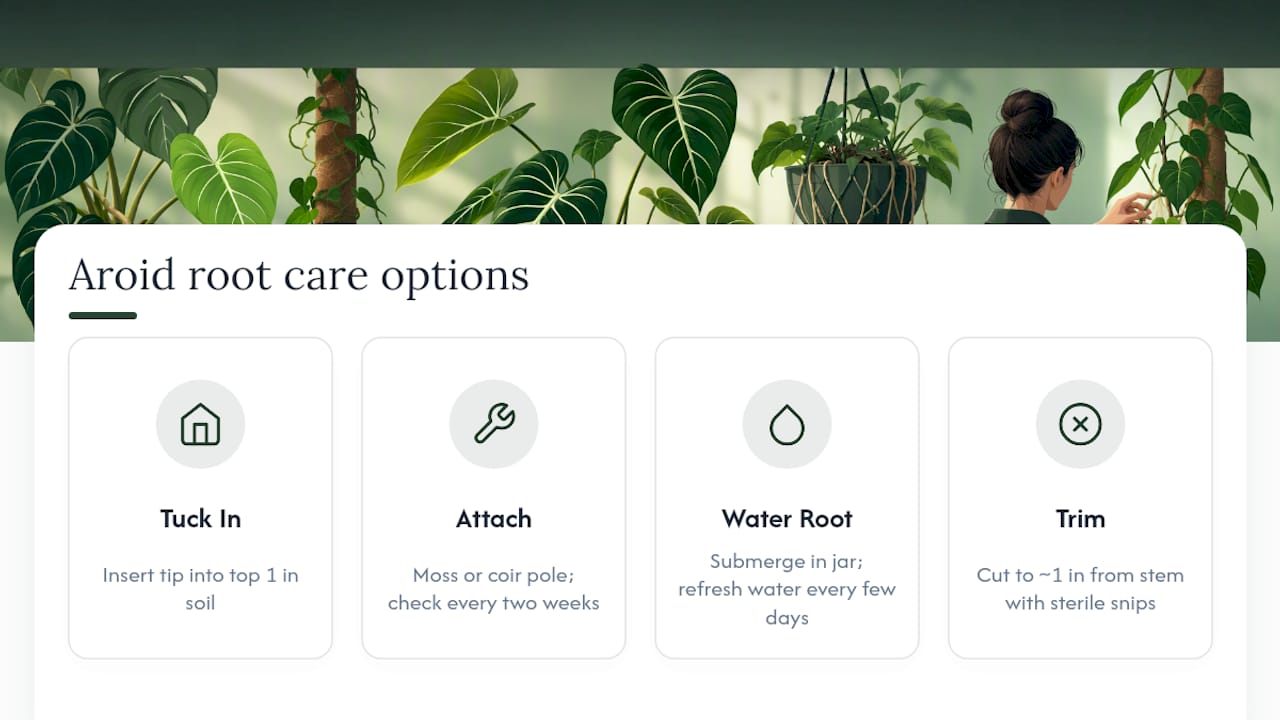
1. Tuck it into the potting mix. Best for roots already growing downward and close to the pot’s rim. Gently guide the root tip into the top inch of soil without forcing or bending it sharply, which can snap the tissue. Use a chunky, well-draining aroid mix rather than dense potting soil. Check weekly; once the root visibly thickens and stays firm, it’s established and drawing water like any other root.
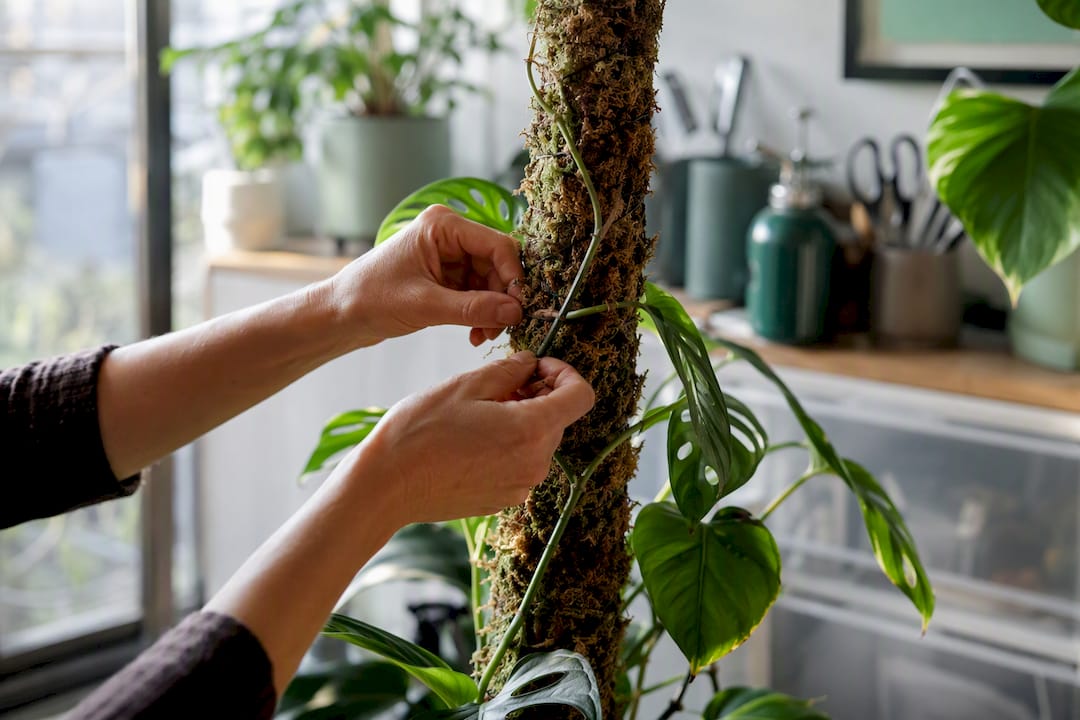
2. Attach it to a support. This is the option that tends to produce the healthiest growth and bigger leaves, according to grower guidance from Plant Reference. Moss poles with live sphagnum keep roots consistently moist but need regular misting or refilling. Coir and kratsite poles need less upkeep and still give roots something to grip, though you may need to physically tie the stem in place until roots catch on, based on comparisons from Planet Houseplant. Loosely loop the root against the pole with soft plant tie or twine, checking every two weeks that it’s making contact, not just resting nearby.
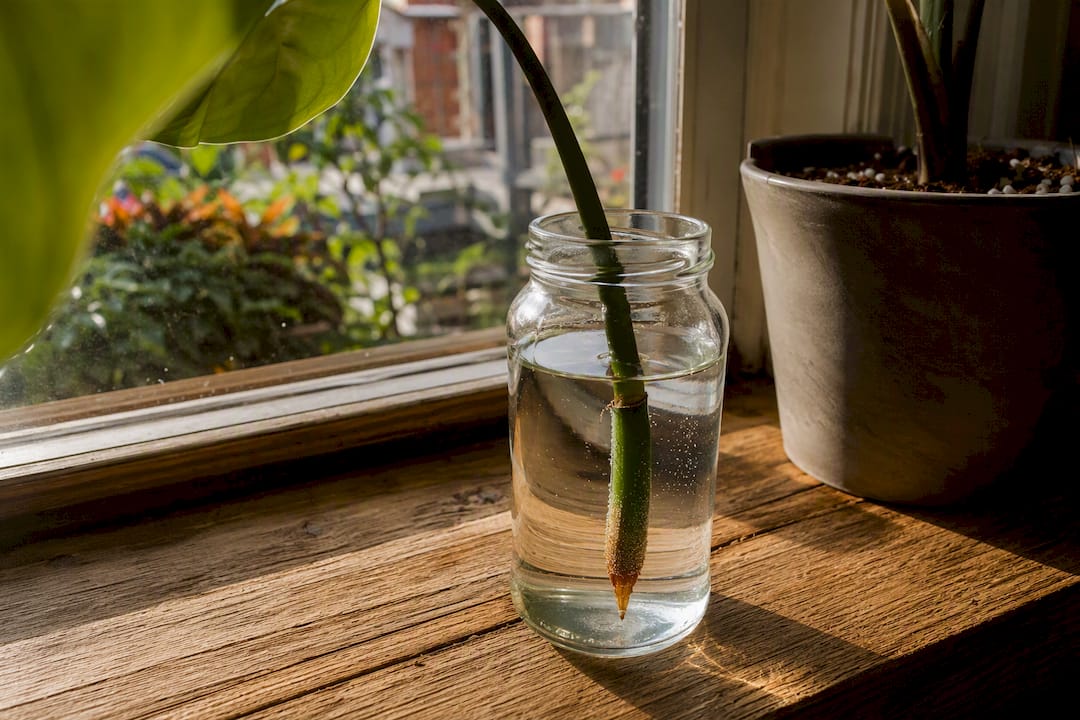
3. Root it in water. Submerge just the root tip in a small jar, refreshing the water every few days. This can speed root growth and increase turgor pressure in the plant, which is useful if you’re in a drier space or the new growth is far from the main root ball. The downside: roots grown purely in water sometimes need an adjustment period when finally moved into soil.
4. Trim it. If a root is small, going nowhere useful, and you don’t want the look, cut it back to about an inch from the stem using sterile scissors or pruning snips. Trimming rarely harms the plant; the stem will often push out another aerial root nearby.
Pro Tip: Mist a moss pole until it’s damp like a wrung-out sponge, never dripping. Standing water at the base of the pole is a common, avoidable cause of stem rot right where roots attach.
Pro Tip: When tucking a root into soil, angle the tip so it enters at a slight downward slope rather than straight in. It mimics how the root would naturally curve and reduces stress at the point where it meets the stem.
An aerial root attached to a node is a head start on propagation, not just a curiosity. Here’s the fastest path from cutting to established plant:
Most aroid cuttings root within three to five weeks under warm, bright, humid conditions. Slower progress usually means insufficient light or a node that wasn’t viable to begin with.
Not all unhappy aerial roots look the same, and treating shriveling like rot (or vice versa) wastes time. Here’s the visual and tactile checklist:
If you’re seeing rot, work through this rescue protocol, adapted from guidance on root rot recovery:
Pro Tip: Sterilize your blade between cuts with rubbing alcohol. Reusing a dirty blade on healthy tissue after cutting rot is one of the fastest ways to reinfect the plant.
Go easy on water for the first two weeks of recovery. Overwatering during rehab is the single most common way growers undo their own rescue effort, and it’s the same root cause the AroidHouse guide to fixing overwatering points to for most rot cases in the first place. If more than half the root system is gone, you may get a faster, more reliable result by taking a healthy stem cutting and starting fresh rather than nursing a badly damaged plant back from the brink.
When you repot, don’t force aerial roots to bend unnaturally to fit a container. Reposition them gently along the inside of the pot or tuck the tip just under the surface if there’s room. Choose a pot only one size up, and use a loose, chunky substrate that mimics what the plant would find climbing a tree trunk in the wild.
After repotting:
If an aerial root is already gripping a support well, leave it exposed on purpose. Burying an actively attached root can suffocate it and undo the work it’s already done.
I’ve stopped seeing a tangle of aerial roots as something to clean up. Plants I’ve let attach to poles instead of trimming back tend to hold themselves upright better and push out noticeably larger leaves within a few months, which tracks with research on aroids as hemi-epiphytes that treats these roots as functional, not decorative. If you’re on the fence about a root, give it a support before you give it scissors.
A lot of aerial root problems trace back to the same two things: a potting mix that stays too wet, or a support that doesn’t hold moisture where the roots need it. Sprout-lab’s aroid soil mix is built chunky and fast-draining specifically so tucked-in roots get airflow instead of sitting in compacted, rot-prone soil. Pair it with our Plant Grow Pole, which holds moisture without the sogginess risk of a bare moss pole, and you’ve solved the two biggest variables in this article at once.
If you’d rather skip the trial and error of building your own moss pole setup or mixing bark and perlite by hand, browse the aroid mix and planting mediums available now and get your next repot right the first time.
Redirect healthy ones into soil or onto a moist support like a pole; only trim roots that are purely cosmetic and not attached to anything useful.
Yes, in the short term, since aerial roots actively absorb moisture and nitrogen, but a plant relying solely on them long term will grow more slowly than one with an established soil root system.
Yes, if the root is already curving toward the pot; gently guide the tip into the top inch of a chunky aroid mix rather than forcing a root that’s growing another direction.
Trim only the dry, papery ends with sterile scissors; healthy green or silvery firm roots should stay intact since they’re actively absorbing moisture, similar to how orchid humidity needs work for epiphytic plants generally.
Firm tissue with no smell means it’s alive even if growth has paused; mushy, discolored, or foul-smelling tissue means it’s rotting and needs pruning back to healthy material.